PhotoDay is excited to offer built-in services like Knockouts, Color Correction, and (for private galleries) Exports that will further streamline and simplify your workflow. More services are coming soon!
PhotoDay Credits
PhotoDay Credits (PD Credits) can be used for services within PhotoDay. Studios can purchase PD Credits from right within their studio panel by going to Settings > My Studio > Wallet.

The Wallet section is where you can see your credit activity, view your remaining credit balance, and buy more credits.
Credits can be used to buy PhotoDay’s paid services like Knockouts and Color Correction.
PhotoDay Credits cost $0.10 per credit. Knockouts cost 1 credit per image. Color Corrections cost 1 credit per image.
Credits are non-transferable and non-refundable. They last for one year from purchase and do not auto-renew—just buy more when you need them.
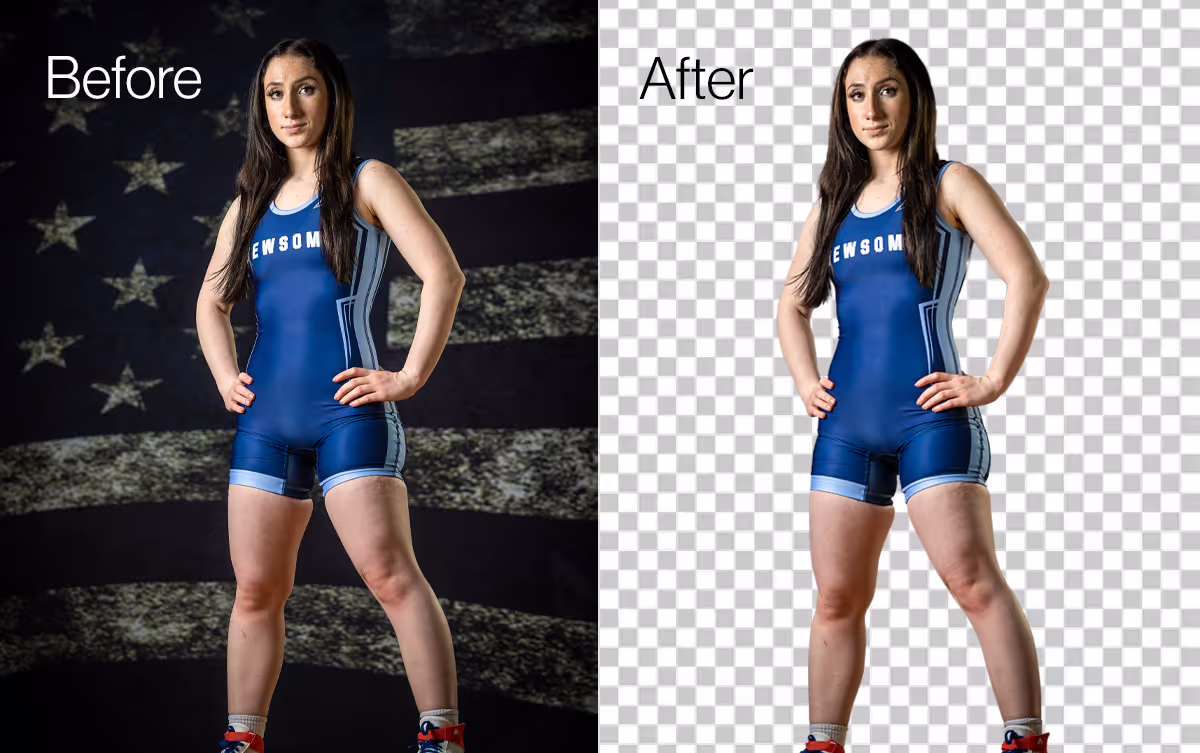
Knockouts
PhotoDay's extraction service is called Knockouts and is one of our Post-Processing Services. Through the power of AI, PhotoDay can remove almost any background (Chroma or Non-Chroma) from any image. Since Knockouts take only minutes to process, your workflow is about to be even more streamlined!
Knockouts in PhotoDay are quick and easy! Here’s how it works:
- Create a Post-Processing job in PhotoDay.
- Just go to Job > Services > Post-Processing
- Select the services you’d like: Knockouts, Color Correction, or both.
- Upload your photos.
- Purchase PhotoDay Credits to pay for the services.
- Receive an email when the job is done processing—which is usually in minutes.
- You can download the edited images, move them to the corresponding PhotoDay job—or both!
Note: Because you can download the images directly to your computer, you don’t have to sell your photos on PhotoDay to use this service.
Read more FAQ about Knockouts in this article.
How to submit a Knockouts job
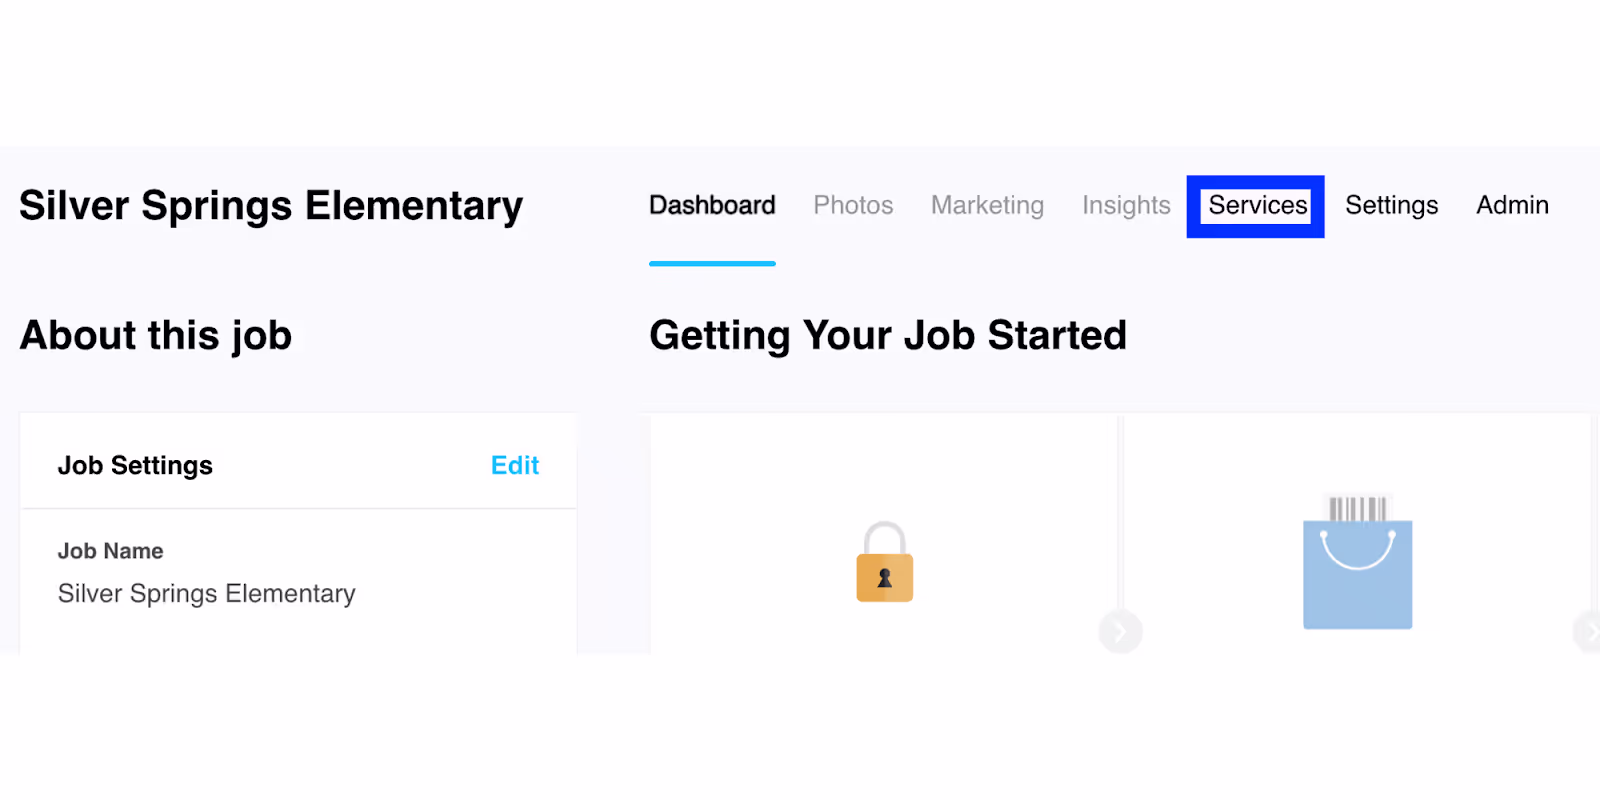
After you've created a job, navigate to the Services section:
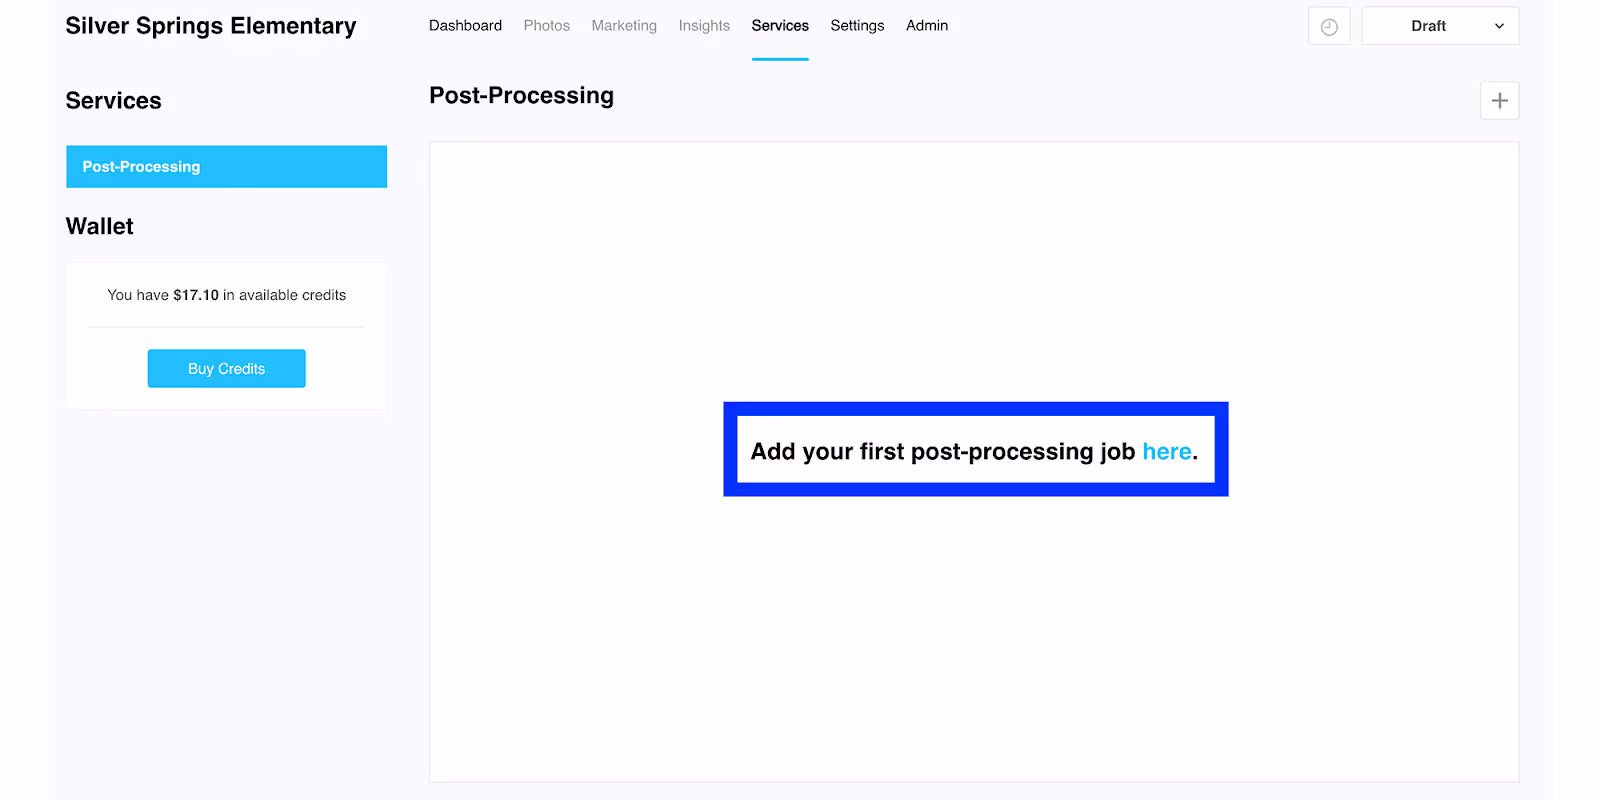
Select “Add your first post-processing job here”
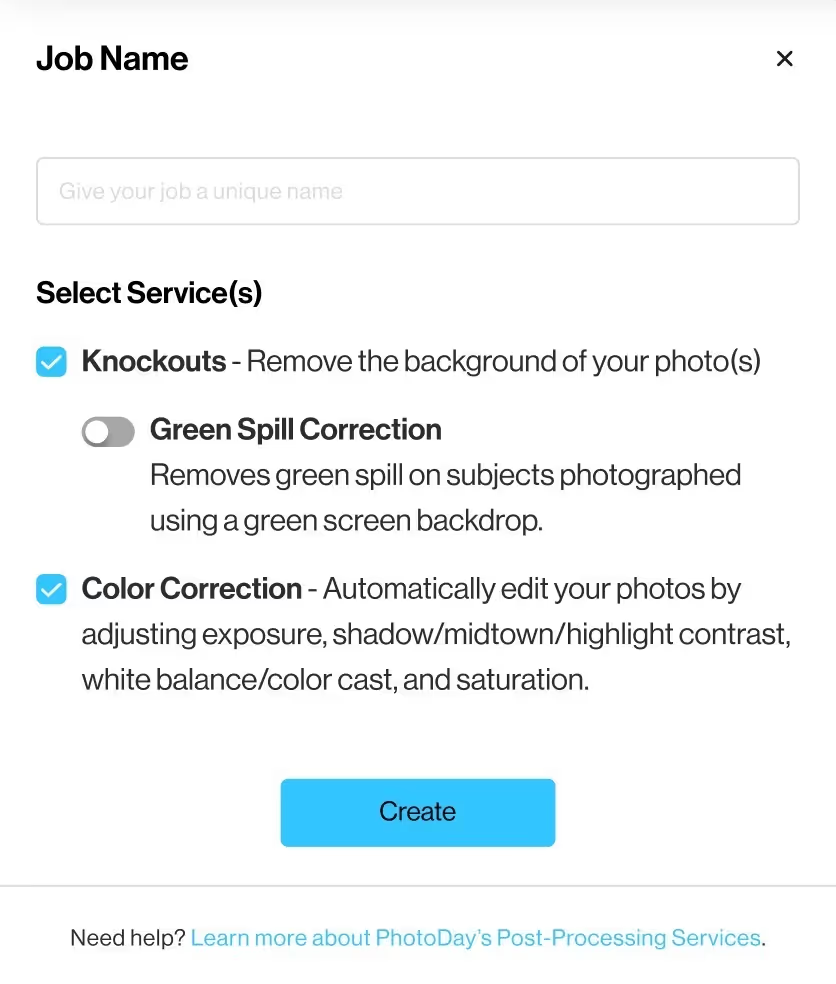
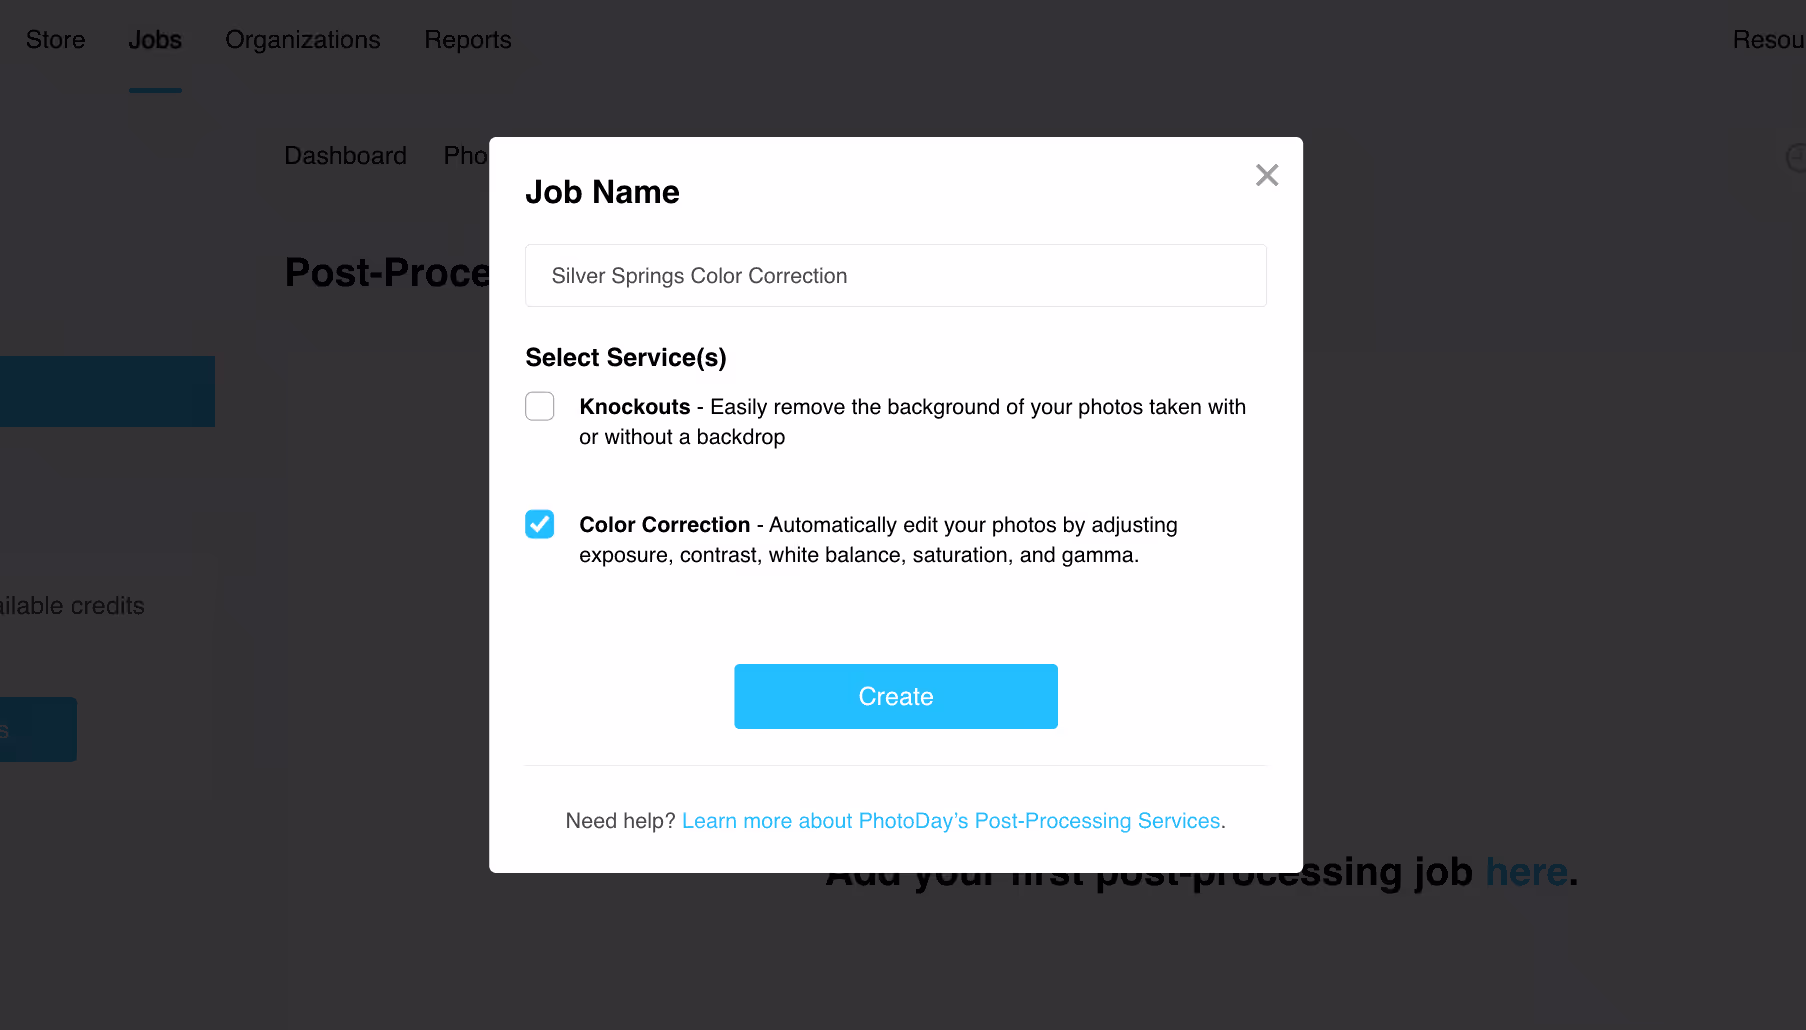
This opens a window where you can select which Post-Processing services you wish to use. In this case, select Knockouts, toggle on or off Green Spill Correction, and then click “Create.”
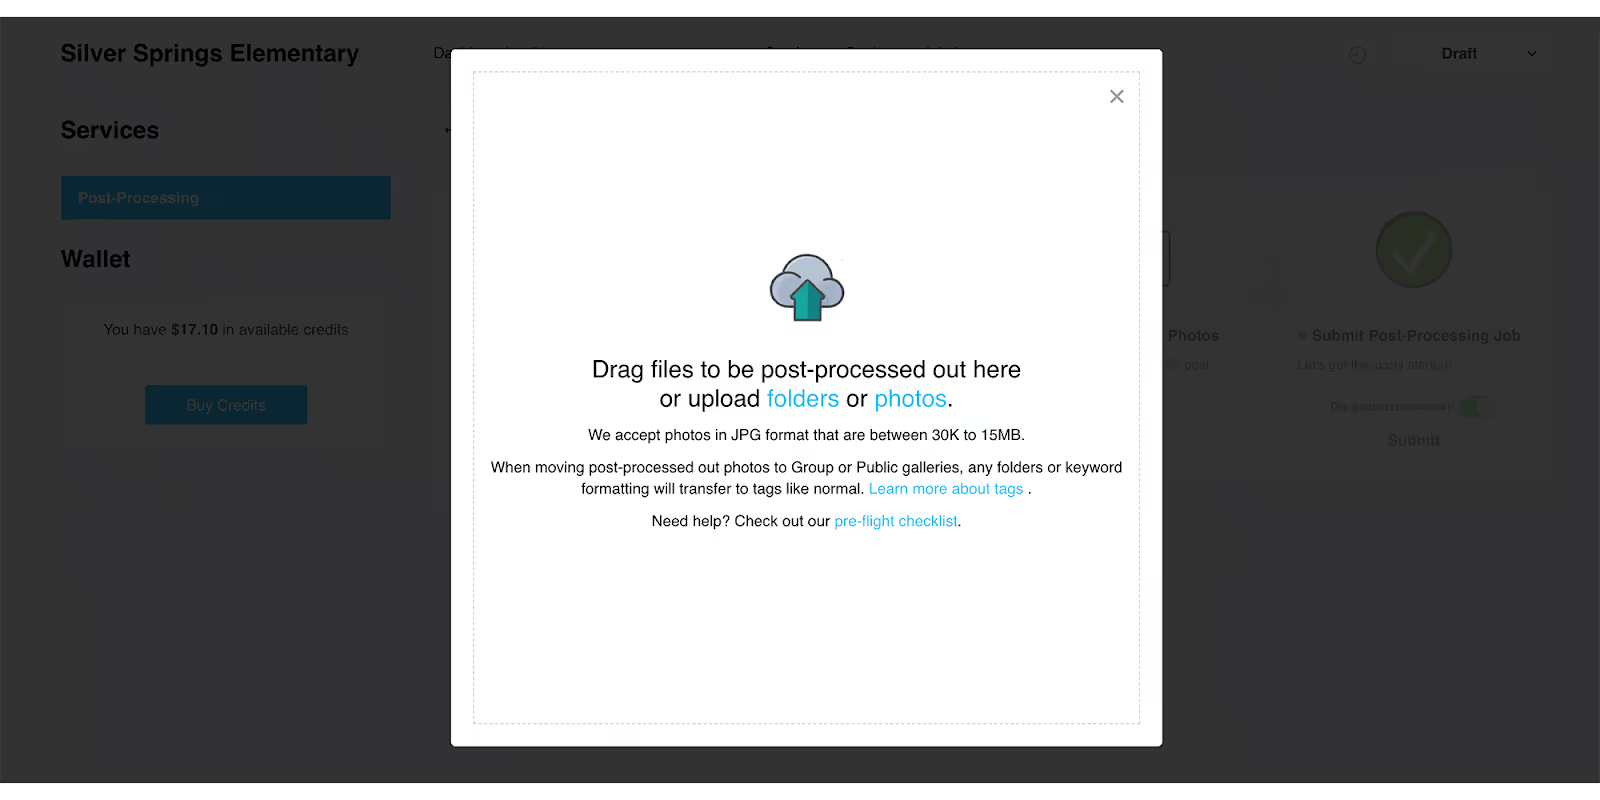
This will bring you to the Post-Processing timeline, where you can now upload which photos you’d like to knockout.

Upload your photos as either a group of files or a folder of images.
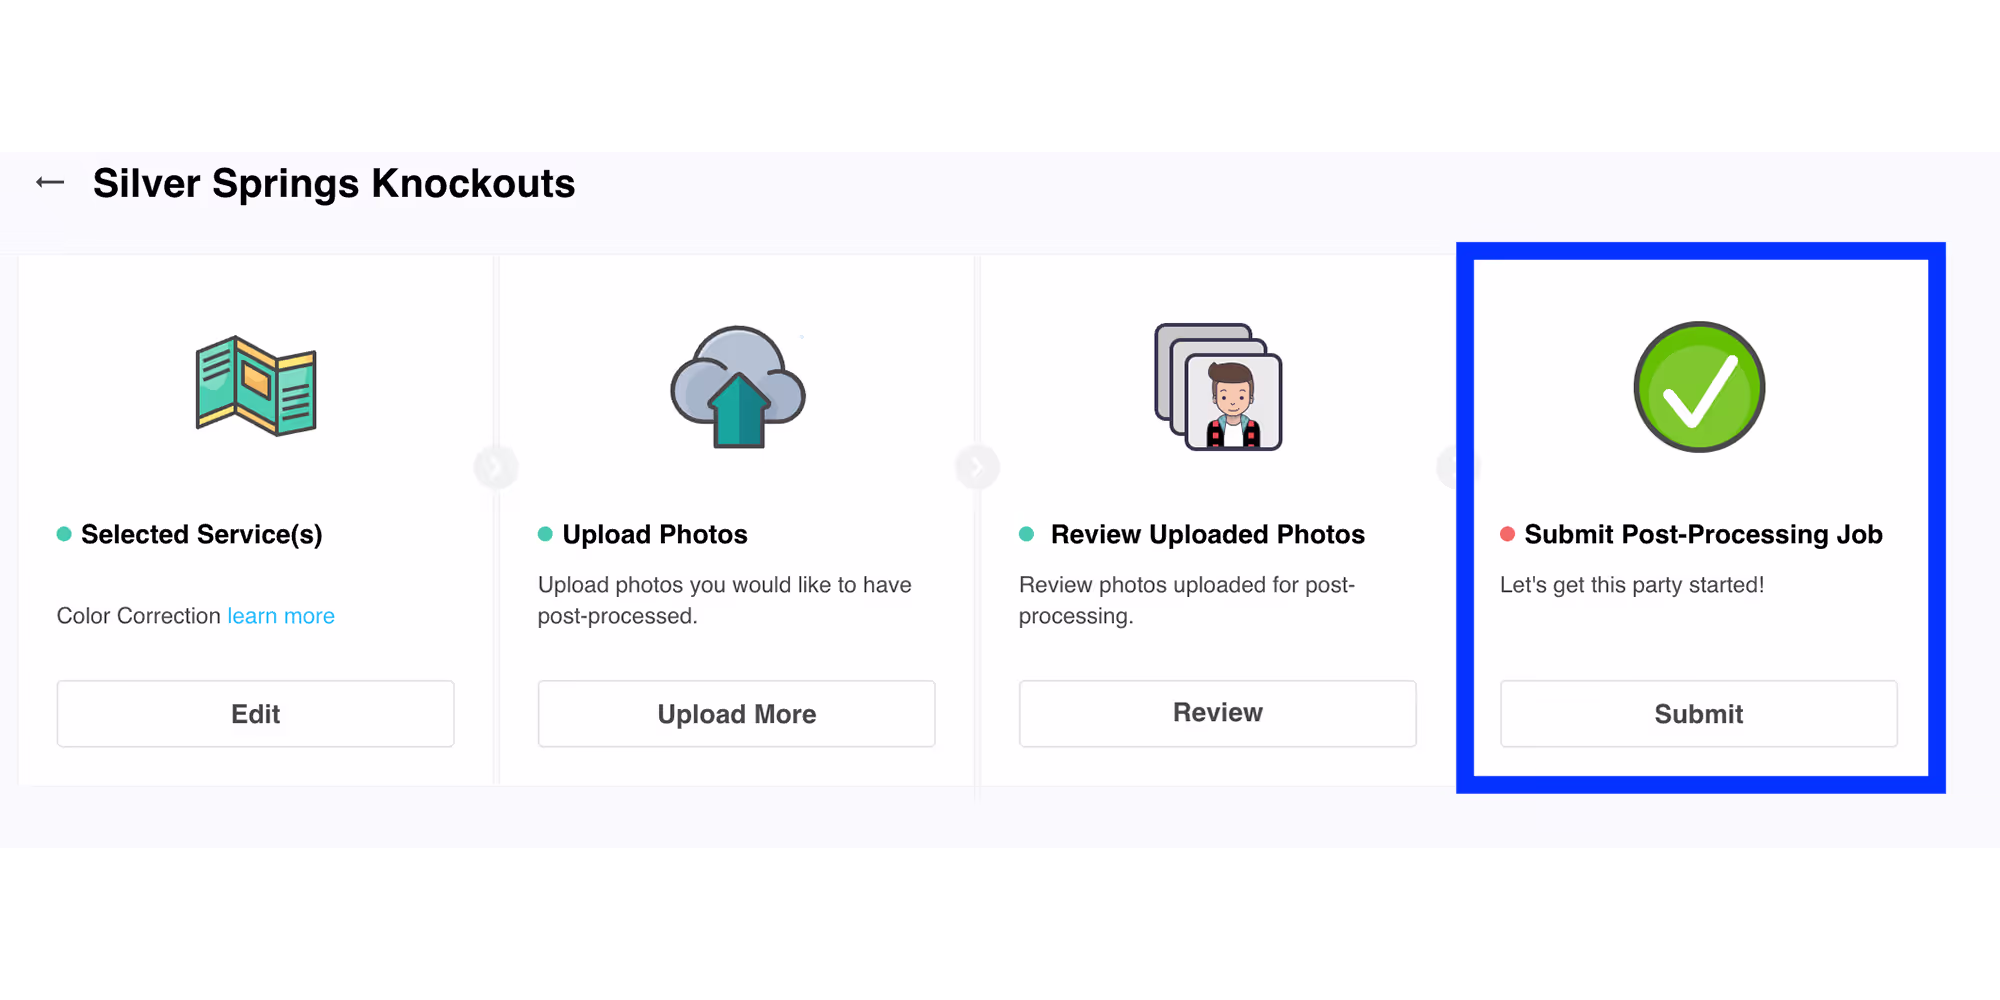
After you’ve uploaded your photos, you’ll be required to review them—just to make sure everything you want is in there.

After you’ve reviewed it, click “Submit"
Then "Agree and Submit"
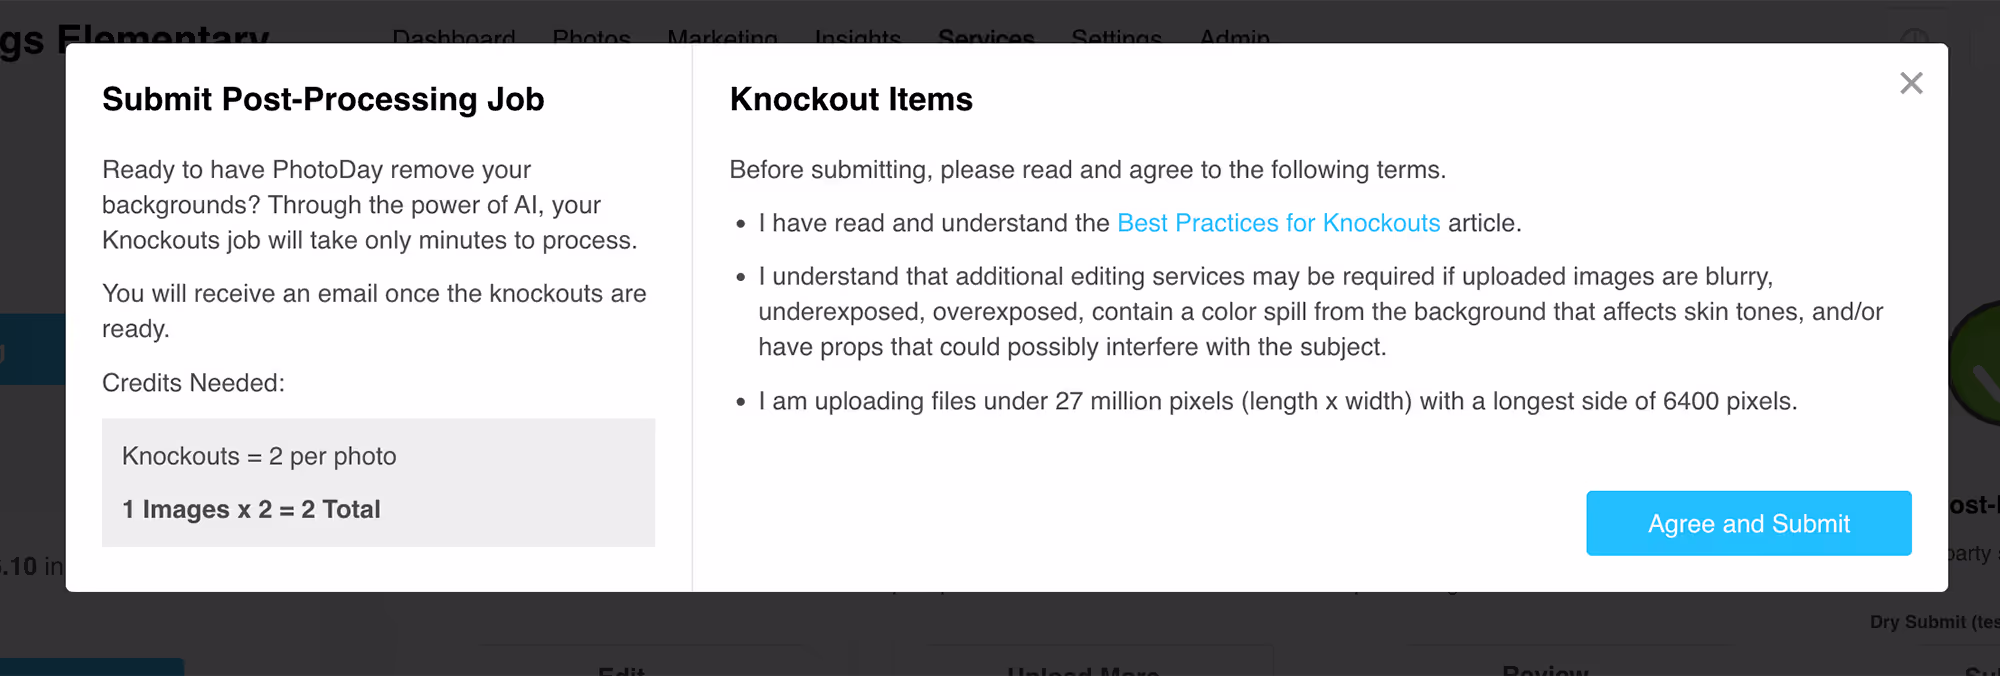
…your photos will be automatically knocked out in a matter of minutes. You’ll receive an email when it’s done!

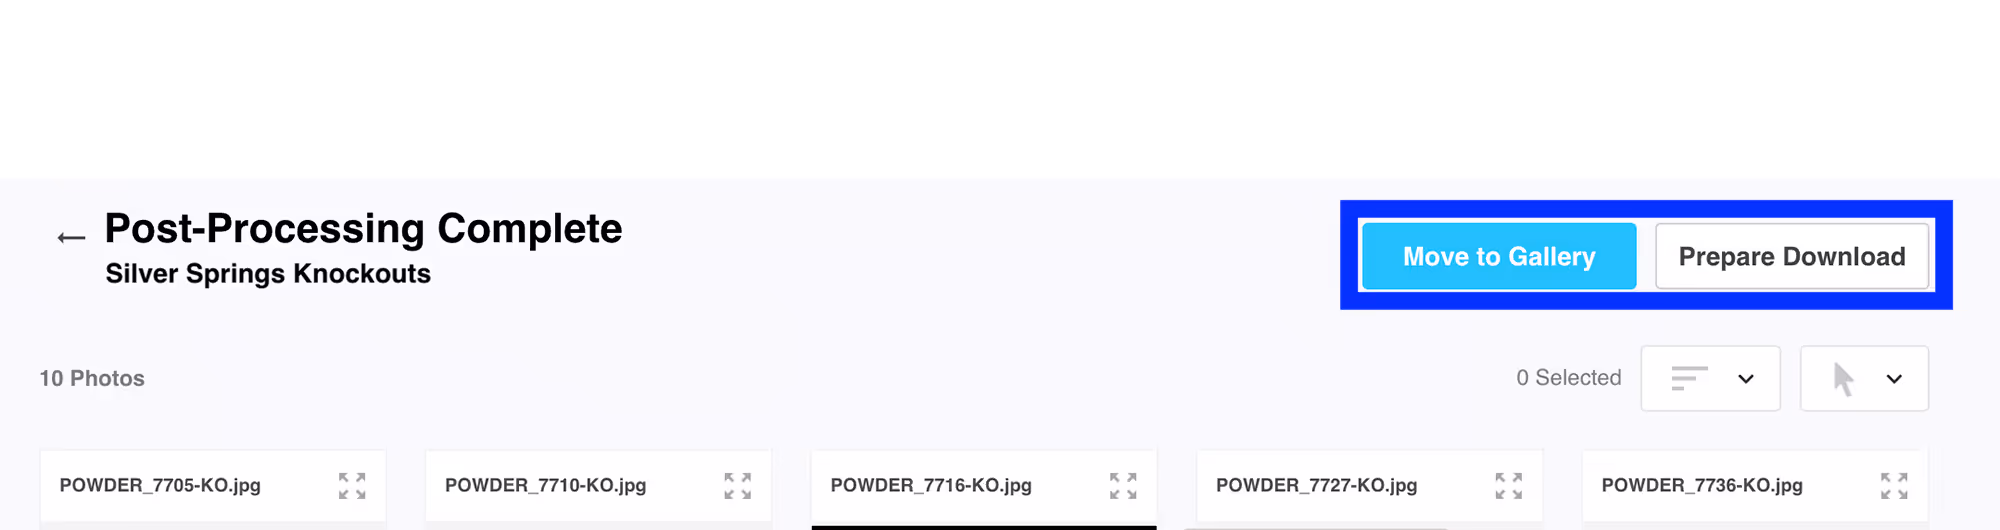
After Knockouts are complete, you’ll be able to either download your photos or move them directly to your job where you can publish them in the gallery.
Recommendations: Settings & Setup
Check out our recommended settings and setup in this article.
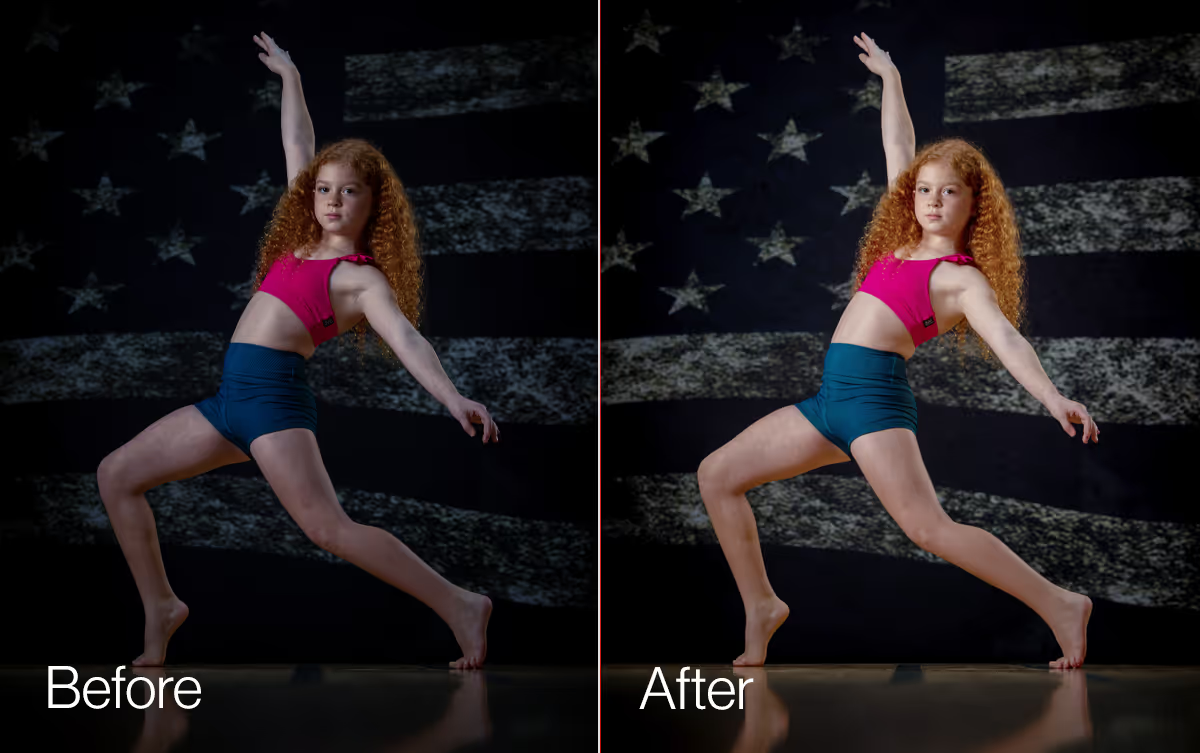
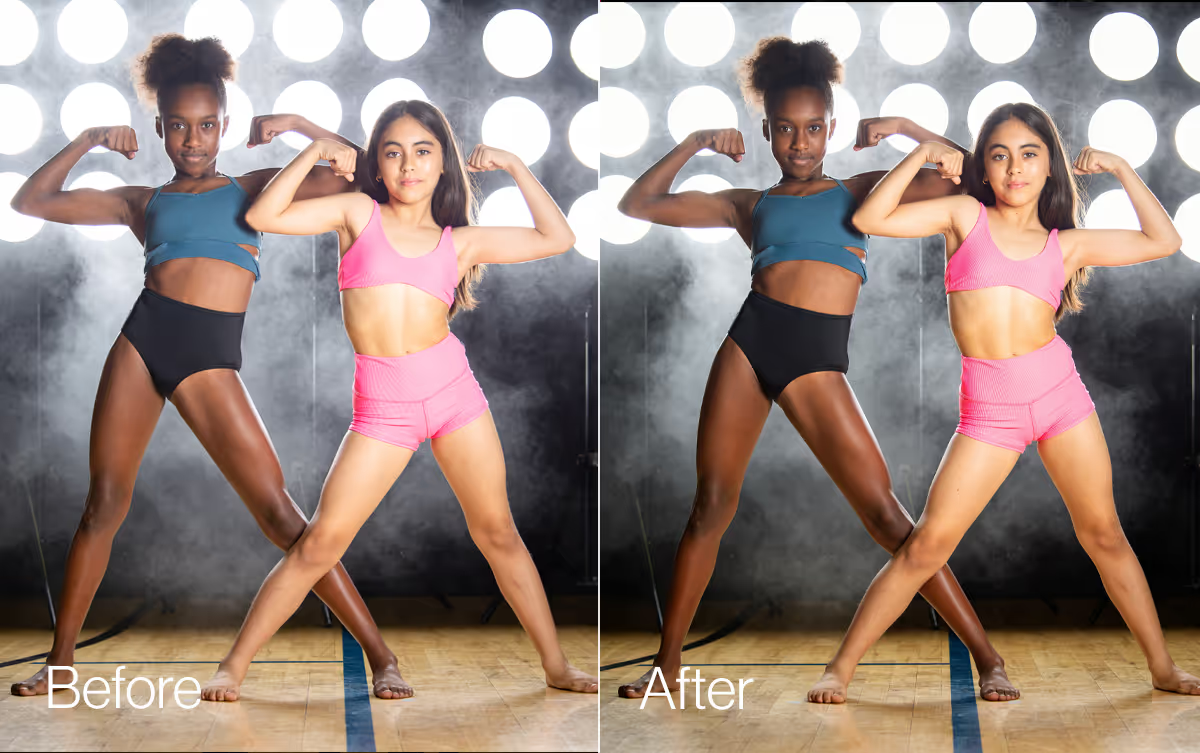
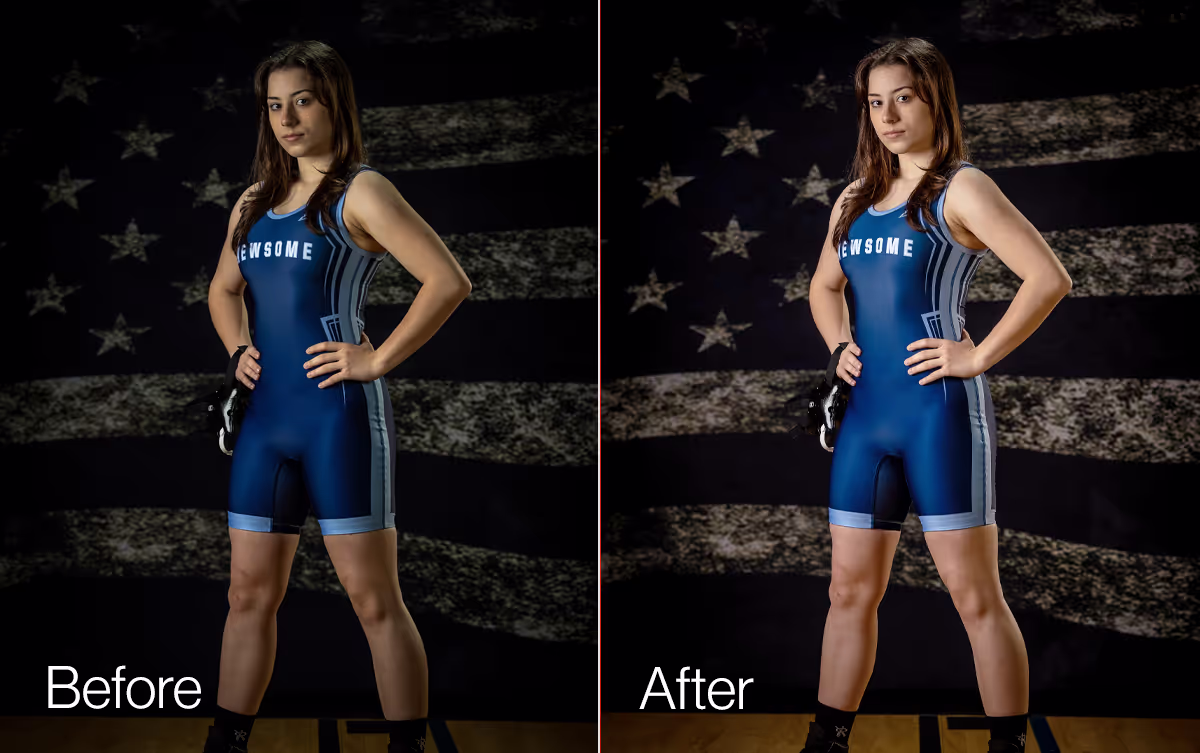
Color Correction
PhotoDay’s Color Correction service intelligently edits your photos by automatically adjusting exposure, contrast, white balance, saturation, and even gamma to deliver a professional look for every image. Color corrections process in minutes, so your workflow can keep rolling smoothly.
Color Corrections in PhotoDay are quick and easy! Here’s how it works:
- Create a Post-Processing job in PhotoDay.
- Just go to Job > Services > Post-Processing
- Select the services you’d like: Color Correction, Knockouts, or both.
- Upload your photos.
- Purchase PhotoDay Credits to pay for the services.
- Receive an email when the job is done processing—which is usually in minutes.
- You can download the edited images, move them to the corresponding PhotoDay job—or both!
Note: Because you can download the images directly to your computer, you don’t have to sell your photos on PhotoDay to use this service.
Read more FAQ about Color Correction in this article.
How to submit a Color Correction job
After you've created a job, navigate to the Services section:
Select “Add your first post-processing job here”
This opens a window where you can select which Post-Processing services you wish to use. In this case, select Color Correction and then click “Create.”
This will bring you to the Post-Processing timeline, where you can now upload which photos you’d like to color correct.
Upload your photos as either a group of files or a folder of images.
After you’ve uploaded your photos, you’ll be required to review them—just to make sure everything you want is in there.

After you’ve reviewed it, click “Submit"
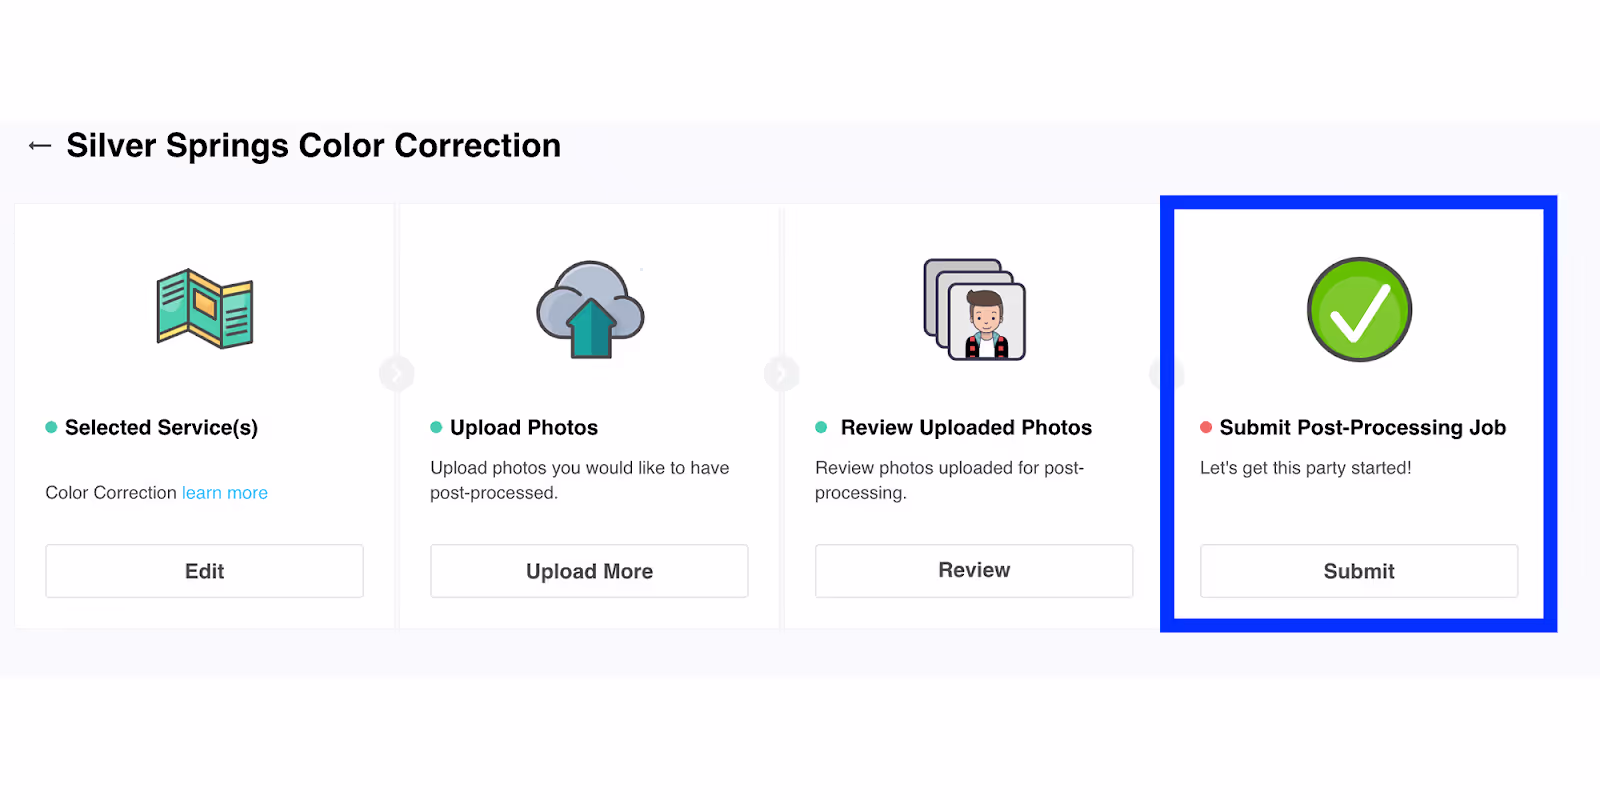
Then "Agree and Submit"

…your photos will be automatically color corrected in a matter of minutes. You’ll receive an email when it’s done!

After Color Correction is complete, you’ll be able to either download your photos or move them directly to your job where you can publish them in the gallery.