PhotoDay’s custom themes feature allows you to sell products branded for a specific organization.
Please note that custom themes can only be used with certain labs and particular products. For a complete up-to-date list of labs and products that support custom themes, please visit this article.

Before we show you how to set up your custom themes, let’s talk about how to design them.
Designing Your Own Custom Themes
Before you start designing your own themes, we recommend you read the following articles to ensure what you see is what your customers will get.
The following .zip file contains both horizontal and vertical Memory Mate variations. Before you export your design, be sure to turn off both text node and image node layers.
- Download WHCC custom theme templates
- Download Richmond custom theme templates
- Download Reedy custom theme templates
- Download APS custom theme templates
- Download Miller's custom theme templates
Please export as JPEGs that are 15MP or less.
PhotoDay Custom Theme Collections
We have pre-made PhotoDay Custom Theme Collections to make things easier than ever. PhotoDay Custom Themes come in a variety of colors for both Vertical and Horizontal Memory Mate Designs.
You can view them in your Studio Panel by going to Store > Custom Themes > PhotoDay Collections.
Creating Custom Theme Collections
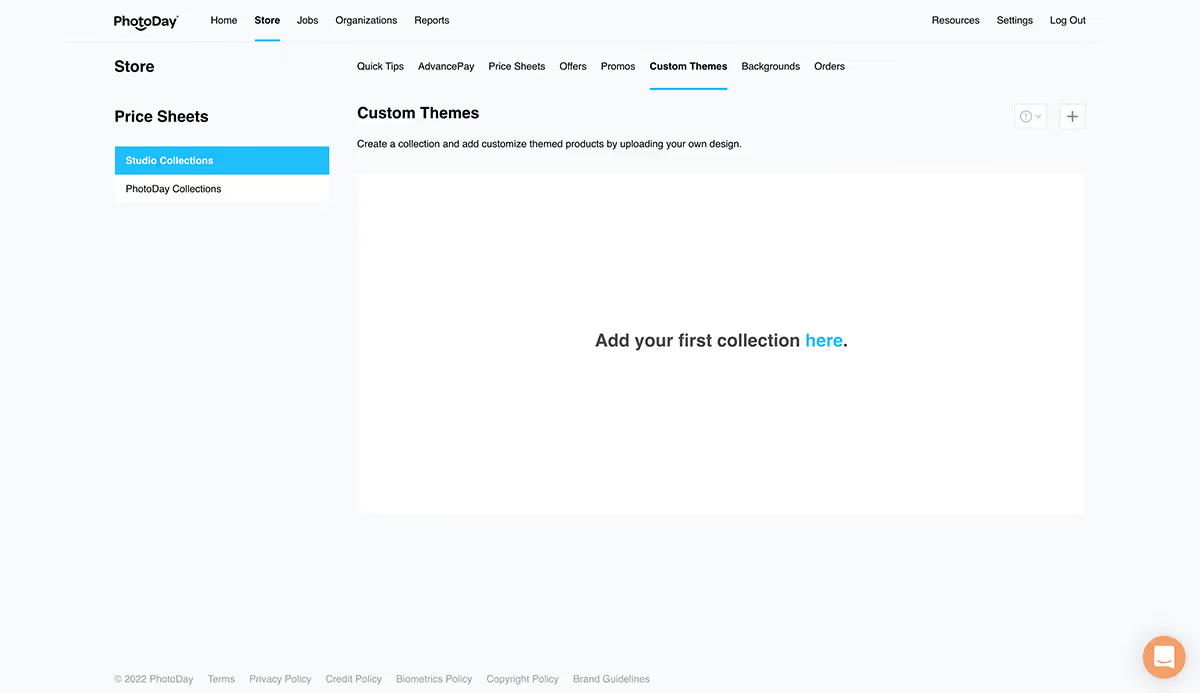
To upload your own themes, go to Store > Custom Themes in your Studio Panel. This will bring you to a list of your current uploaded themes—referred to here as a Collection. To add a custom theme, click on the + icon to add a new collection.
This will open a window where you can name your new collection and select a lab from the dropdown menu with which you wish to associate this collection.
Please note that only certain labs offer the use of custom themes. If you do not see your lab available, this means custom themes are not yet available with that lab partner.
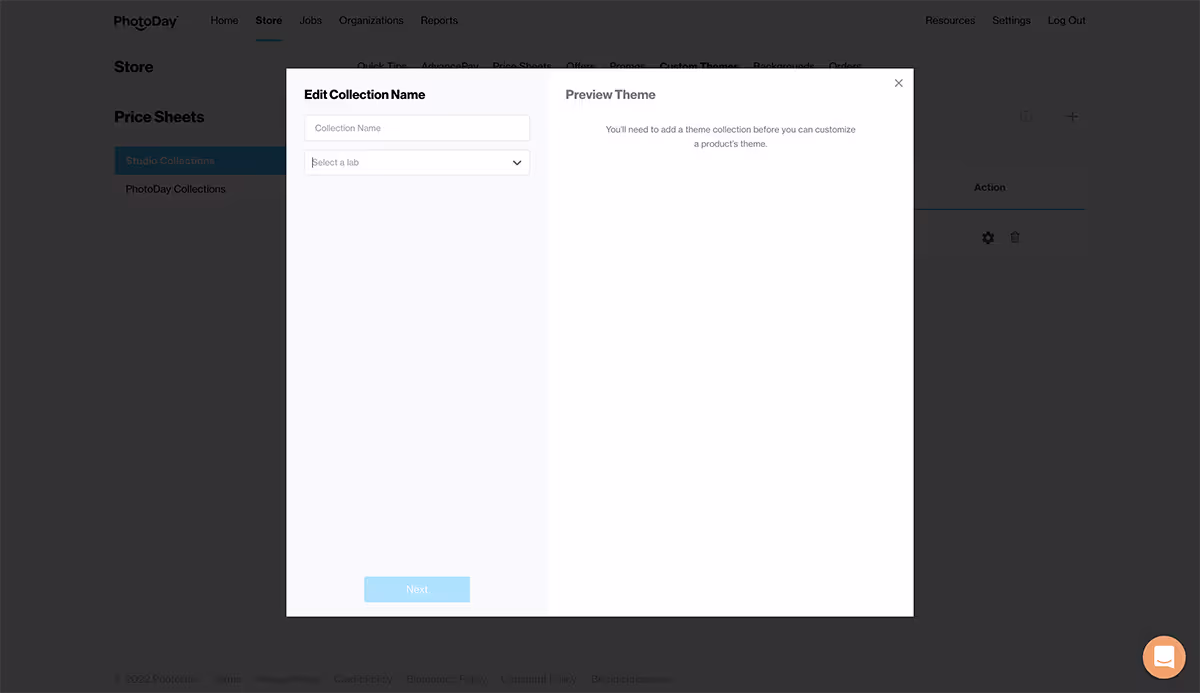
Once you have chosen a lab, click the Next button, and you will be able to select that lab's products for which custom themes are available.
Once you've selected a product, you can upload your custom theme file by dragging and dropping or clicking "here" to open the upload window.
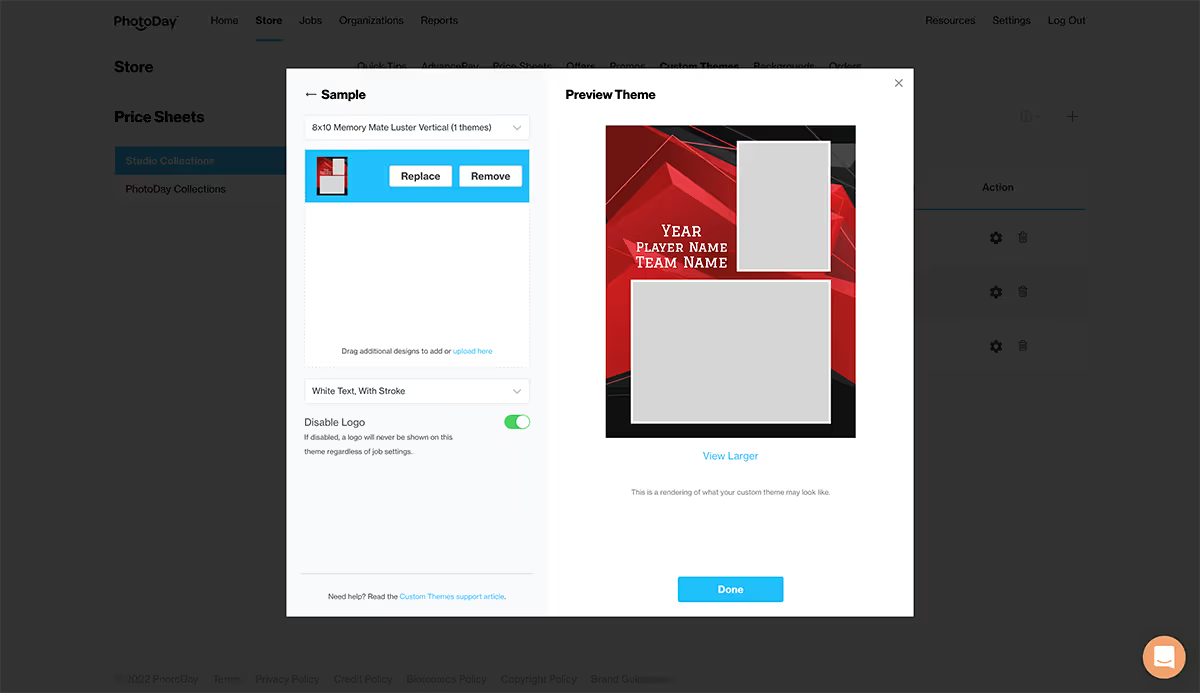
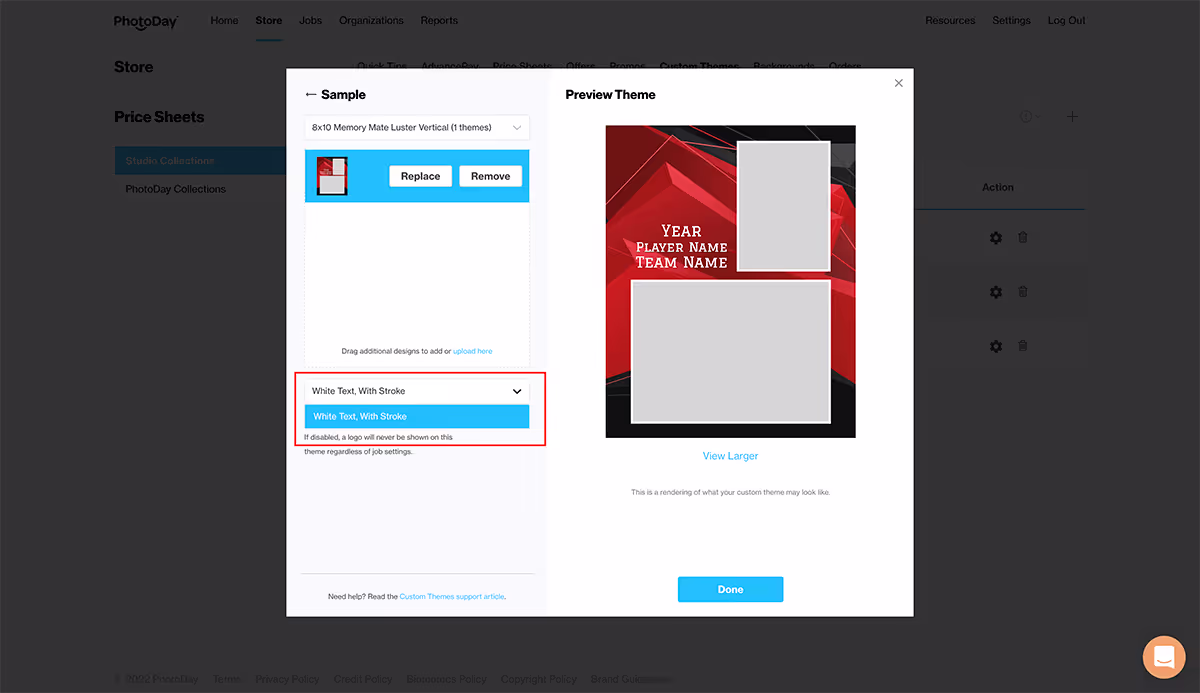
With your now uploaded custom theme, you will have further customization options, such as choosing how text will appear over your theme.
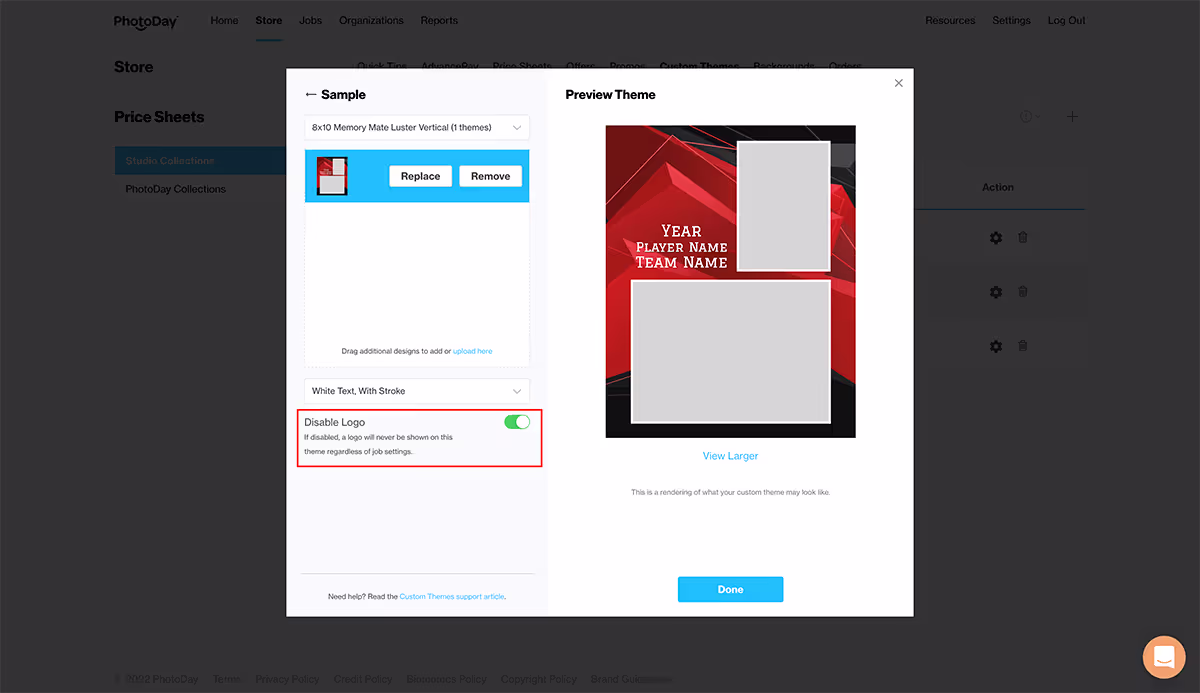
You can also toggle whether or not your studio logo will appear on your custom theme. If your logo is already part of the file's design, we recommend switching this option "off" to prevent the doubling up of your logo.
Once your options are selected, click the "View Larger" option under the right-hand thumbnail to preview how your theme will look. If you're satisfied with your customizations, press the Done button to save your new collection.

Adding Custom Themes to a Job
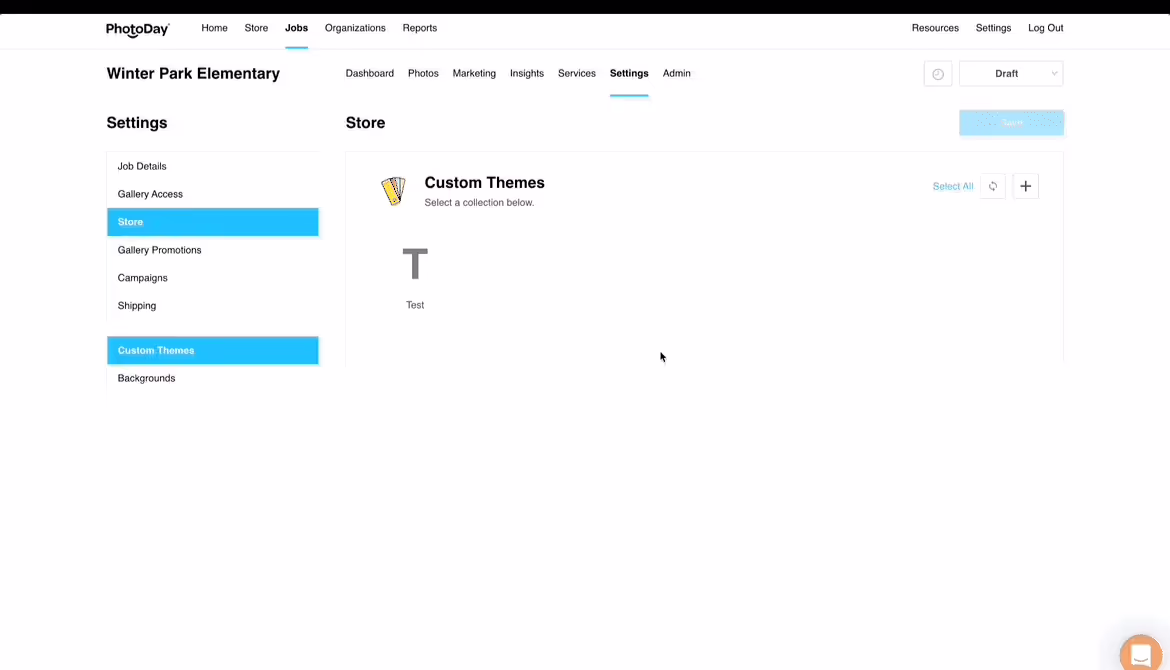
Now it's time to add your theme to a job! First, go to the Job > Settings > Store > and attach a price sheet that is associated with the same lab as your custom themes. This section will walk you through it.
Note: You must select an additional Product Theme before clicking Save. This is to ensure that a theme is selected for products that don't have custom themes available.

Once the corresponding price sheet is attached, you will see the Custom Themes section appear in the sub-navigation on the left. Click it to see and select the custom themes associated with that lab.
Choose the collection(s) you wish to use for the job, then click the blue Save button.