AdvancePay (abbreviated as AP) is PhotoDay’s answer to traditional pre-pay. Whereas with paper forms, parents would select their photo packages and pay before photos were taken—with AdvancePay, customers can purchase credits before picture day that they can apply to their photo order after pictures are published.
For you, the photographer, this means you get to lock in early sales without limiting future sales. For customers, they get to buy in with an AP purchase, sign up for text notifications, and receive an offer specifically for AP purchasers (if you choose to set up an AP offer).
Here's how it works, in a nutshell:
- The studio sets up AdvancePay credits and special offers that make purchasing an AdvancePay credit simply irresistible. (For example: Purchase an AdvancePay credit and receive free shipping on orders over $25)
- Customers opt-in to the gallery and purchase an AdvancePay credit to use when the photos are published.
- When a customer purchases an AdvancePay credit, the studio gets paid half of the credit amount minus the PhotoDay fee and the Stripe fee. The remaining half is held on reserve until the customer applies their credit to a purchase.
- When the photos are uploaded and the gallery is published, the customer receives a notification that it’s time to redeem their credit and take advantage of their special offer.
- The customer enters the gallery, views their photos, and orders their products. During checkout, their AdvancePay credit is applied to the purchase.
- After the customer purchases their products, the remaining reserved AdvancePay studio funds go toward lab costs, taxes, and/or fees. Then the studio receives the balance.
- Customers have 14 months to use their AdvancePay credits. If they don’t use the whole balance in the gallery for which they purchased, they can use the credit on any of your other galleries.
- Any leftover, unused credit balances will automatically go to the studio after the reminder series has ended and the expiration date has passed.
We created an easy-to-understand customer-facing support article for you to share with your customers.
Creating AdvancePay Credit Sheets
To create an AdvancePay credit sheet, go to Store > AdvancePay.
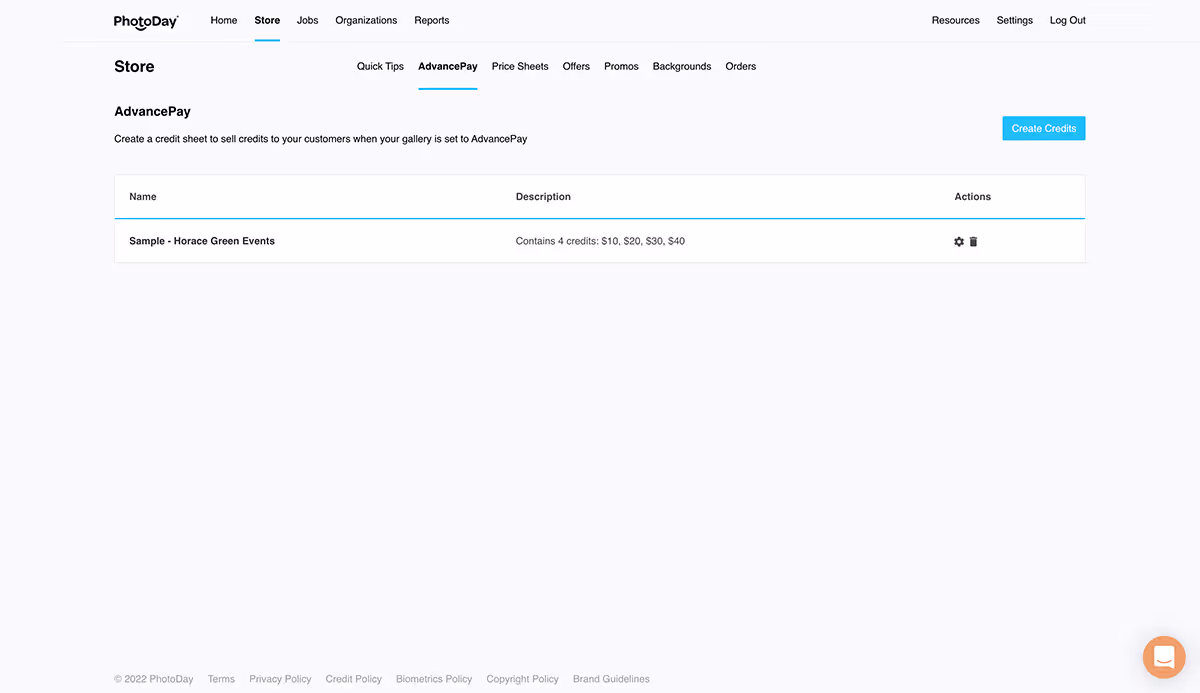
Here you can create an AdvancePay (AP) credit sheet, much in the same manner as a price sheet. Each credit sheet will contain up to four credit amounts from which a customer can choose. The sheet can then be attached to any job. To get started, click the Create Credits button on the top right of the screen. This will open a window asking you to name your new credit sheet.
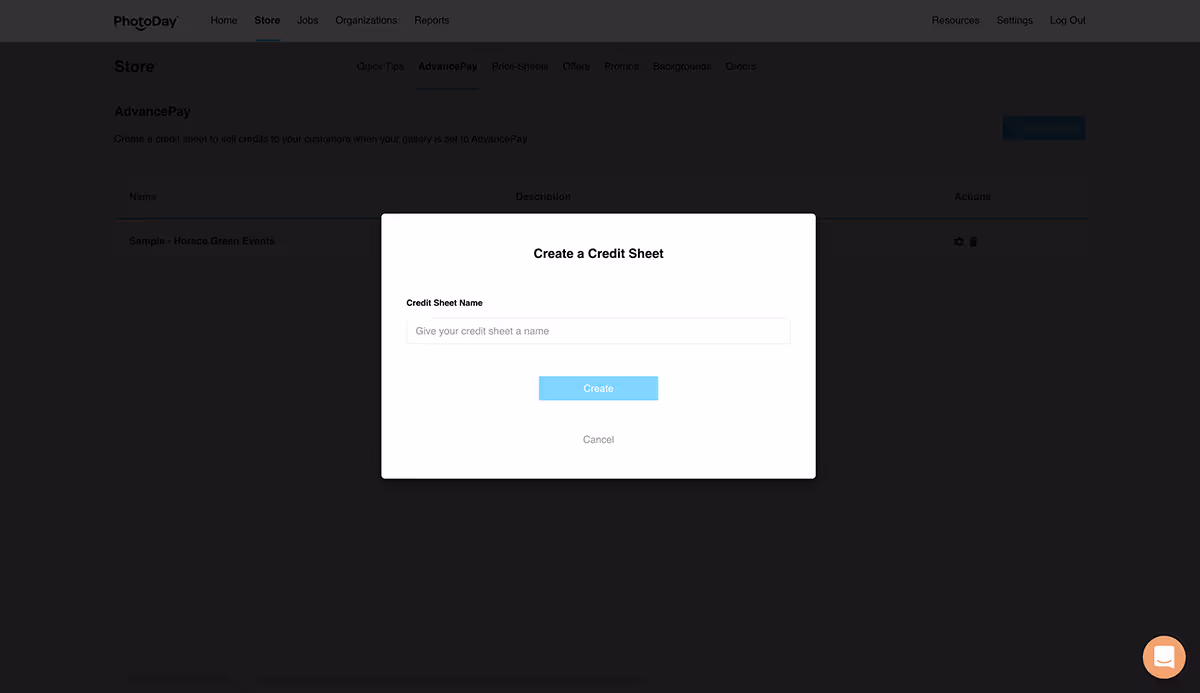
Type in a name (for your reference, as it’s not viewable to your customers) and click the Create button. This will generate a blank credit sheet, which includes four slots in which you can enter credit amounts of your choosing.
To add a credit, click any of the blank credit icons. A window will open where you can select a predetermined credit amount or enter a custom amount (custom amounts can be added in increments of $5). Here, you can also add an optional description to your credit amount, just to let your customers know what they might want to purchase with this credit.
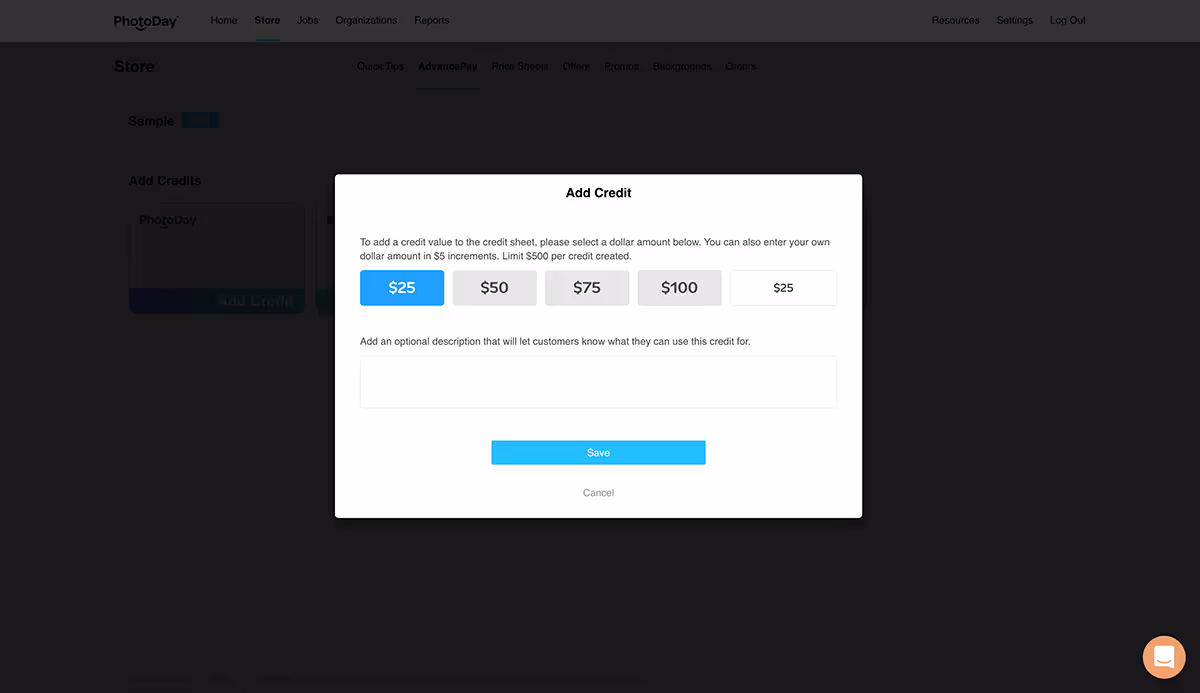
Once you’re happy with this credit amount, click the Save button, and it will be added to your credit sheet. You can add up to four credits per sheet and have as few as one. Your changes to the credit sheet will be automatically saved as you go along.
Attaching to a Job
Once you’ve created a credit sheet, the next step is to attach it to a job. Skip to the Setting Up Your Job section or feel free to come back to this section later on.
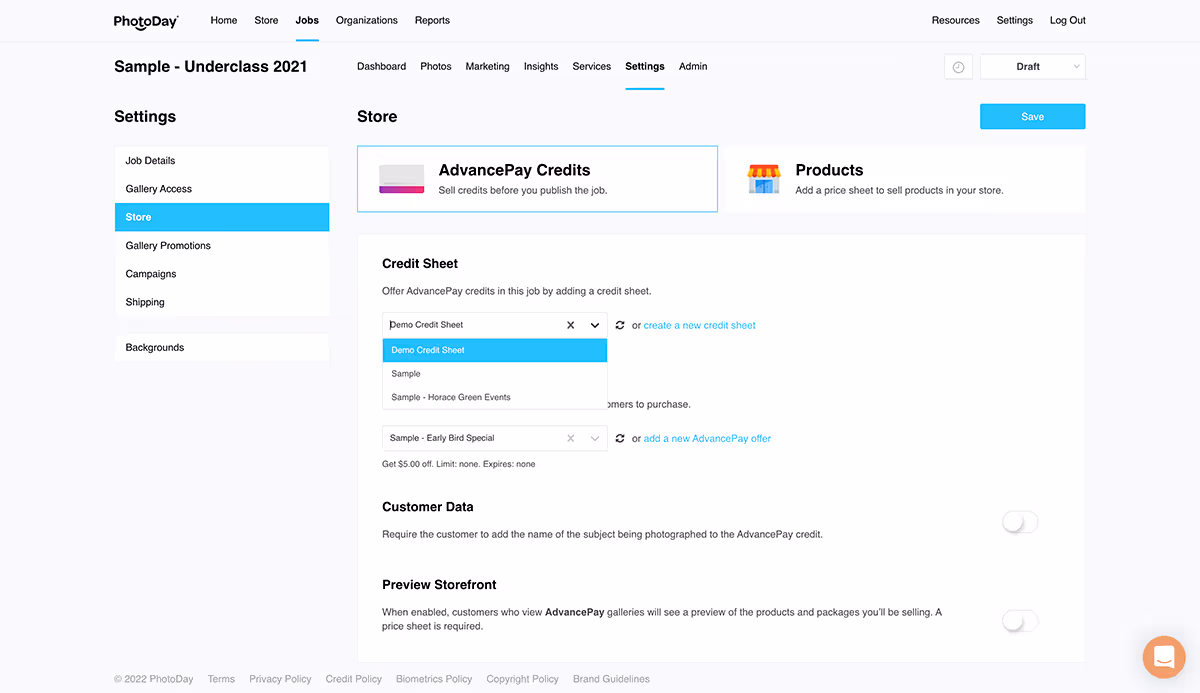
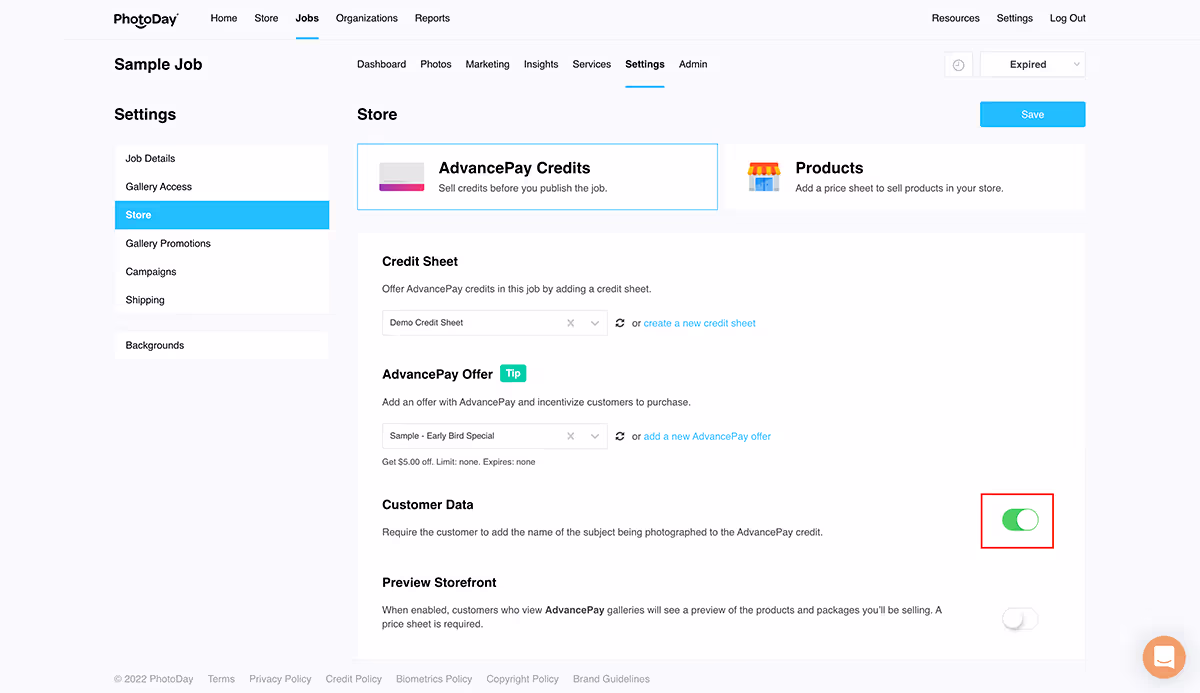
To attach an AdvancePay credit sheet to a job, head to Jobs > Select the job > Settings > Store. Here you will see a section for AdvancePay Credits.
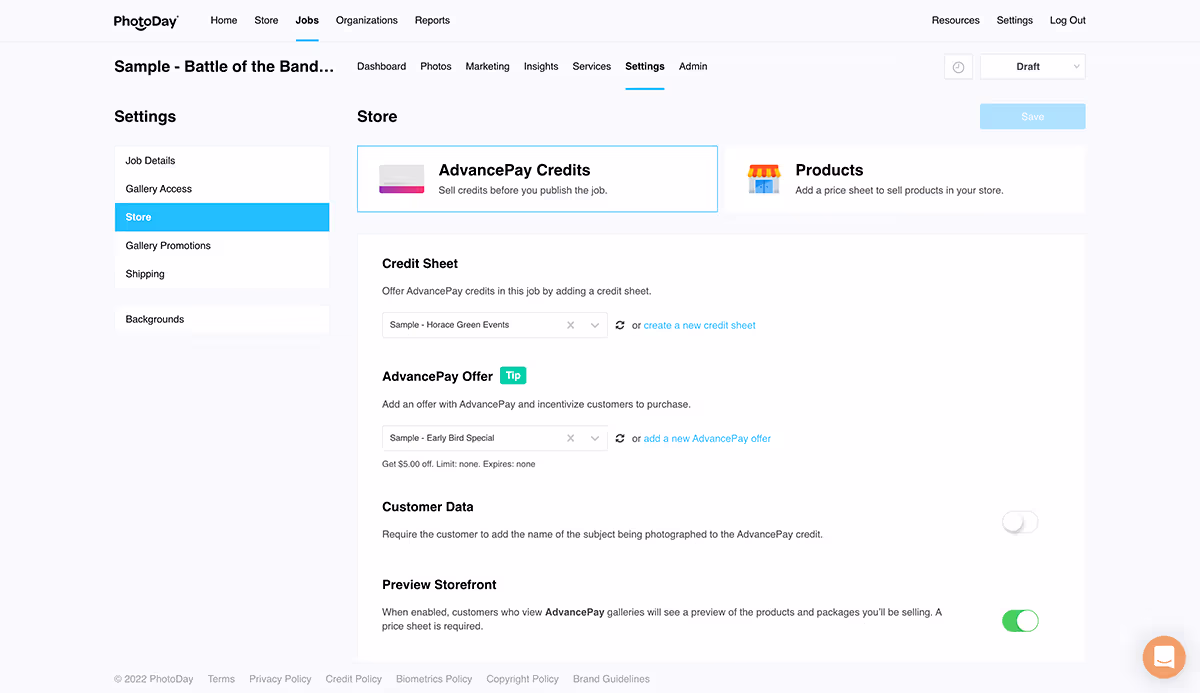
Under the Credit Sheet heading, click the drop-down menu to select one of the AP credit sheets you’ve already created or click “create a new credit sheet.”
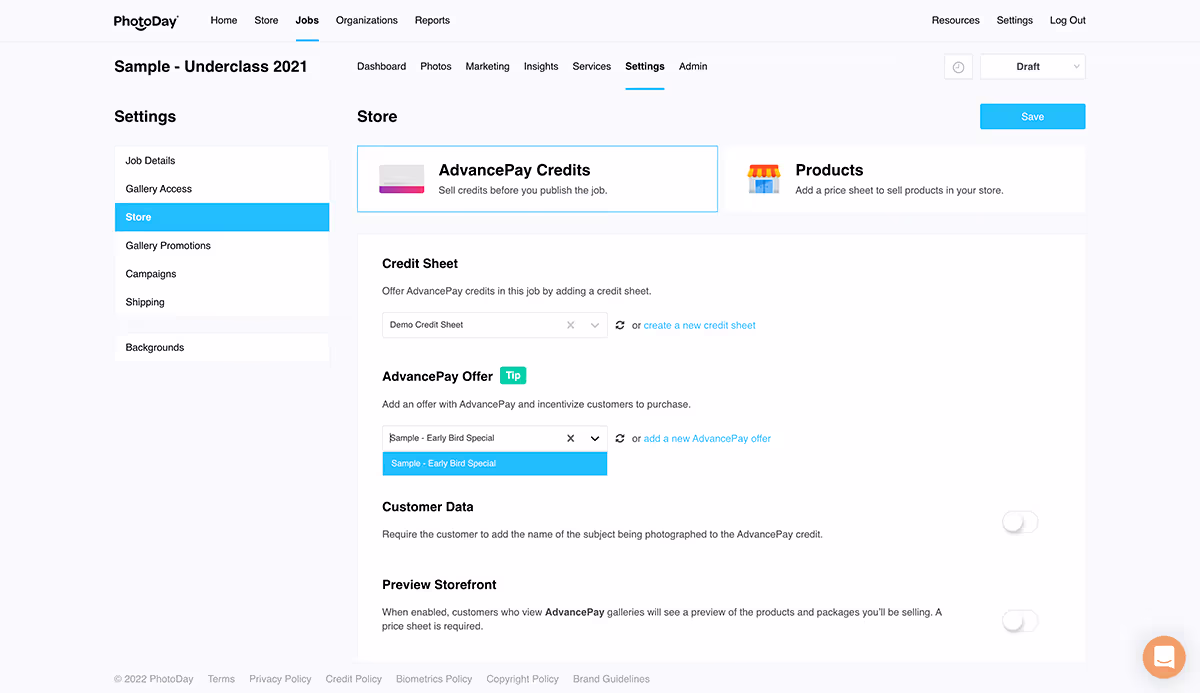
If you would like to add an offer with AdvancePay to incentivize customers to purchase, select one of your pre-created offers from the next drop-down menu or click “add a new AdvancePay offer.” Skip to the Creating Offers section or feel free to come back to this section later on.
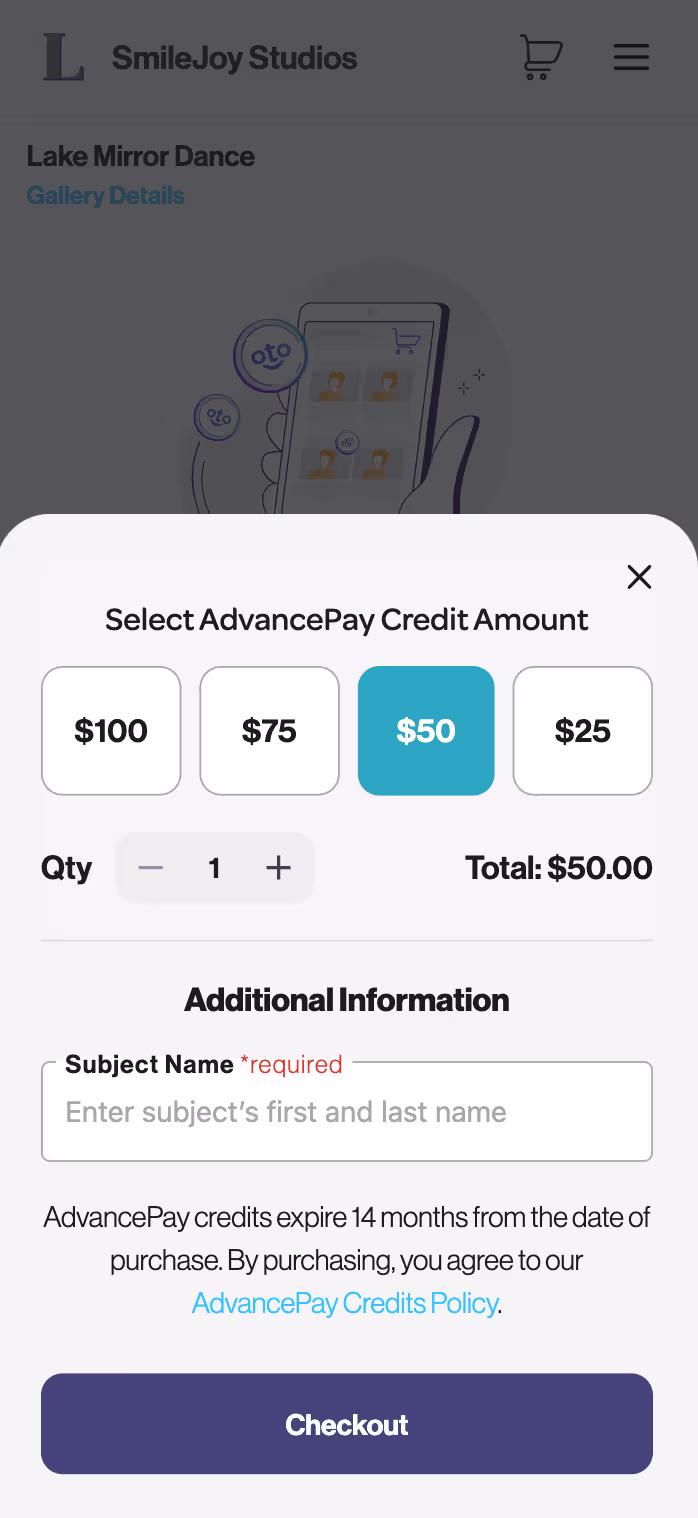
You can require customers to add the name of the subject being photographed to each AdvancePay credit purchase by toggling on Customer Data. This information will then appear in the Job’s Insights after payment has been made.
The final section is Preview Storefront. When this is enabled, customers viewing a gallery set to AdvancePay will see a preview of the products and packages you’ll be selling when the gallery is published. You’ll need to attach a price sheet in the Products section.
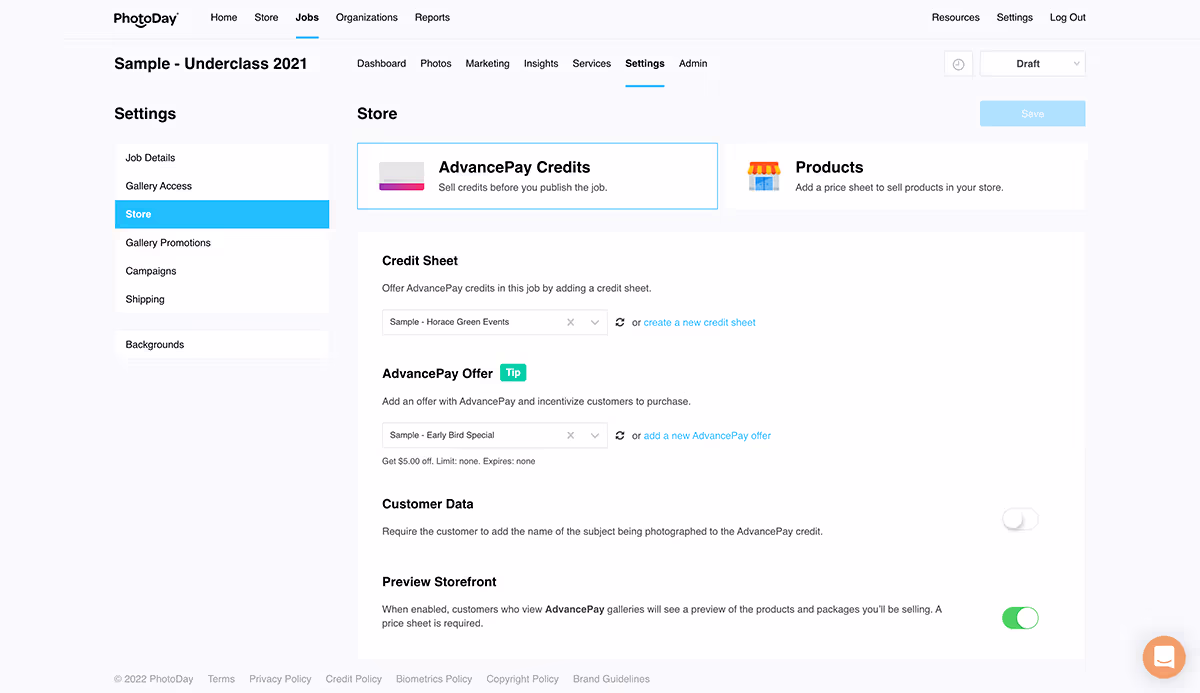
Once you’re happy with your AdvancePay job settings, be sure to click the blue Save button!
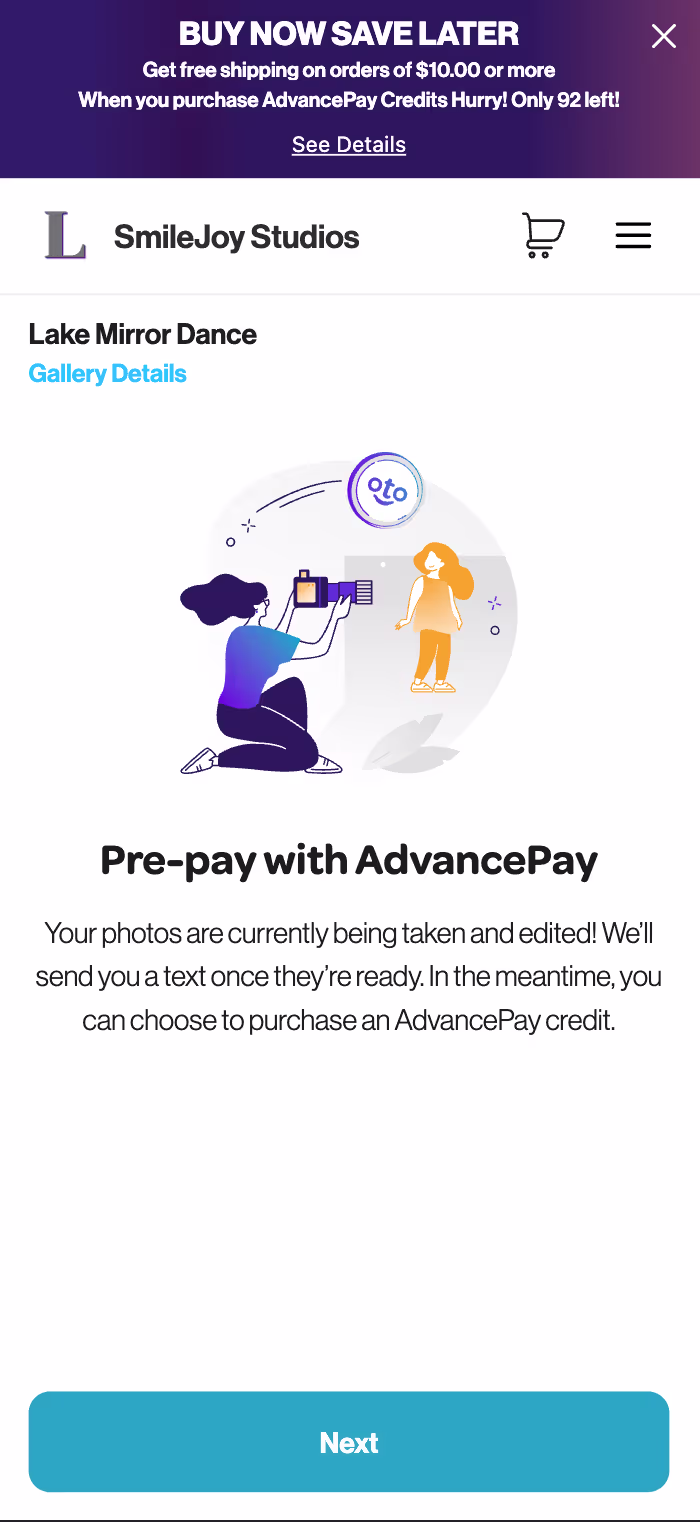
Gallery Status
If you are ready to start selling AdvancePay credits, switch the gallery status to AdvancePay. Jump to the Gallery Statuses portion of the Setting Up Your Job section.
Here's how a gallery in AdvancePay status appears to the customer: