Now that you have your account created and your studio information completed, it’s time to begin creating price sheets. Price sheets are where you create and add packages, products, and pricing to the storefront. To get there, navigate to the Store section of the Studio Panel.
Once there, you’ll see a Quick Tips page. This page acts as a shortcut for you to access different sections of your storefront, but you can also navigate using the sub-nav menu towards the top of the page under the main menu.

Payment Settings takes you back to the Payments section in Settings > My Studio. It acts as a quick shortcut in case you need to modify your Stripe account without having to navigate through your Settings. Let’s now move on to creating a Price Sheet.
Click Price Sheets from the sub-nav or from the Quick Tips page.
Creating a Price Sheet
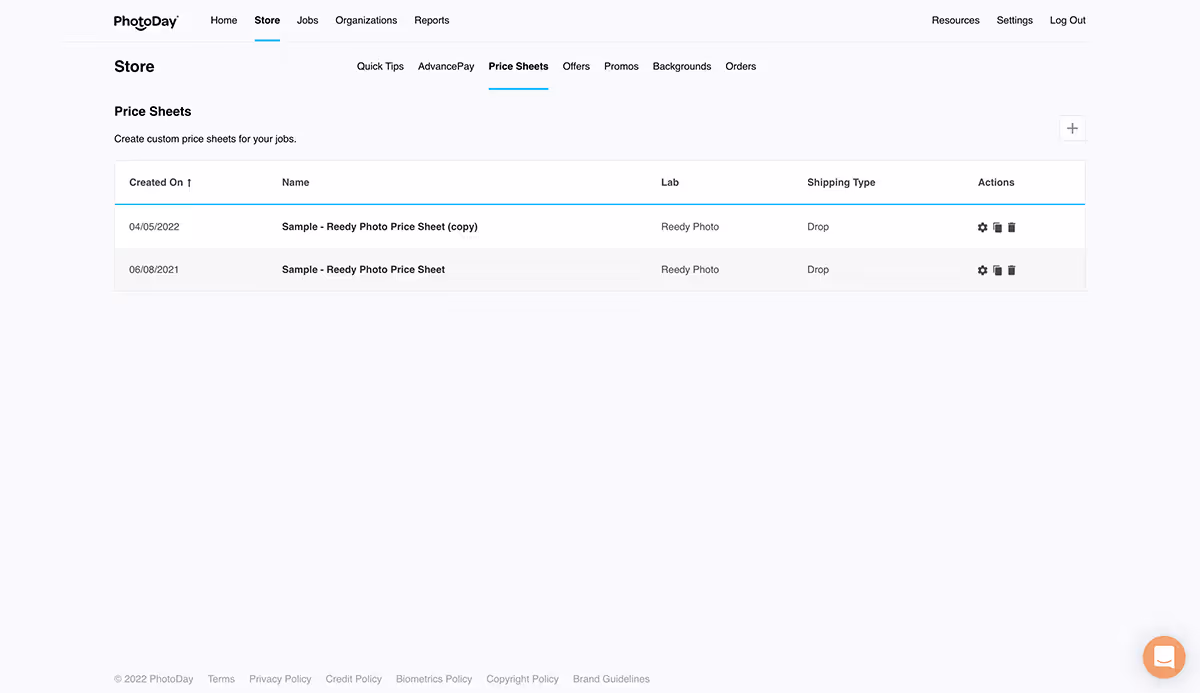
Upon first visiting the Price Sheets section, you will be greeted with a list of your existing price sheets, which at this stage, should be completely empty. To begin building your first price sheet, click the Add Price Sheet button at the top right of your screen.
This brings up the Add a New Price Sheet window, where you will see several empty information fields to fill out.
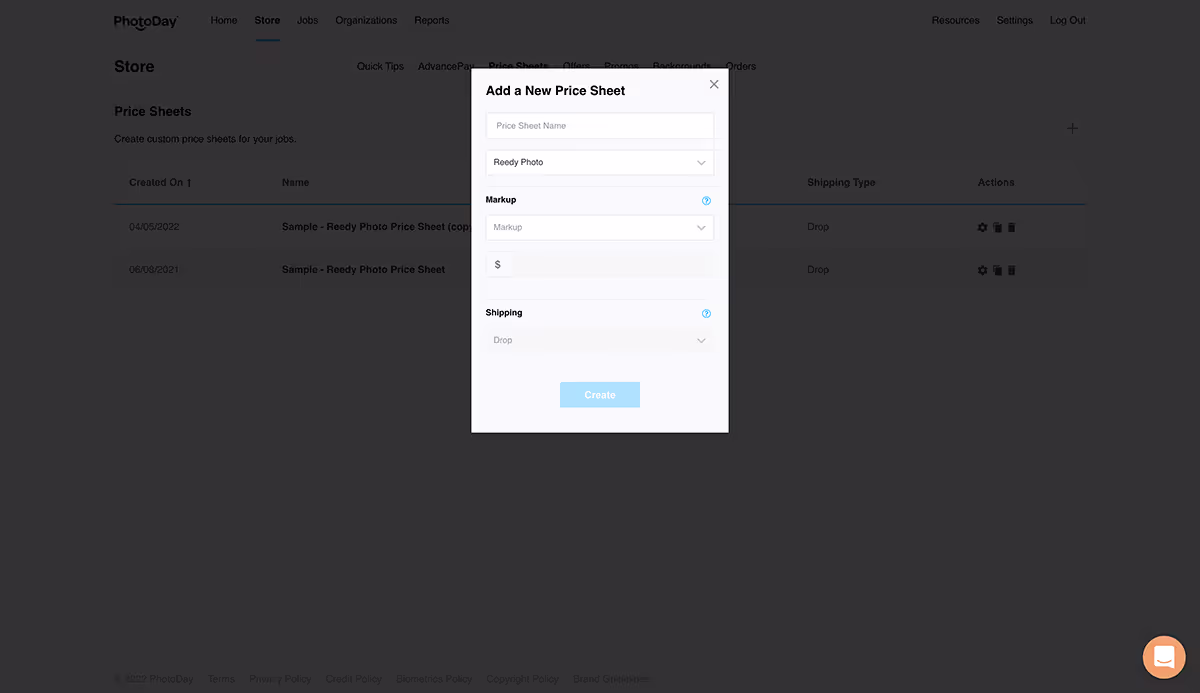
Start by giving your price sheet a name—it doesn’t have to be anything catchy, just something for internal reference that’s easy for you to recognize. To the right of the name field, you can select the lab with which you would like this price sheet associated. If there’s only one lab attached to the account, this field cannot be modified; you can add more labs by going to Settings > My Studio > Labs.
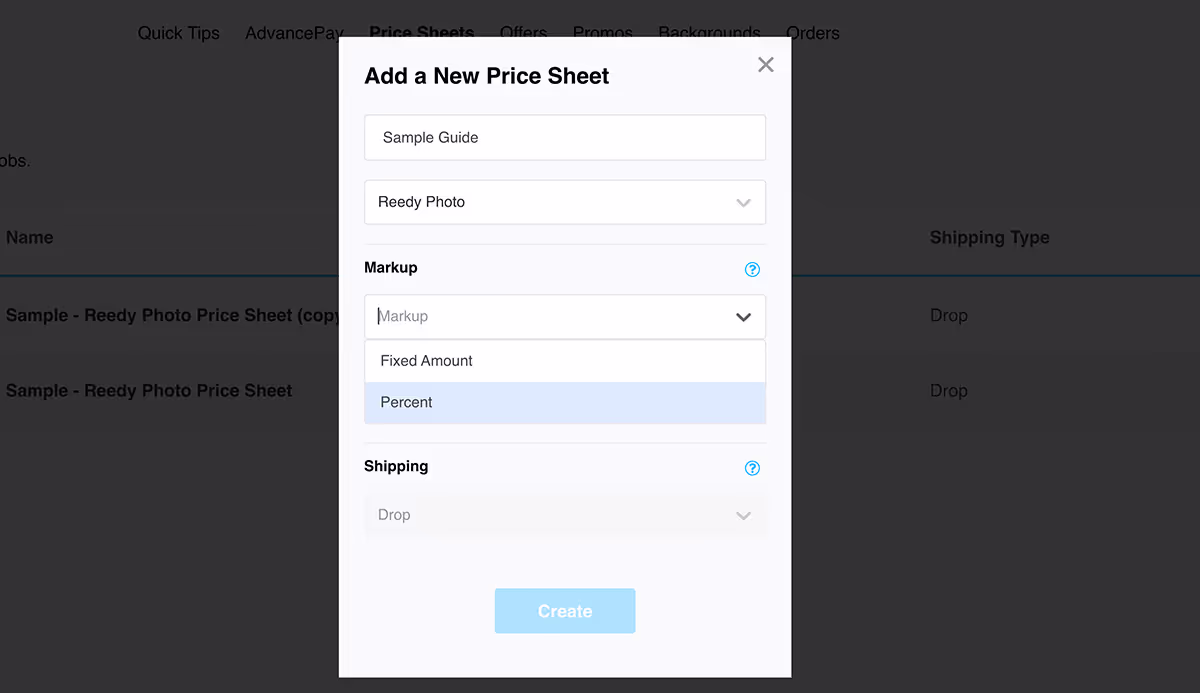
Next, choose what type of markup you would like placed on this price sheet.
Markups act as an easy starting point for pricing your items—that is, determining your profit on top of the base lab cost of the items you are about to add. A studio can either choose to determine the markup by a percentage of the lab cost or a fixed dollar amount on top of the lab cost. This is just a convenient starting point. You can always change prices on individual products and packages in the following steps.
Next, you can select the shipping method available to your customers purchasing from this price sheet. If the lab with which you are associating this price sheet offers bulk shipping, you will be able to select from three options.
Please note that once you have confirmed a shipping method for a price sheet, it cannot be changed. Should you wish to change it, you will need to create another price sheet and assign another method.
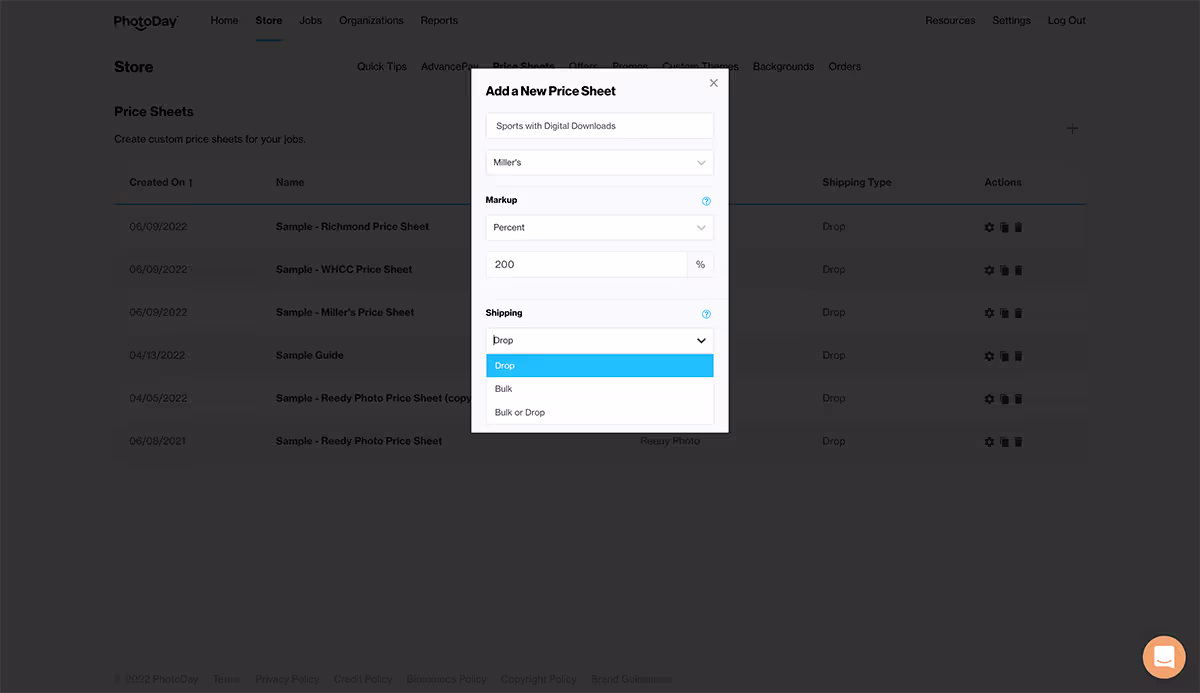
Drop Shipping is the default manner in which PhotoDay orders are delivered. With drop shipping, each order is shipped directly to the customer once fulfilled by the lab.
Bulk Shipping will have the customer's order shipped to a common location for other orders in your job. For example, if one of your organizations is a school requesting a gallery of class photos to be shipped to their location to be manually handed to children and parents, this would be the option to select. If you have Bulk Shipping selected, you can specify a deadline date by which you would like all orders to be shipped to the Organization. Please note that the job will automatically expire after the deadline date. If you wish to republish your gallery after it expires, you will need to enter a new deadline date or attach a price sheet using drop shipping. Bulk shipping is only available for private galleries through Miller's lab. To learn more about bulk shipping (including product availability), visit this article.
Bulk or Drop Shipping combines the previous two options. If a customer places an order after the deadline date for bulk shipping, the shipping method defaults back to drop shipping.
After all fields have been completed, click the Create button, which will automatically bring you to where you can add items and create packages.
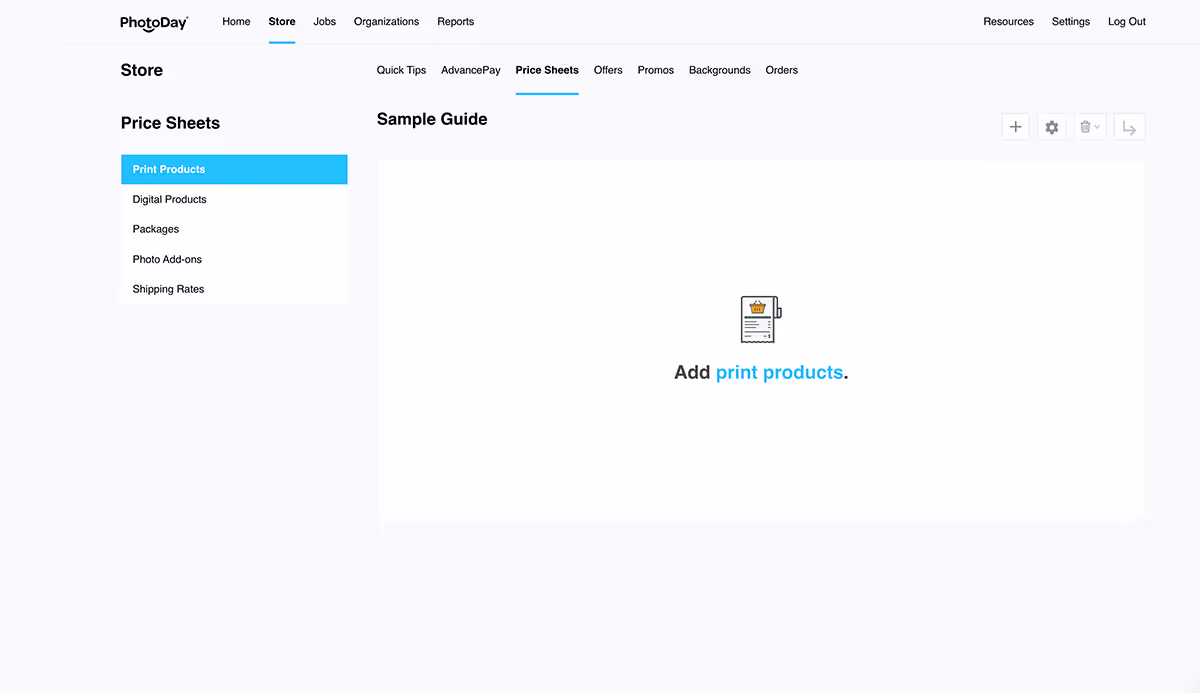
Adding Products
To add items to your new price sheet, click Add Print Products or click the + button at the top right of the dashboard.
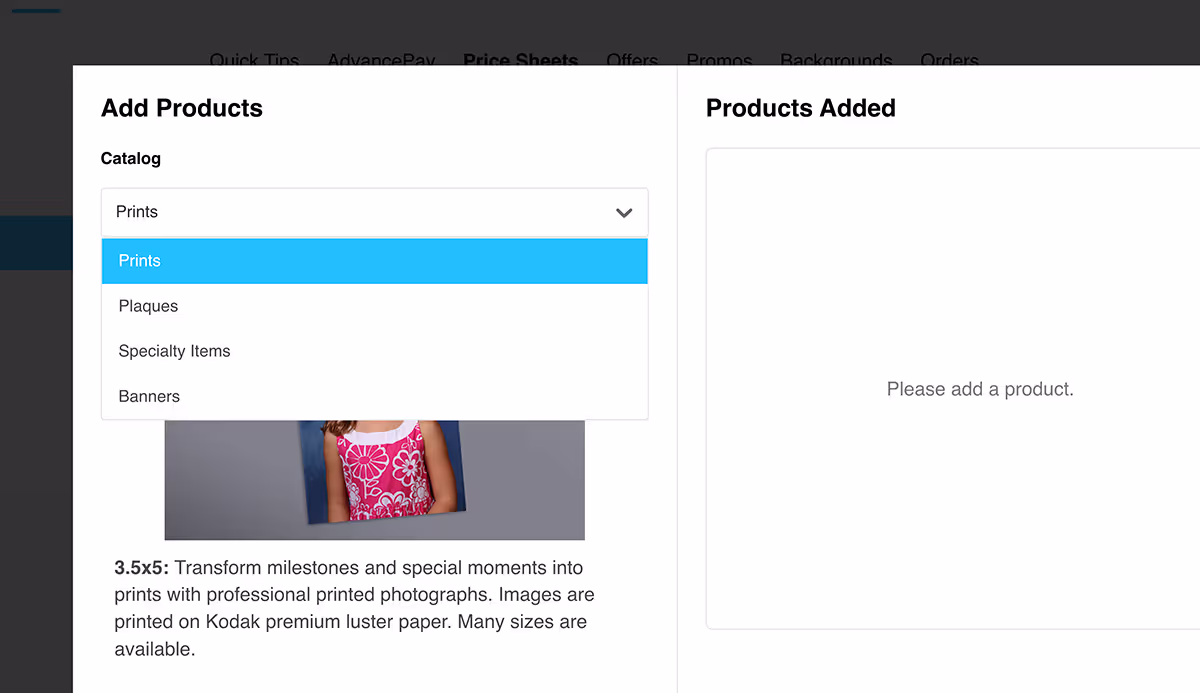
This will open the Add Products window.
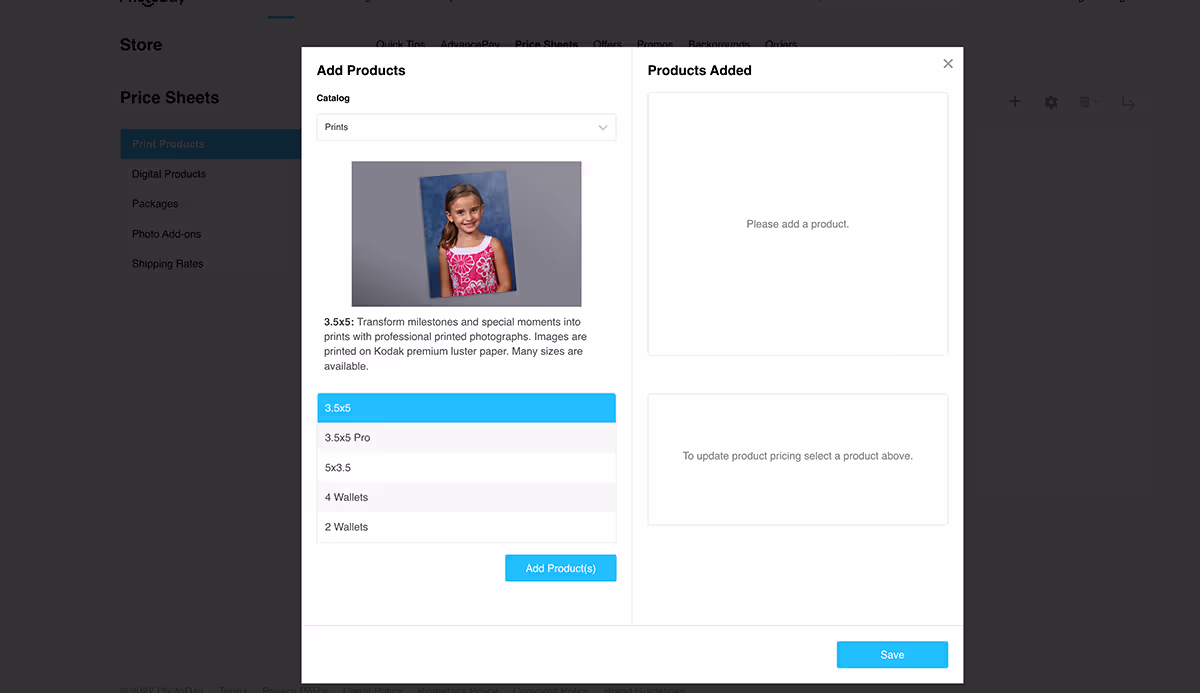
Here, you can choose which a la carte items you want to add to your new price sheet. Lab items are typically subdivided into a few categories—these are the same categories that will appear to your customer. Select the item category by selecting from this dropdown menu within the window to choose products.
Items can be added to price sheets by selecting them from the item list on the left, then clicking on the Add Product(s) button. You can highlight more than one at a time and move them over in bulk if you’d like.
Once added, you can select a product on the right and adjust its price and markup.
When you are satisfied with your item selection, click the Save button.
You will now see each a la carte item you added to the price sheet, along with its base lab cost, your markup, and its final cost. The final cost of individual items can be further modified from here if you are not satisfied with your default markup.
Also, please note that you can move around any of the products to customize the order in which it is viewed by your customer.
You can feature up to 5 a la carte items by tapping the star on the right. Featured products and packages will be highlighted in the customer-facing storefront.

The next section is Digital Products. Click Add Digital Products or the + button at the top right of the dashboard to start adding a la carte digital products. This will open the Add Products window.
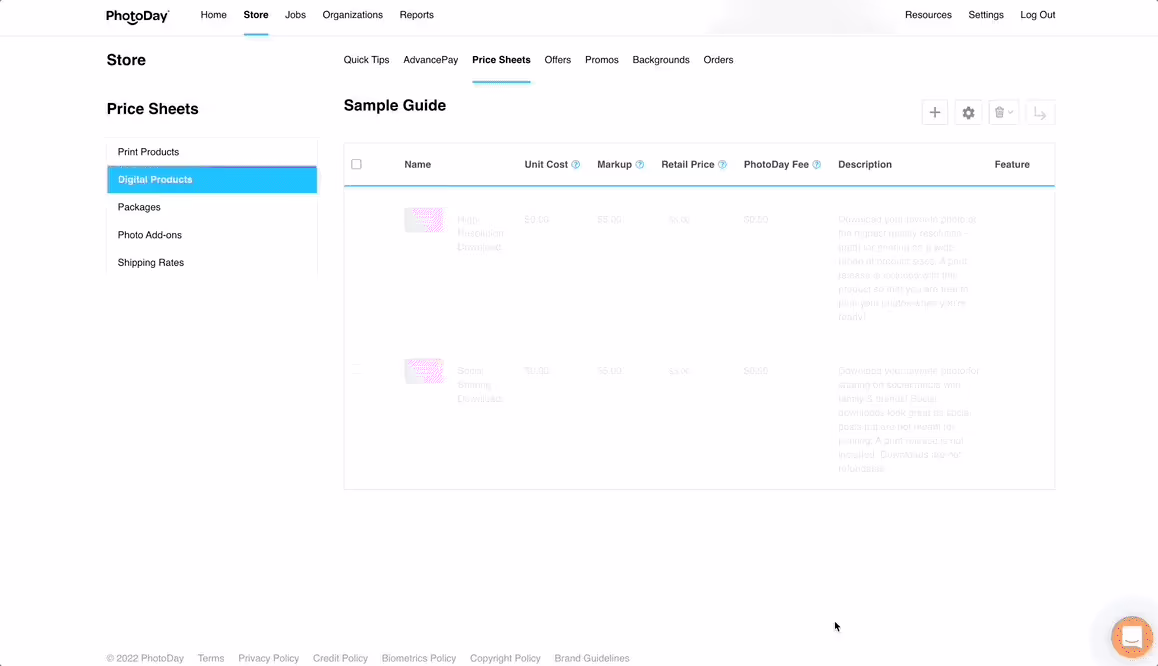
Here you can add 2 types of digital products: High-Resolution Download and Social Sharing Download. High-resolution downloads include a print release, while social sharing downloads do not. There is a $2 minimum for each download type, meaning you must charge the customer at least $2.
Creating Packages
You have now created the foundation of your first price sheet! However, something’s missing—packages. Packages are a great way to offer bundled savings to customers by giving them an incentive to purchase multiple products. How do you create a package? First, navigate to the Packages section on the left side of your screen.
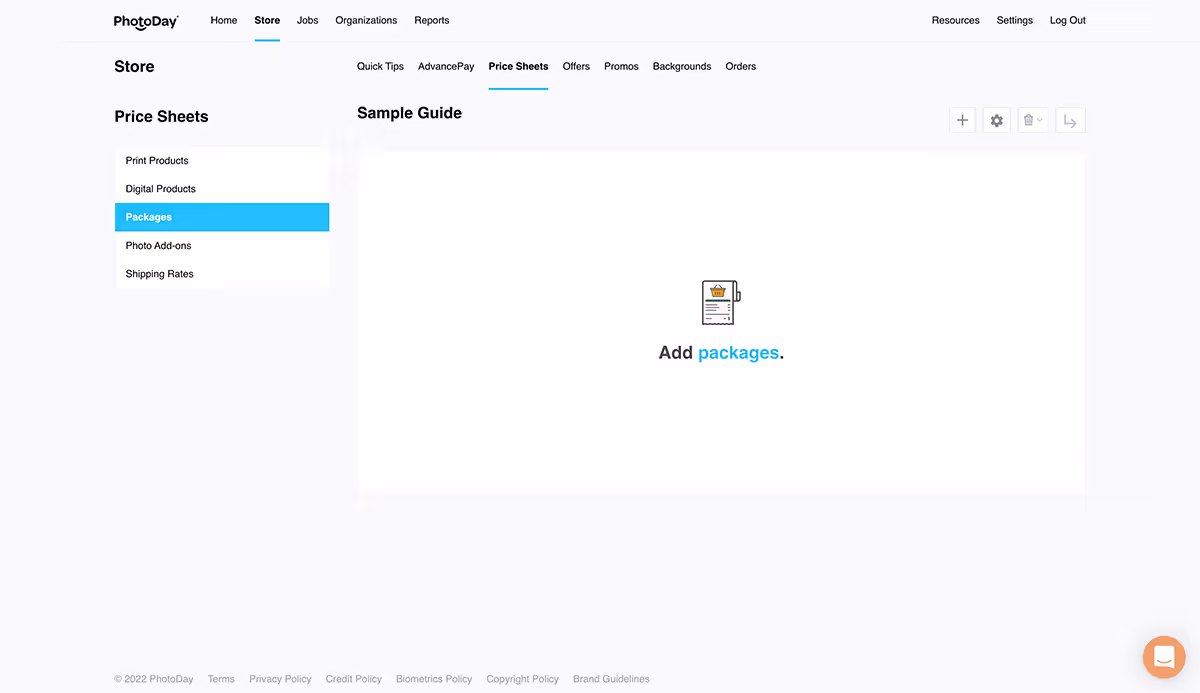
Click Add Package or the + button at the top right of the dashboard. This will open the Create A Package window.
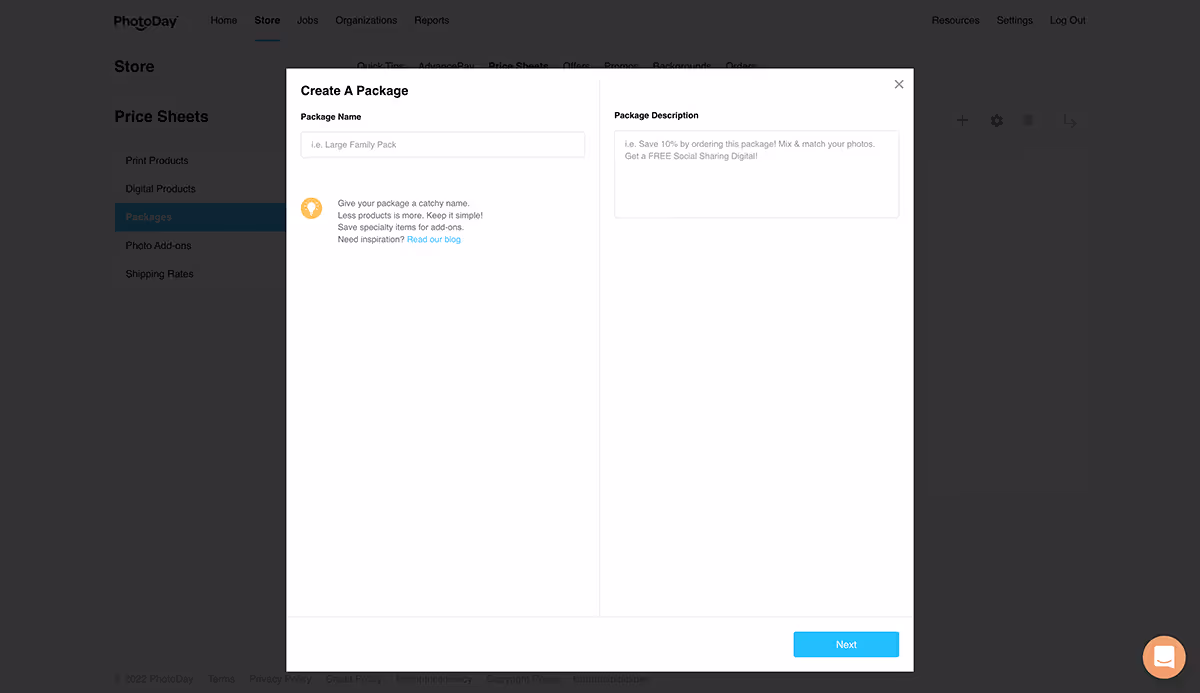
Start by naming your package. This name is visible to customers, so be sure to make it catchy! Next, write a short description—this is also visible to customers. In the description, highlight the percentage or amount of savings off from the individual prices of the products included in the package to create a powerful incentive. For example:
- Package Name: “Most Popular Package”
- Package Description: “Save $15 instantly when you order this package! A mix of prints and digital images to share with your friends and family. Your favorite package!”
Once those fields are filled out, click the Next button. Now it’s time to add items to your package, just as you did for the a la carte section. Below the item addition columns, there will be boxes denoting the lab cost of the total items in a package, the total markup of the items placed in the package, as well as the total calculated price of the package.
Just like with a la carte items, the final package price can be modified to anything you wish!
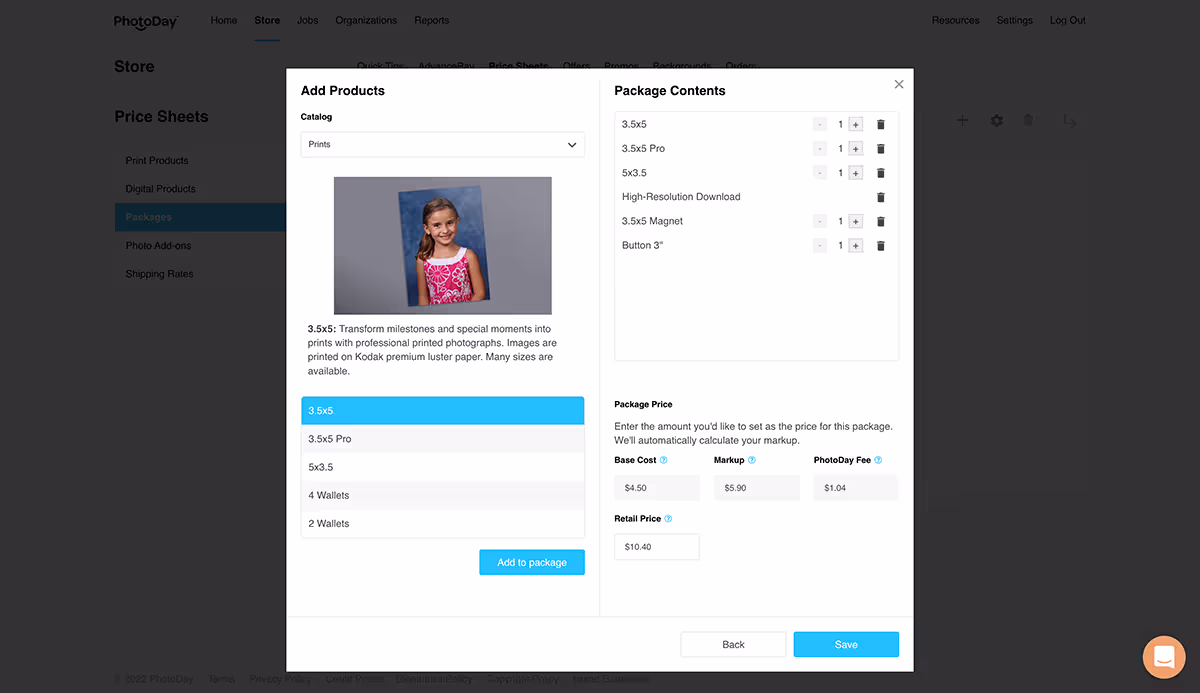
Once a package is constructed and priced accordingly, click the Save button to add that package to your price sheet. Repeat this process to create as many packages as you’d like.

Please note, just like products, packages can be moved around in any order to customize the way they are presented to your customers. The first 3 packages will show up as "Featured Packages" (much like Featured Products above).
Once a price sheet is attached to a job (we’ll show you how to do that in just a bit), the a la carte items and packages will be reflected in the customer-facing view of the storefront.
Helpful Tips:
- All packages allow customers to mix and match poses. When building packages, you have an option to limit the number of poses by changing the quantity of each product. For example: By adding a 5x7 to your package twice, as two separate line items, your customer is able to mix and match a different image on each 5x7. However, if you add a 5x7 to a package as one line item and change the quantity to 2, then the customer will only be able to add one image to the set of two 5x7s.
- If you’d like to run a limited-time offer such as “Order a package in the first 48 hours and receive a free social sharing download” check out the Custom SMS Promos portion of the Creating Offers section.
Photo Add-ons
The Photo Add-ons section is where you can add our Retouching feature to your price sheet. Retouching is a feature you can add to any price sheet for customers to purchase. It magically softens and smooths skin, removes acne blemishes, and evens skin tone without affecting permanent scars, freckles, etc. It’s available for individual poses, group photos, and images with graphics.
Click the toggle so it turns green, and you’re all set!

Here’s how it looks on the customer side:
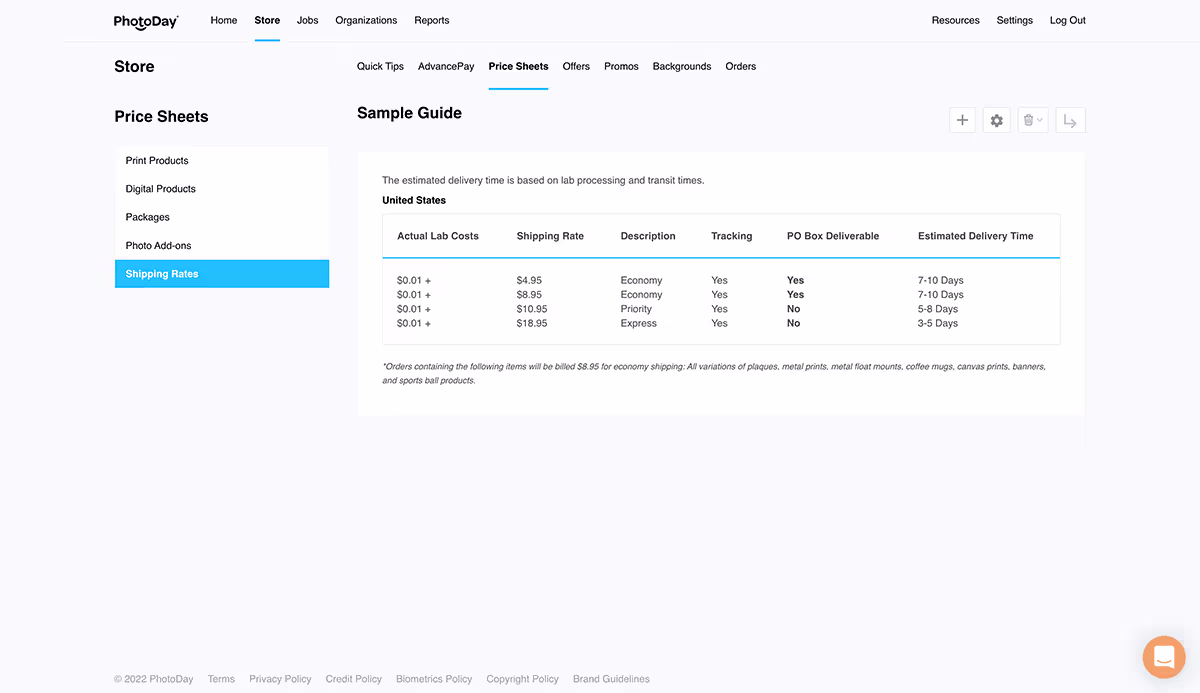
Shipping Rates
The last section is Shipping Rates. Here you can view the rates, estimated delivery time, and more for the lab associated with the price sheet. The estimated delivery time is based on lab processing and transit times.