As a photographer, keeping your clients happy and rebooking your services is a high priority. There’s a lot of information to keep track of in relation to your clients, and luckily, PhotoDay makes it easy to organize it all into one place.
PhotoDay knows your clients are more than just people—they are leagues, schools, and perhaps even entire companies! This is why we refer to your clients as “Organizations.” An organization can represent many things, but they are always the party for which you’re taking photos.
Creating an Organization
You can keep track of your organizations in the Organizations section of the Studio Panel. When you first visit this section, it will be empty. To get started, click the Add New button.
This will take you to the Add a New Organization page where you can fill out as much (or as little) info as you’d like regarding your new organization. We recommend adding at least the basics: name, address, and points of contact.
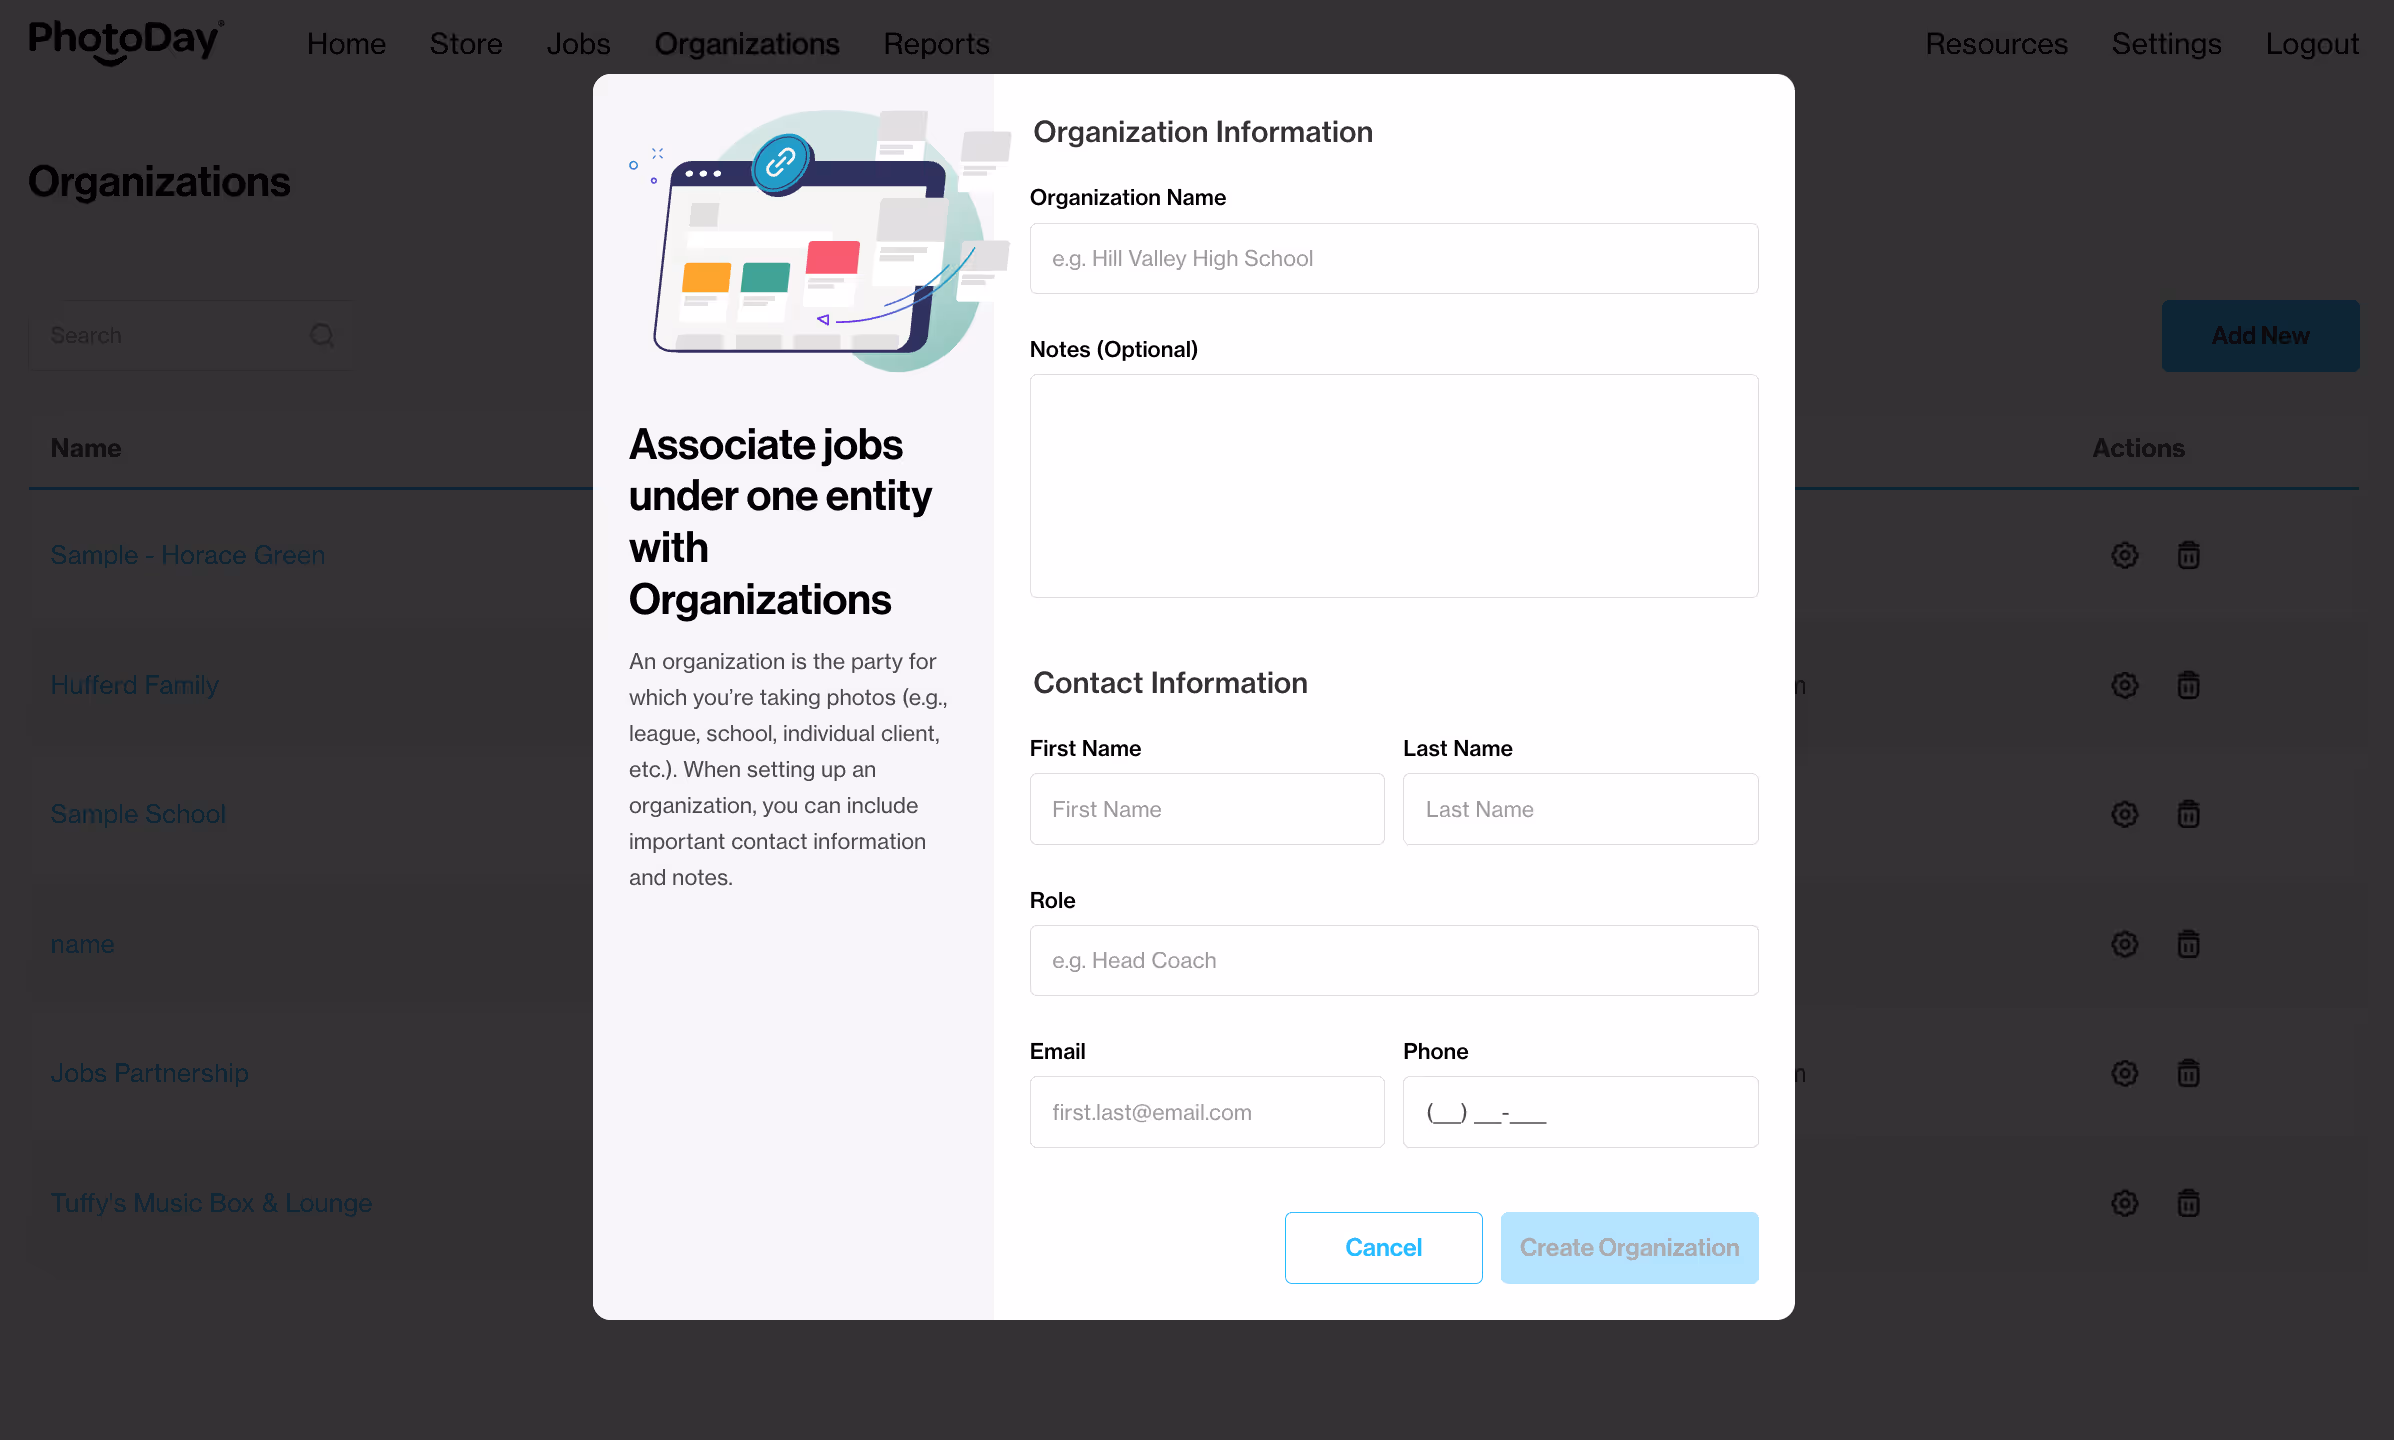
Once you’re done filling out your organization information, simply click the Create Organization button, and you’ll automatically see your newly created listing in your organizations section!

Creating an Organization Page
Organization Pages allow you to set up and share a single link to all of an organization’s galleries. If you photograph two or more jobs for the same organization, instead of keeping track of and distributing multiple gallery access codes, you can just share the Organization Page link so customers can find, view, and subscribe to their relevant galleries from that landing page.
To create an Organization Page, you must first create your Studio Identifier. Go to Settings > My Studio > Studio Information. We will use this identifier to create your Organization Page URL. There is a 20 character maximum, and once set, in order to protect any shared links from breaking, it can’t be edited.
Next, go to the Organizations tab and select one of your organization names to open it.
Toggle on "Enable Organization Page" then create an Organization URL between 3 and 24 characters. This Organization Page URL can remain the same year over year, with individual jobs added and removed as needed.
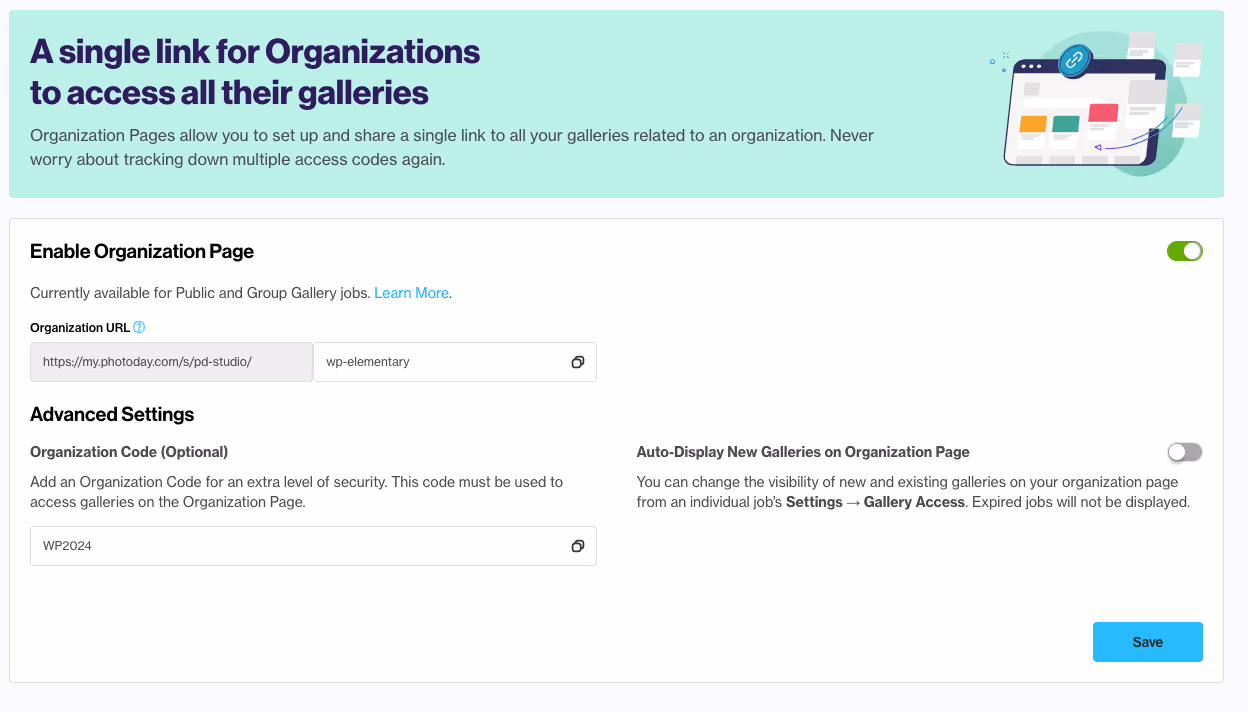
You can also choose to automatically add new galleries (associated with this organization) on the Organization page. With this toggled on, any new jobs created going forward from this Organization will retain the gallery visibility options selected here. AdvancePay and Published status jobs will display by default, but you can choose to also show jobs while in Draft and/or Expired statuses.
Gallery visibility settings configured at the Organization Page will set the default settings for newly created jobs, but these can always be customized and overwritten at the individual job level under the Job > Settings > Gallery Access.
You can create an optional Organization Code to add an additional level of security. The code acts like a password—visitors will have to click the Organization link and enter the code to view the Organization Page.
There will be a separate setting to determine whether group galleries will require an access code input when accessing them from this Organization Page. If you are not sure what is best for you, reach out to PhotoDay support or communicate directly with the organization to determine the best set-up for your scenario.
Please note: If adding Private Jobs to your Organization Page, it is strongly recommended to enable Gallery Lookup so that your customers can access their gallery without an access code. Learn more.
What your customers see
Organizations and customers alike will access the Organization Page via the Organization URL you created in the Organization settings.
Here’s how it looks with an Organization Code:

And here’s how it looks without an Organization Code:
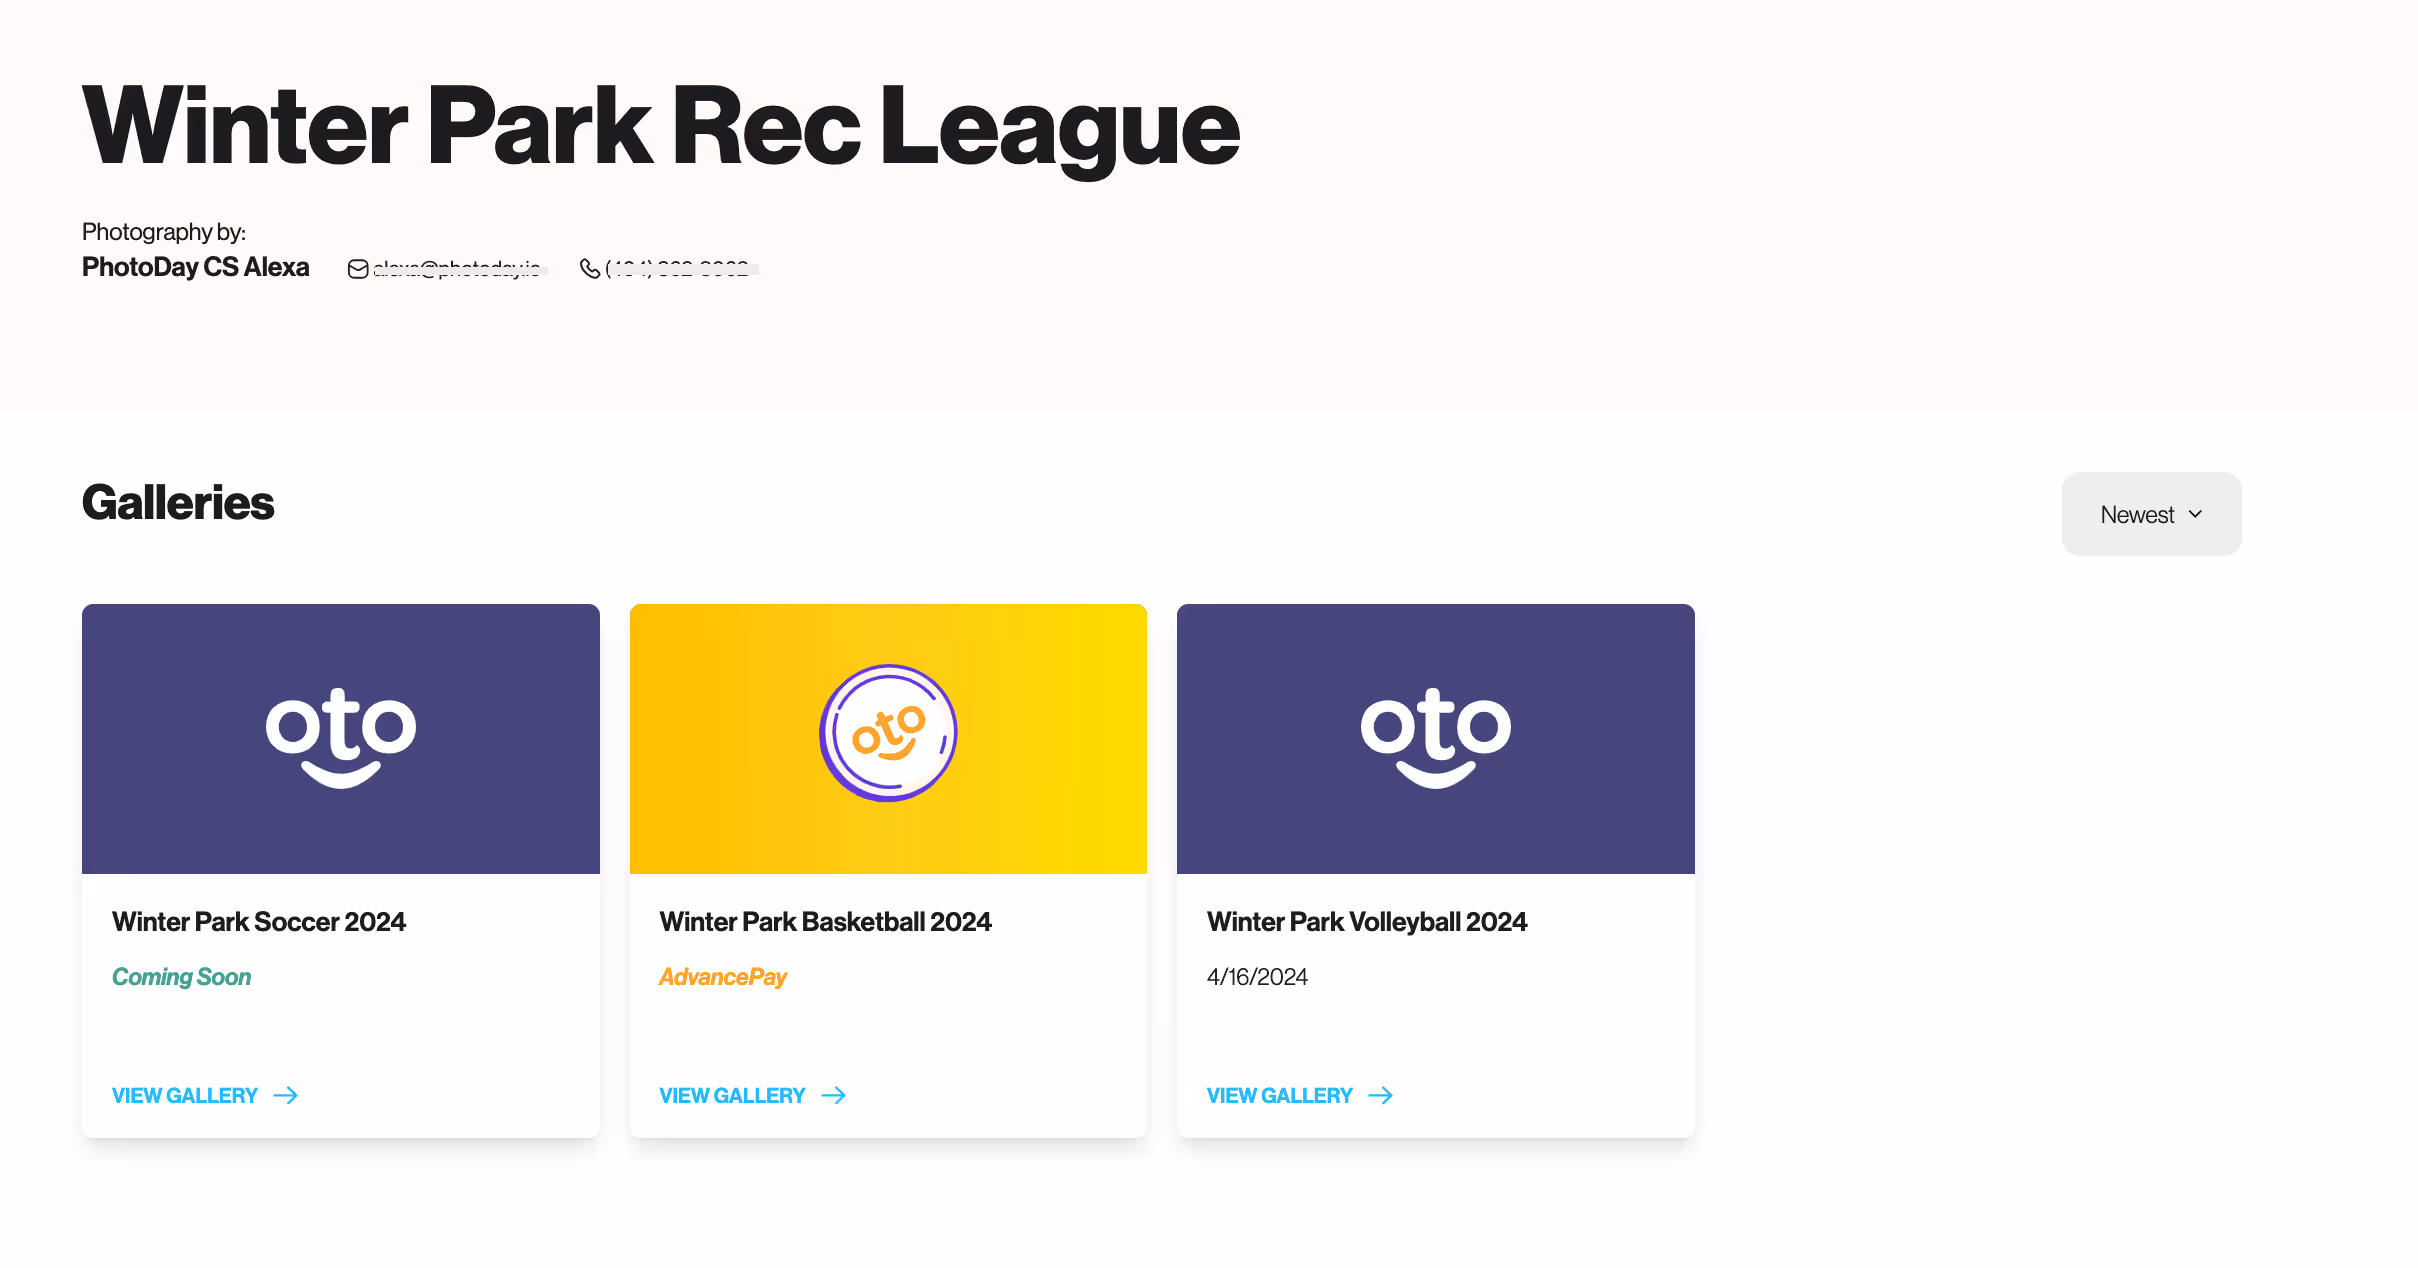
If you have added an Organization Logo, it will display at the top of this page above your Organization name.
From here, they can click on their relevant gallery. They will be prompted to subscribe to notifications (like usual), but they won’t have to enter the gallery-specific access code. They can jump right into buying AdvancePay credits, viewing photos and shopping for products!
Any gallery they access will automatically save to the “My Galleries” section of their PhotoDay account for easy access the next time they log in.