At this point in the guide, we will focus on Group and Public Gallery workflows.
Since private galleries require some extra steps and different processes, please check out our Private Gallery Guide.
When your job is set up, picture day is over, and your post-processing is completed…it’s time to upload your photos! This section will walk you through uploading to Group and Public galleries. For Private, click here.
File Requirements and Suggestions
- Photos should be in a JPG/JPEG or PNG file format.
- File size must be between 30K and 15MB.
- Files must be 8000px or less in either height or width.
- File names can have a maximum of 31 characters before the file extension.
If a photo does not meet the above requirements, it will be skipped during upload.
- If you attempt to upload a file with special characters (like < > : ” \ / ? | * ~) the characters will be stripped from the file name, but the file will still be uploaded.
- For optimal printing, make sure your photo color space is sRGB.
- There is no need to zip your files before uploading.
- If a photo is in one or multiple folders, the folder name(s) will automatically become that photo’s tag(s). Learn more about tags.
- If a photo has Lightroom keywords, the keyword(s) will also become that photo’s tag(s).
Uploading Photos
Open the job to which you wish to upload photos. Navigate to the Photos tab.
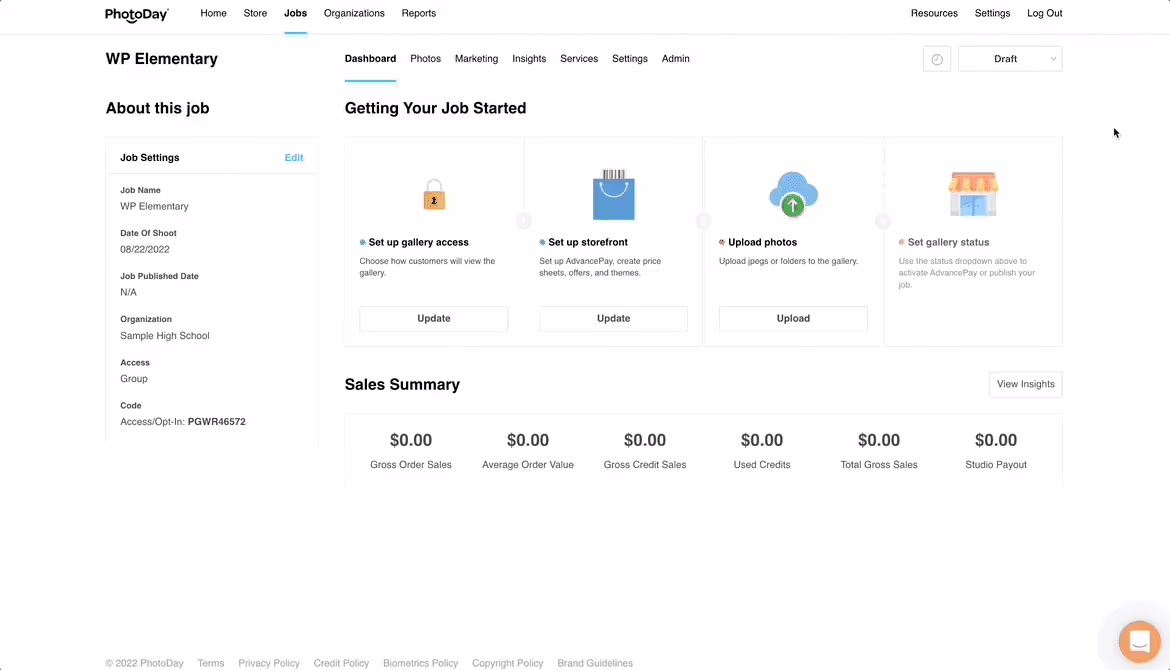
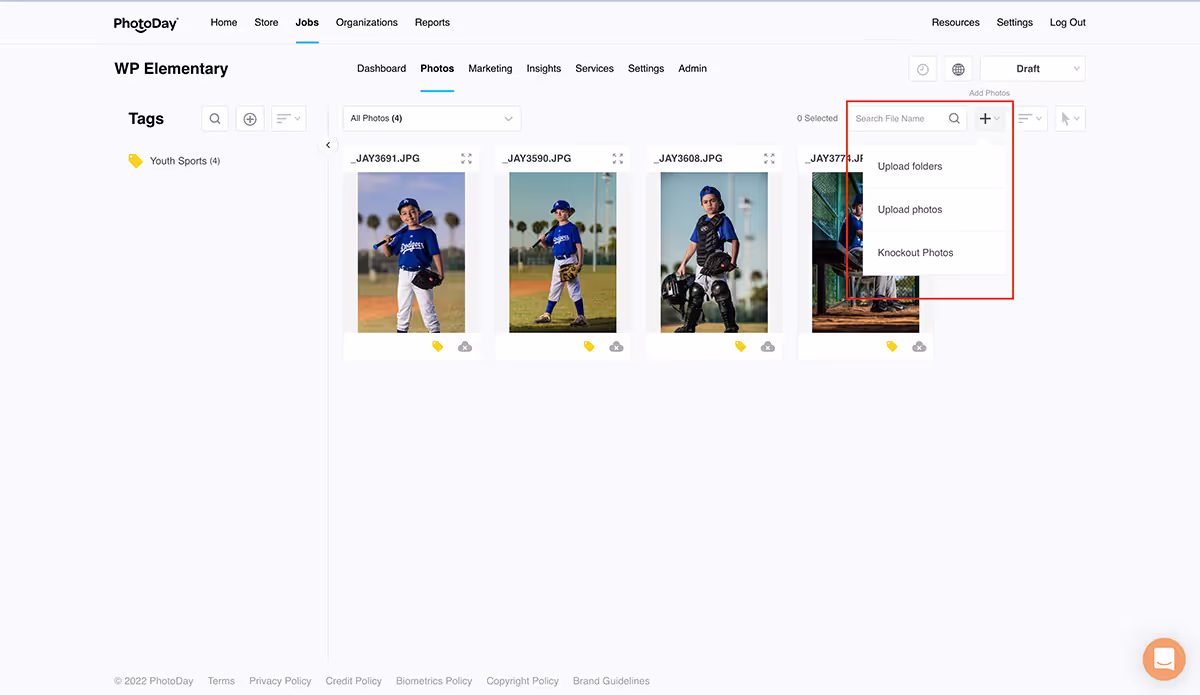
You will be presented with the option to either upload individual photos or import a folder of photos. Click on either option, which will allow you to select which photos or folders you wish to upload from your computer.
Alternatively, you can drag and drop photos and folders right onto the upload screen to begin the upload process.
In the lower left hand corner of the screen, you can watch the status of your upload.

While your photos upload, feel free to leave this page and do other things in your Studio Panel. If your upload is interrupted by something (such as a bad internet connection) PhotoDay will save the upload progress up until the point of interruption.
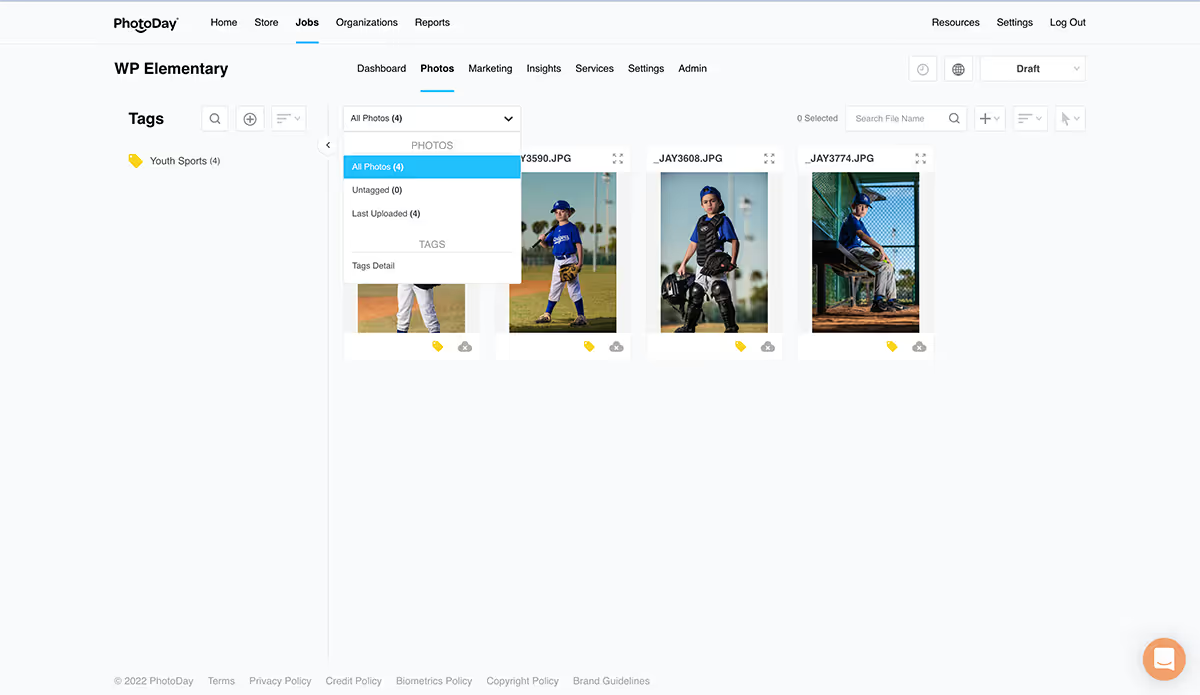
Understanding the Photos Section
Now that you’ve uploaded your photos, let’s walk through the function of each button on the Job > Photos page.

On the left side of the page, you’ll see Tags. Jump to the next section to learn all about what tags are and how to use them.
This area is where you can search, add, and sort tags.
Moving towards the middle of the page, the drop-down menu allows you to select which photos and tags you’d like to view.
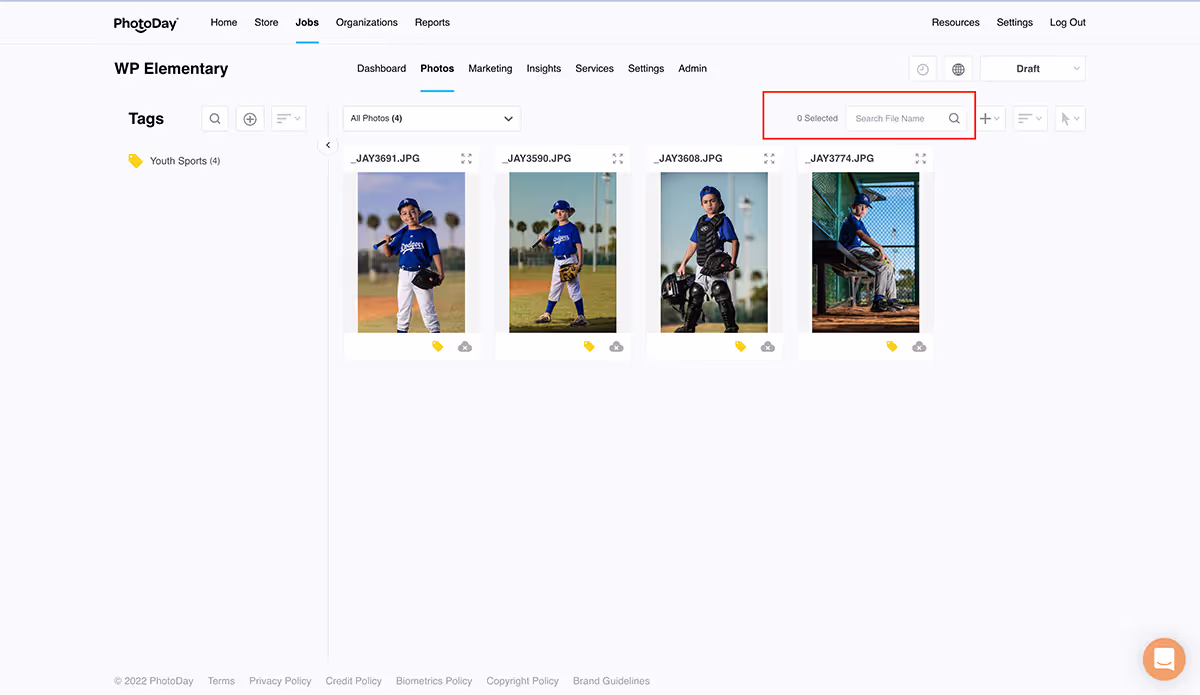
On the right side of the page, you can search for a file name.
Click the + to add more photos.
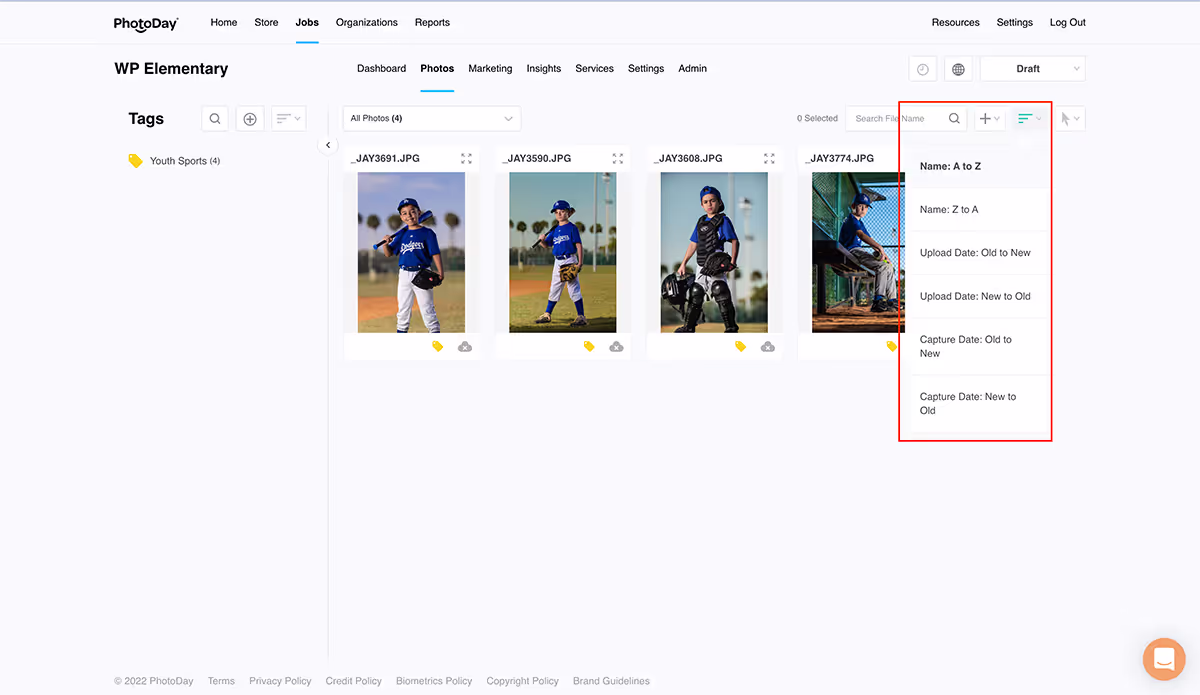
The sort button allows you to sort the uploaded photos.
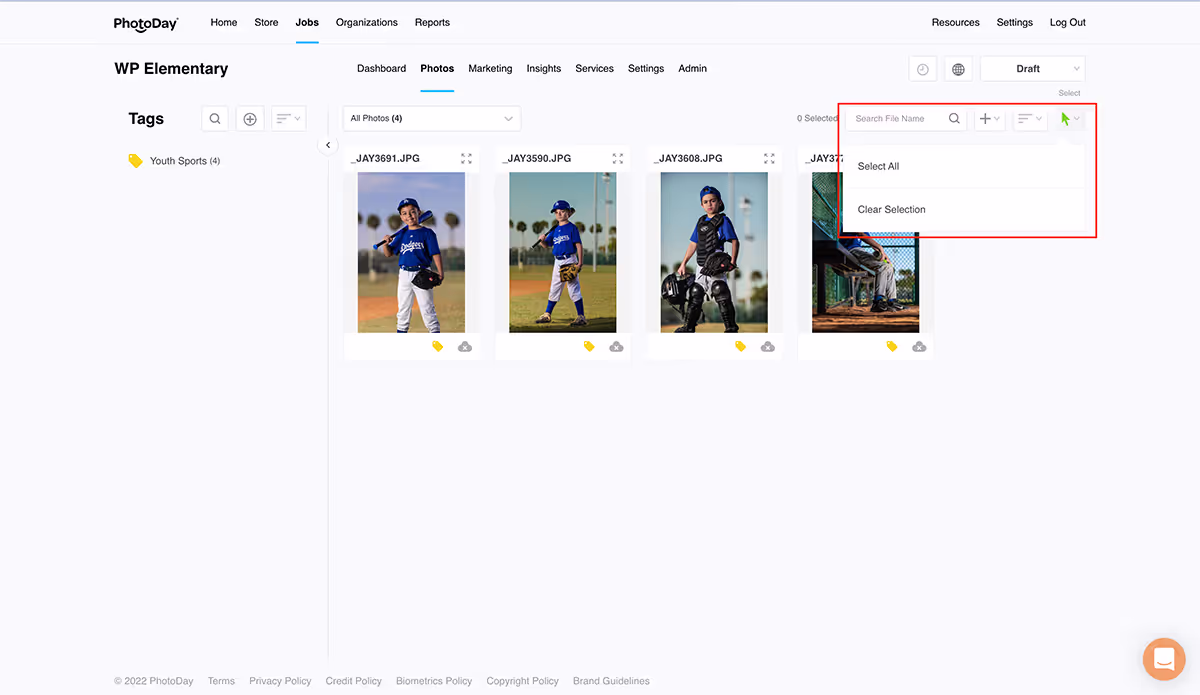
Click the mouse button to select all or clear a selection.
When you select one or more photos, a few more options will appear. Click the eye to view the selected photos. Click the tag to bulk tag the selected photos. Click the trash can to delete the selected photos.
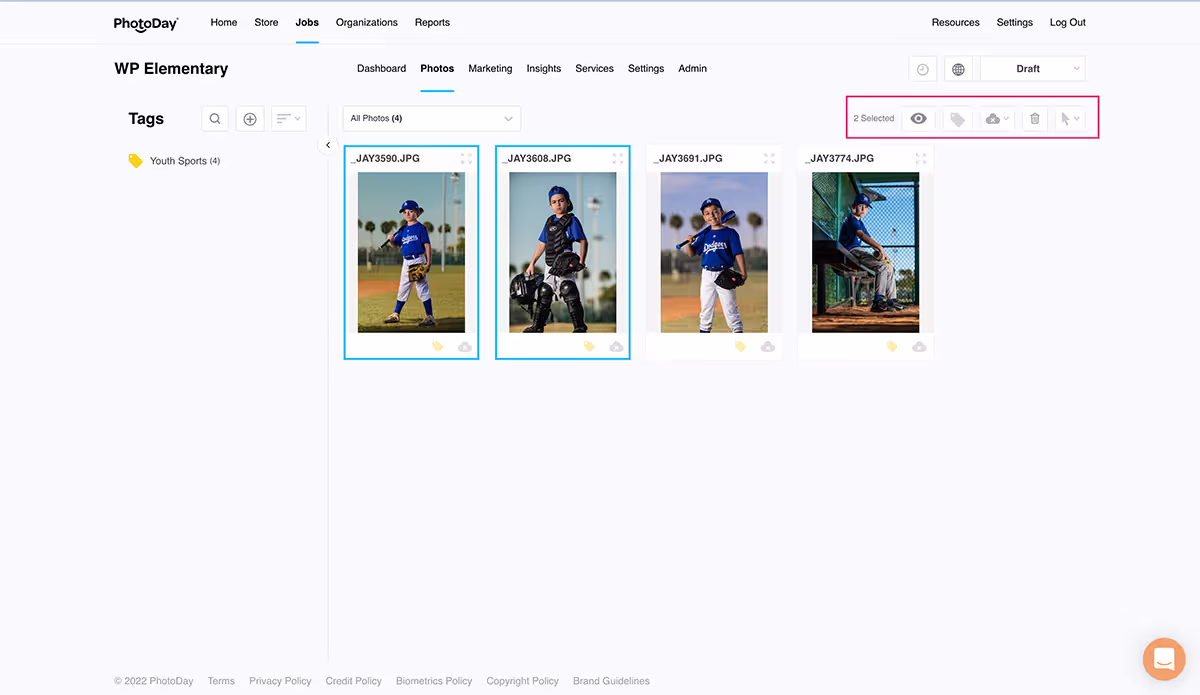
The cloud with an X in it is to disable digital downloads. Disabling digital downloads is a way to automatically prevent your customers from selecting that photo as a digital download (if you have digital download products added to your storefront).
You can also disable or re-enable individual photos for download by clicking the cloud on the photo.
Now that you have the lay of the land, let’s move on to tagging photos.