At this point in the guide, we will focus on Group and Public Gallery workflows. Since Private Galleries require some extra steps and different processes, please check out our Private Gallery Guide.
Now that you’ve learned about PhotoDay’s Email Flyers in the previous section, let’s dive in a little deeper. (Just a reminder that this section pertains to group and public galleries. To learn about private gallery flyers, head to this section of the private gallery guide.)
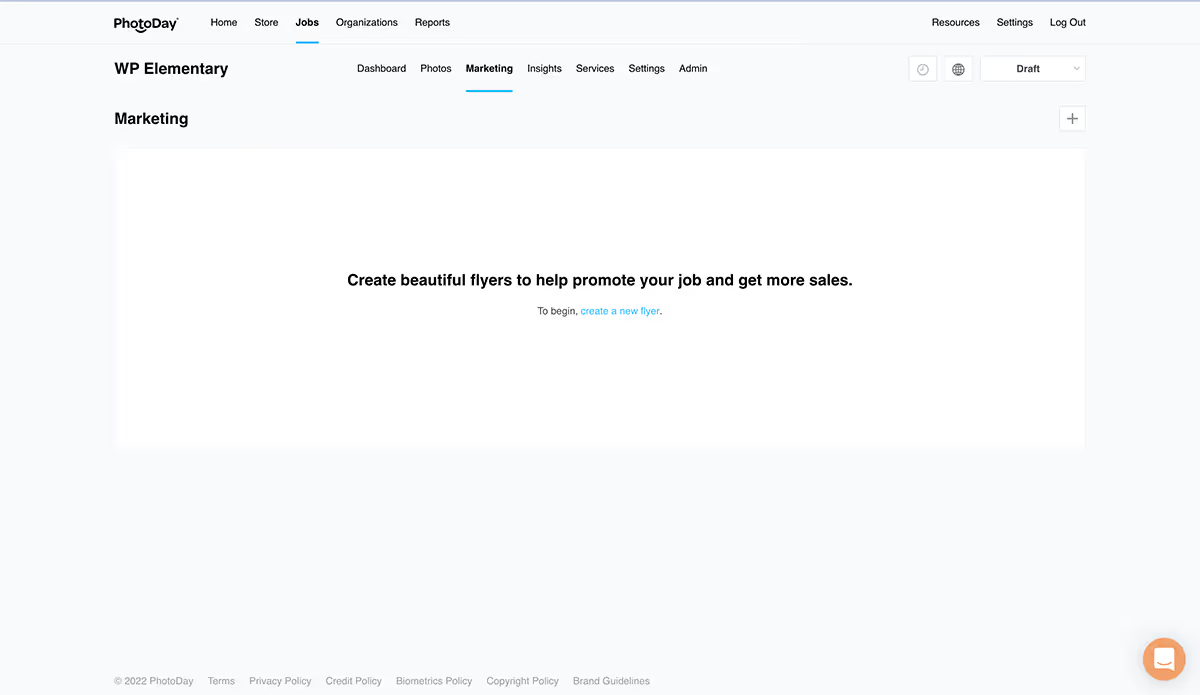
To get started, open a job and go to the Marketing section.
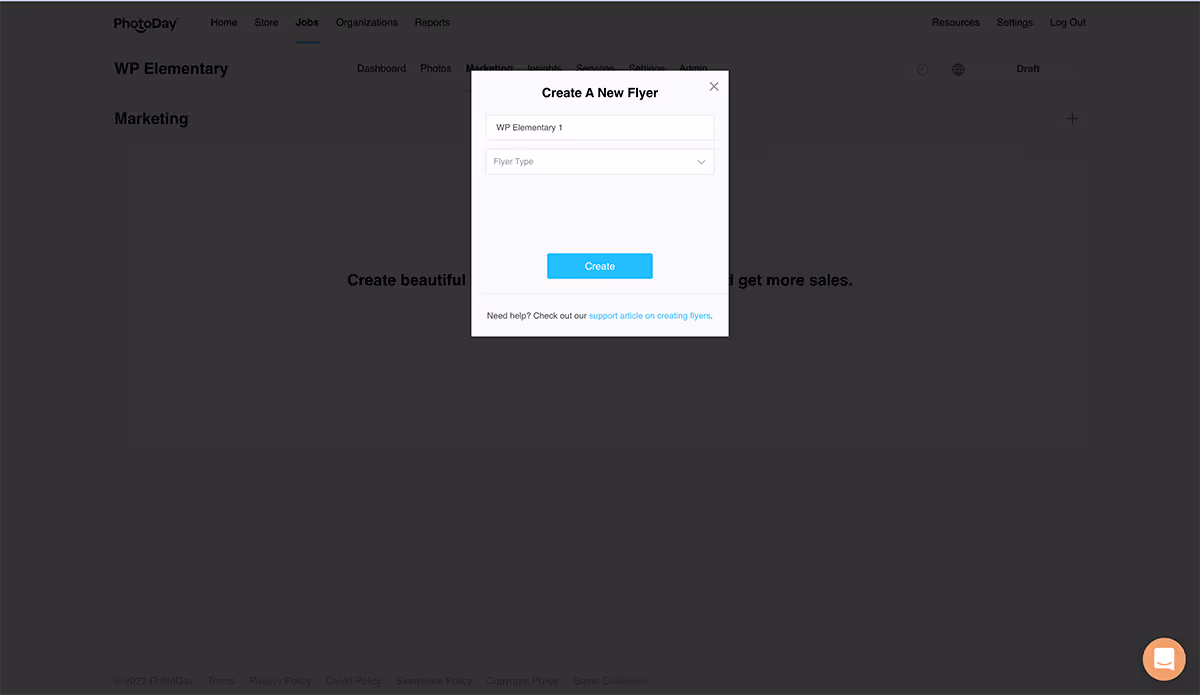
Click “create a new flyer" or the + on the top right to create your first flyer. Name your flyer for your own reference (the name is not visible to customers), and select the type of flyer. The flyer type determines the marketing messaging on your actual flyer design—you can update the type at any time.
There are 3 types of flyers—AdvancePay, Published, Post-Picture Day.
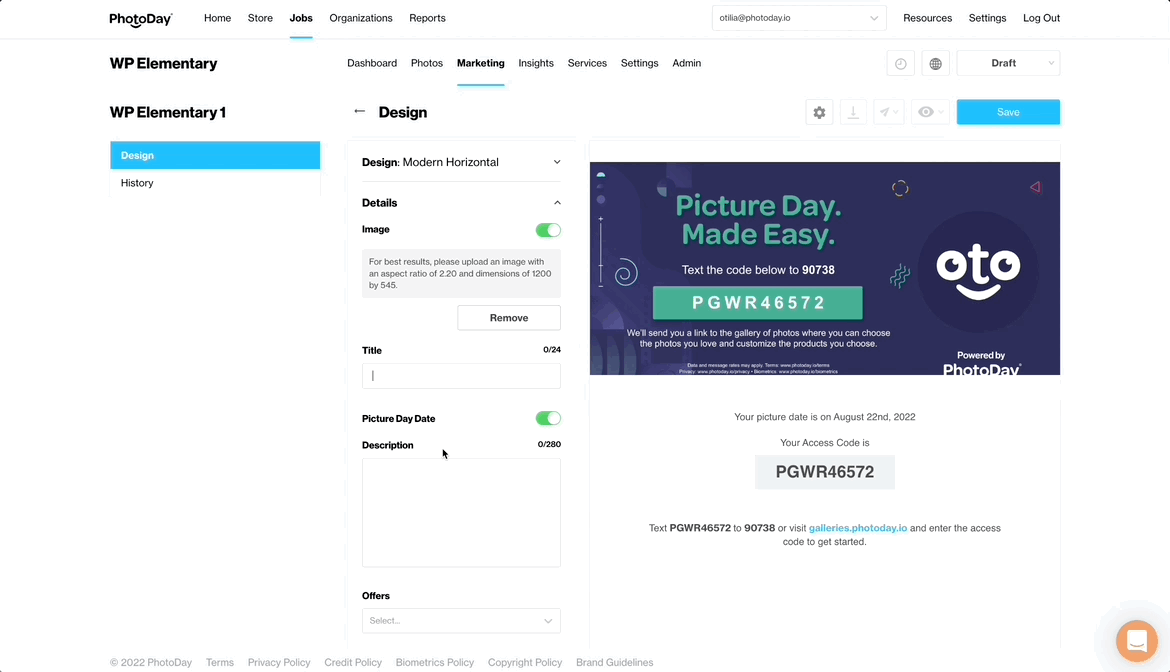
AdvancePay Flyers let your customers know how to purchase credit to go toward their photo purchases. Here is an example AP Flyer for a Group/Public Gallery with an offer attached:

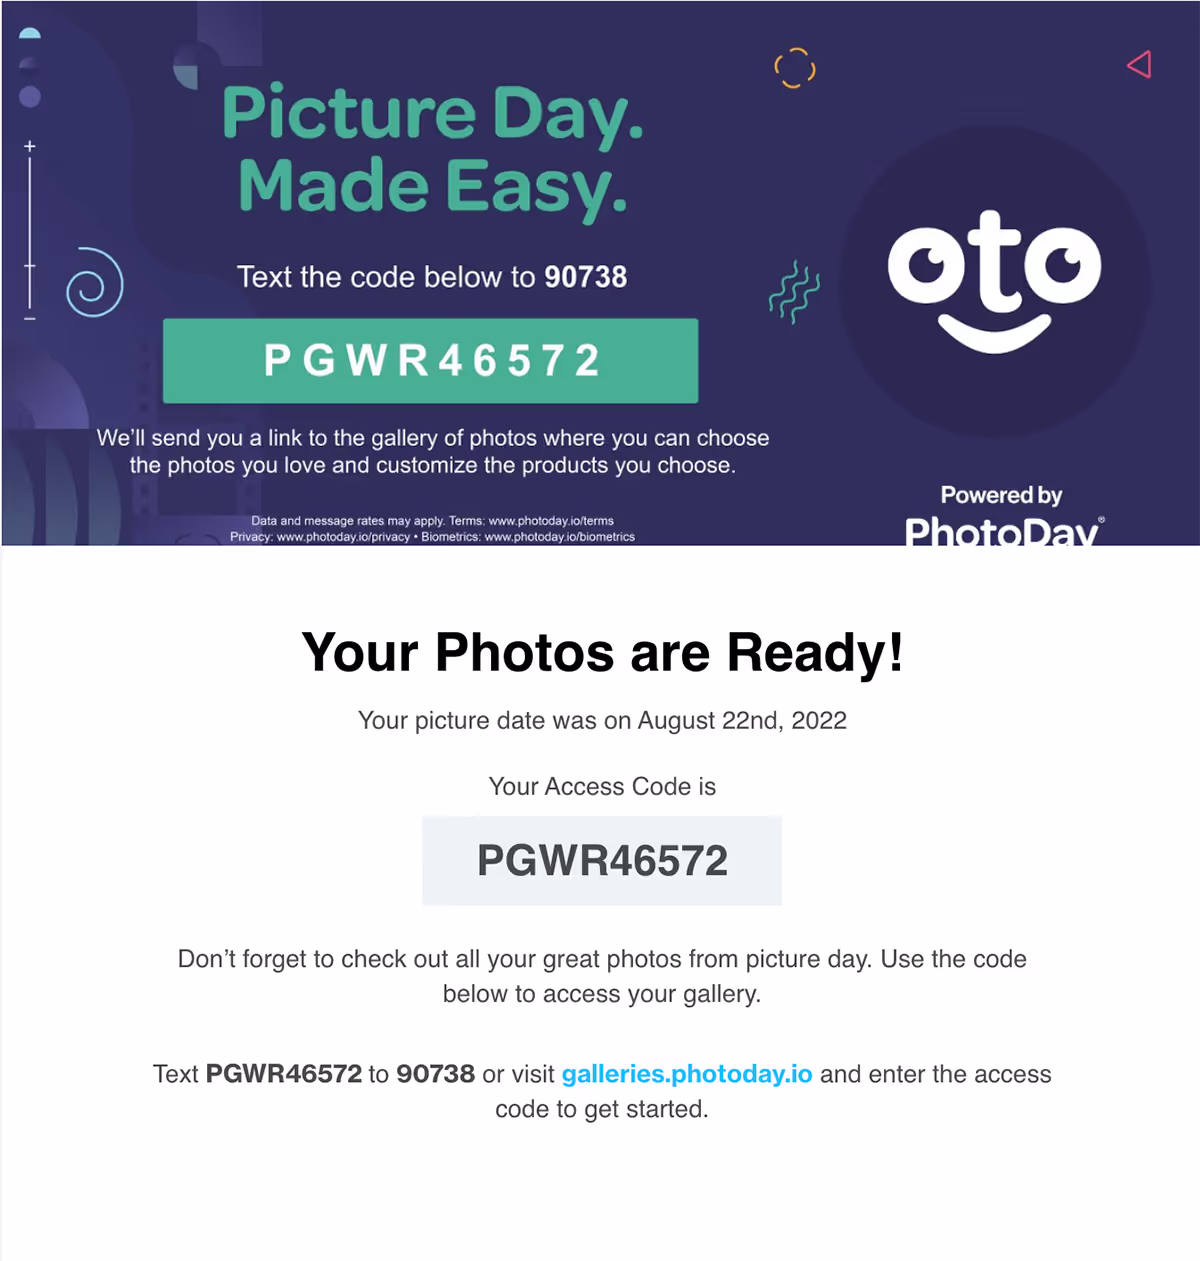
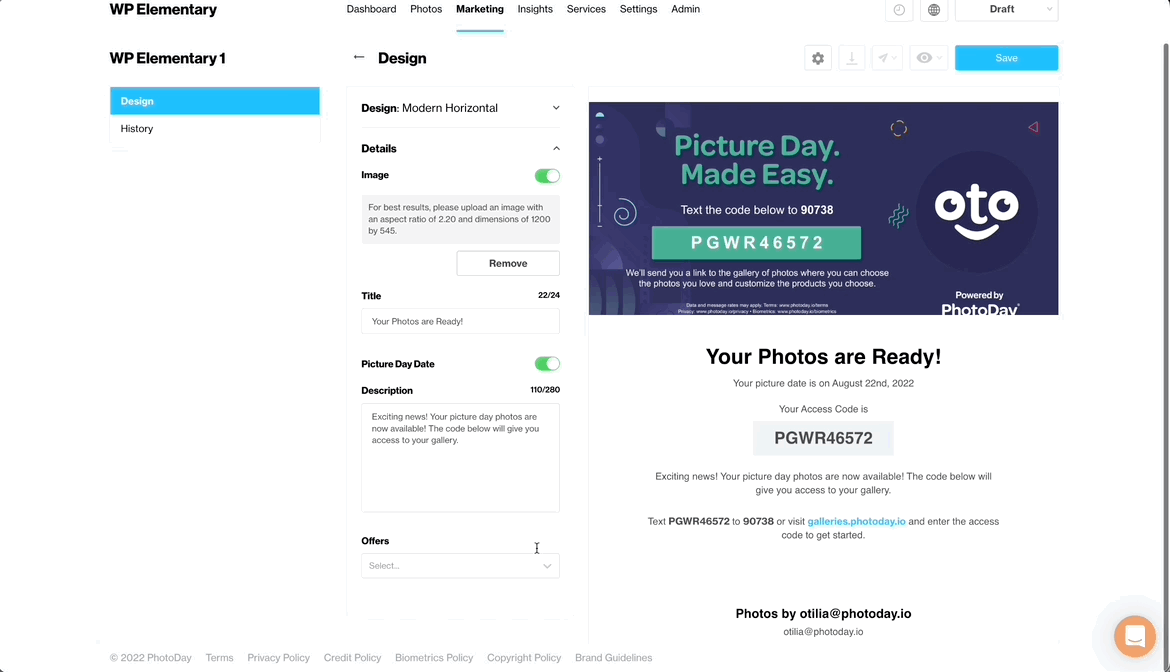
Published Flyers will include all the details your customers need to know to access their gallery. This includes the gallery link and access code. Here is an example of a Published Flyer for a Public/Group Gallery with an offer attached:

Post-Picture Day Flyers serve as a gentle reminder to organizations and parents after picture day has passed that their photos are available to purchase. This can help provide a few extra sales after the initial rush! Here is an example of a Post-Picture Day Flyer for a Public/Group Gallery without an offer attached:
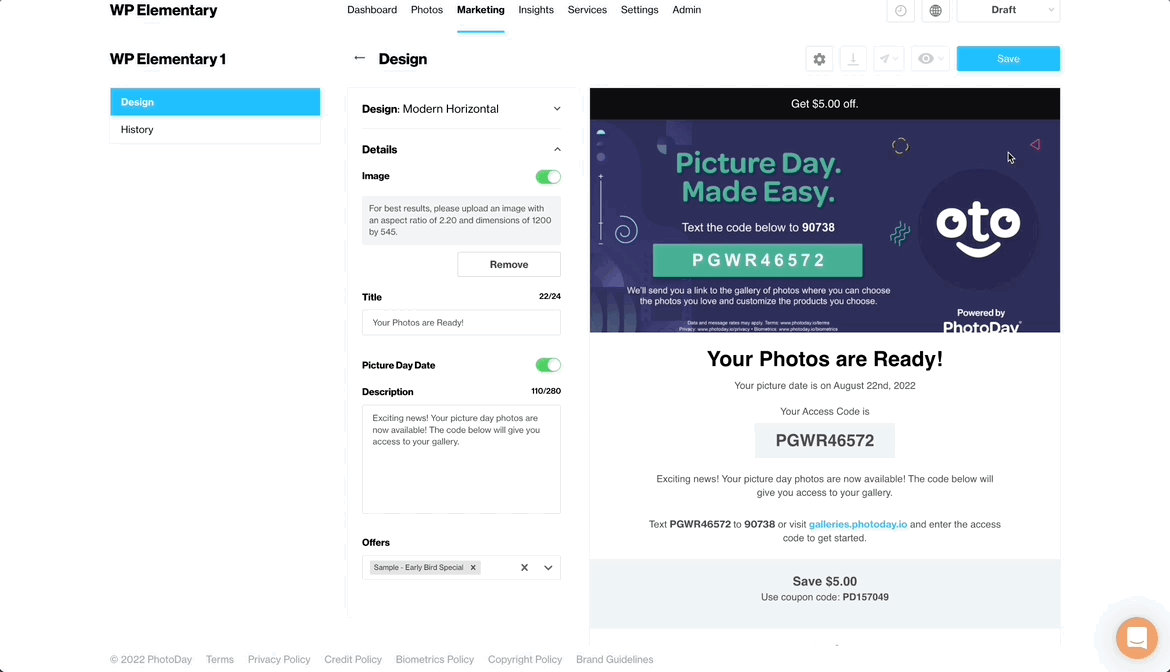
Once you've selected a Type, you can start customizing your flyer. Click Design to choose a layout: Classic, Basic, Modern Vertical, or Modern Horizontal. For this example, we’ve chosen a Published Flyer with the Modern Horizontal design.

Next, you can add an image or toggle off this option.
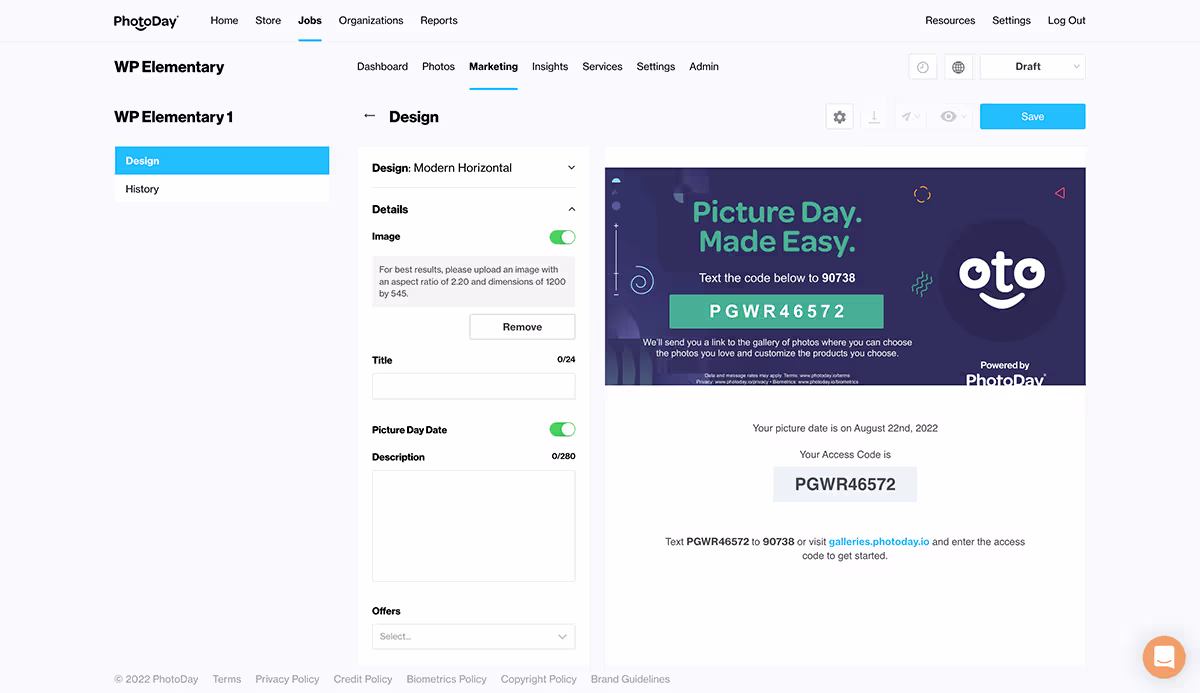
The picture day date is drawn from your job settings, but feel free to toggle it off. This is especially useful if you're photographing on multiple days.
You can edit the title and description in the text boxes and see the changes live in the flyer preview.
You can also add an offer by selecting one from the drop-down menu
Once you're done designing and editing your flyer, click the blue Save button.
Let’s walk through the rest of the options in the top right to the left of the Save button.
The download button allows you to request a pdf to be sent to your inbox.
The eye allows you to share via HTML link and view a preview on the web.
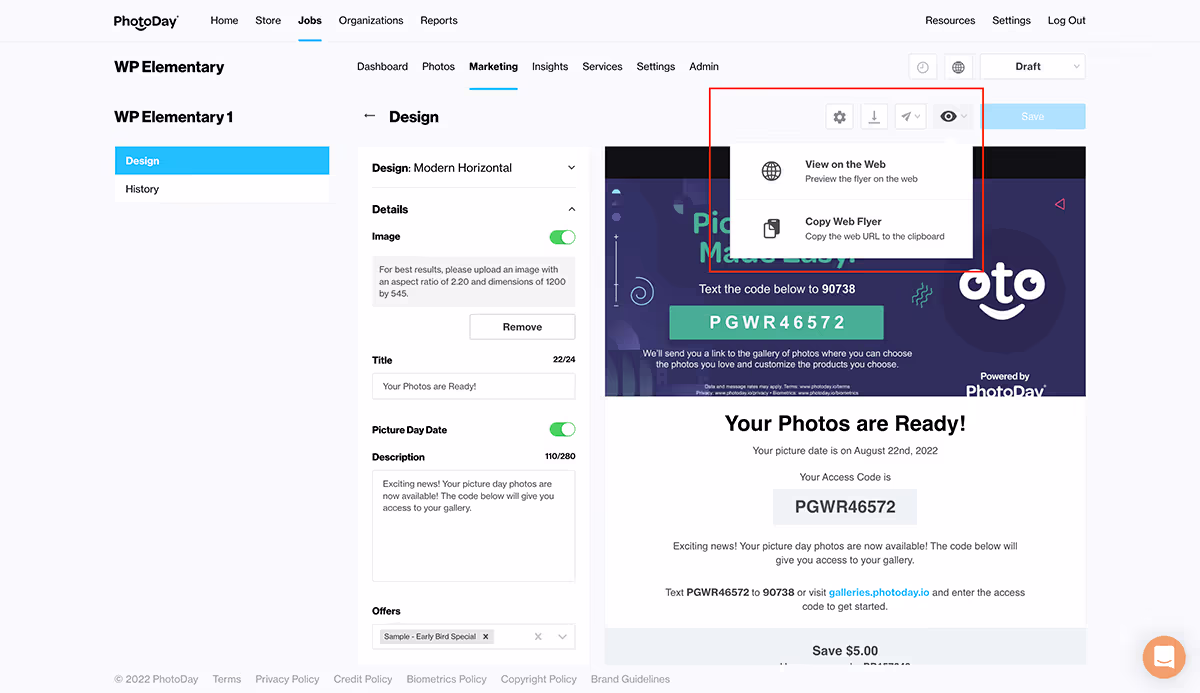
The send button allows you to send the flyer via email. When you select "Send flyer to organization" a modal will open with a templated email.
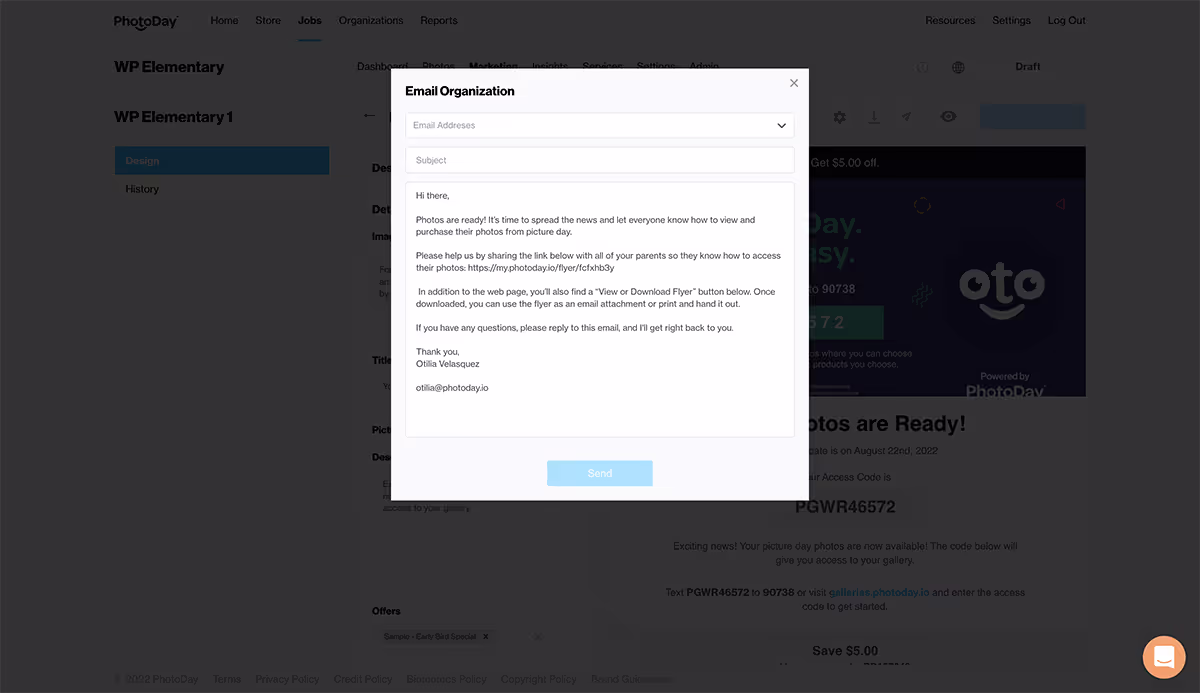
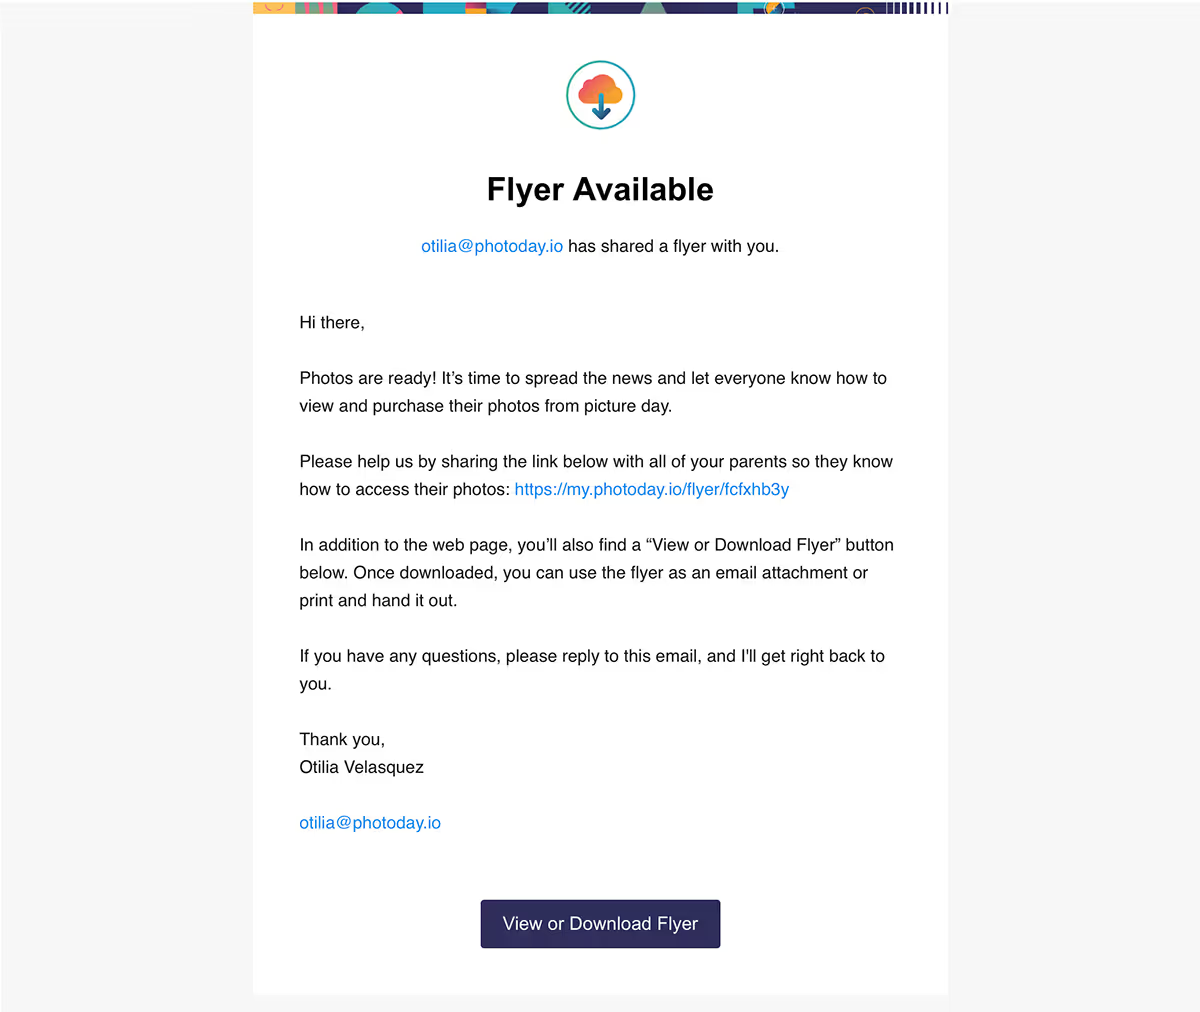
The email subject will be "[Your Studio Name] has shared a PhotoDay flyer with you." Feel free to edit the body of the email as you'd like. Here’s how the email looks when it arrives.
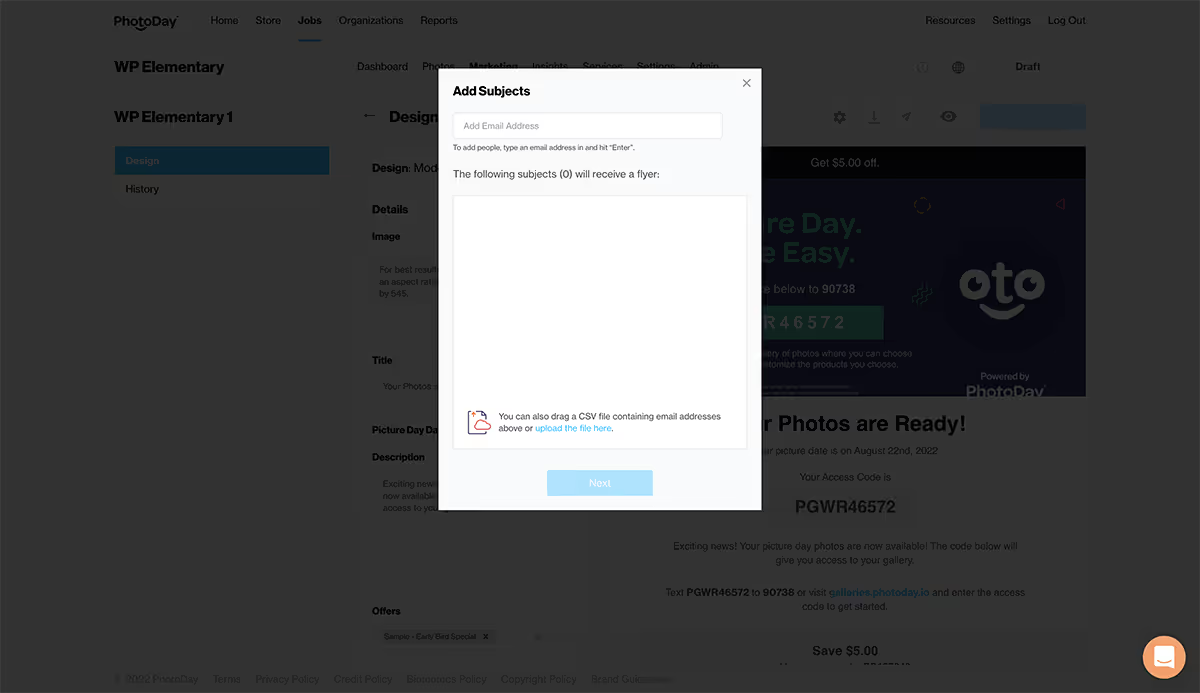
When you select "Send flyer to people" a window will open for you to either type customer email addresses or upload/drag & drop a CSV.
The next section will show you how to check and understand your job's insights.