PhotoDay provides a built-in solution for promoting your galleries to your customers via flyers. Flyers are a great way to promote and get the word out about both photos and picture day itself. Flyers include useful details that will help guide your potential customers to their gallery, where they can find and purchase their photos with ease.
Unlike the automatic email campaigns, these email flyers must be manually created and sent. Once you’ve created your flyer(s), you can send them to your recipients right from within the PhotoDay studio panel! Whether you have the email addresses of your customers/subjects or just the contact of your organization, you can choose the recipient and message.
Flyers work a little differently for private galleries, so if you’re looking for group or public gallery flyers, head to this section.
Types of Flyers
There are 3 types of flyers—AdvancePay, Published, Post-Picture Day. Using your uploaded subject data, the {{subject name}} and {{access code}} will automatically populate with the subject’s name and private access code.
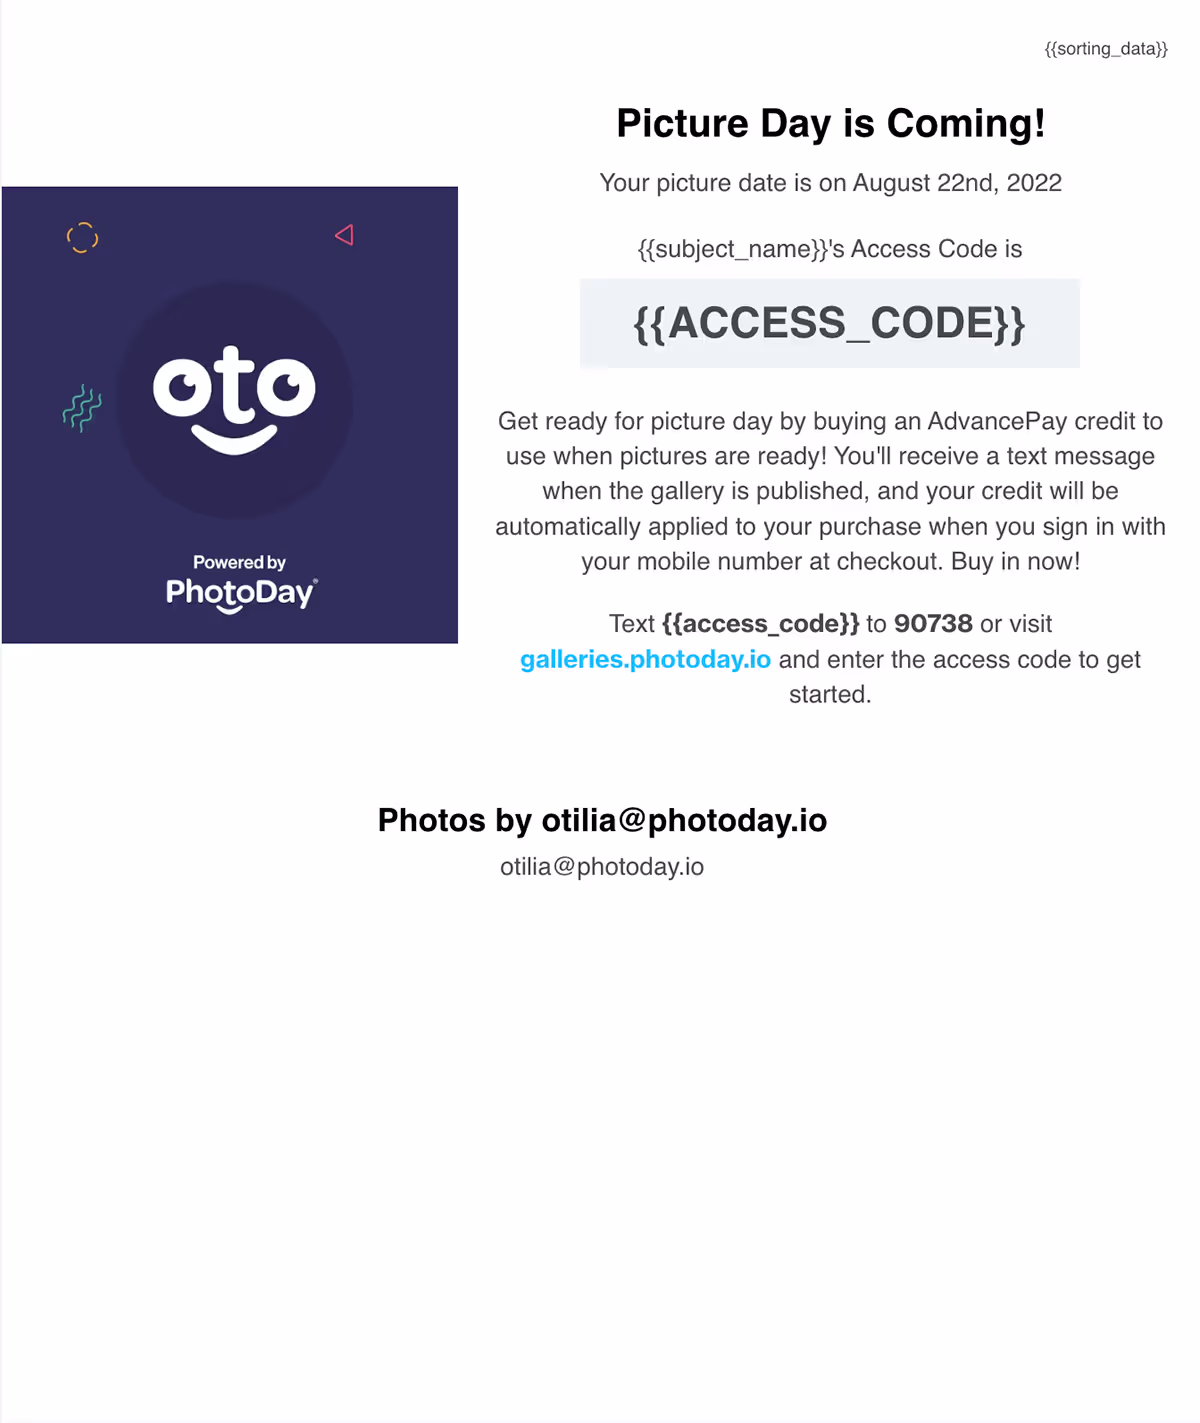
AdvancePay Flyers let your customers know how to purchase credit to go toward their photo purchases. Here is an example AP Flyer for a Private Gallery with an offer attached:
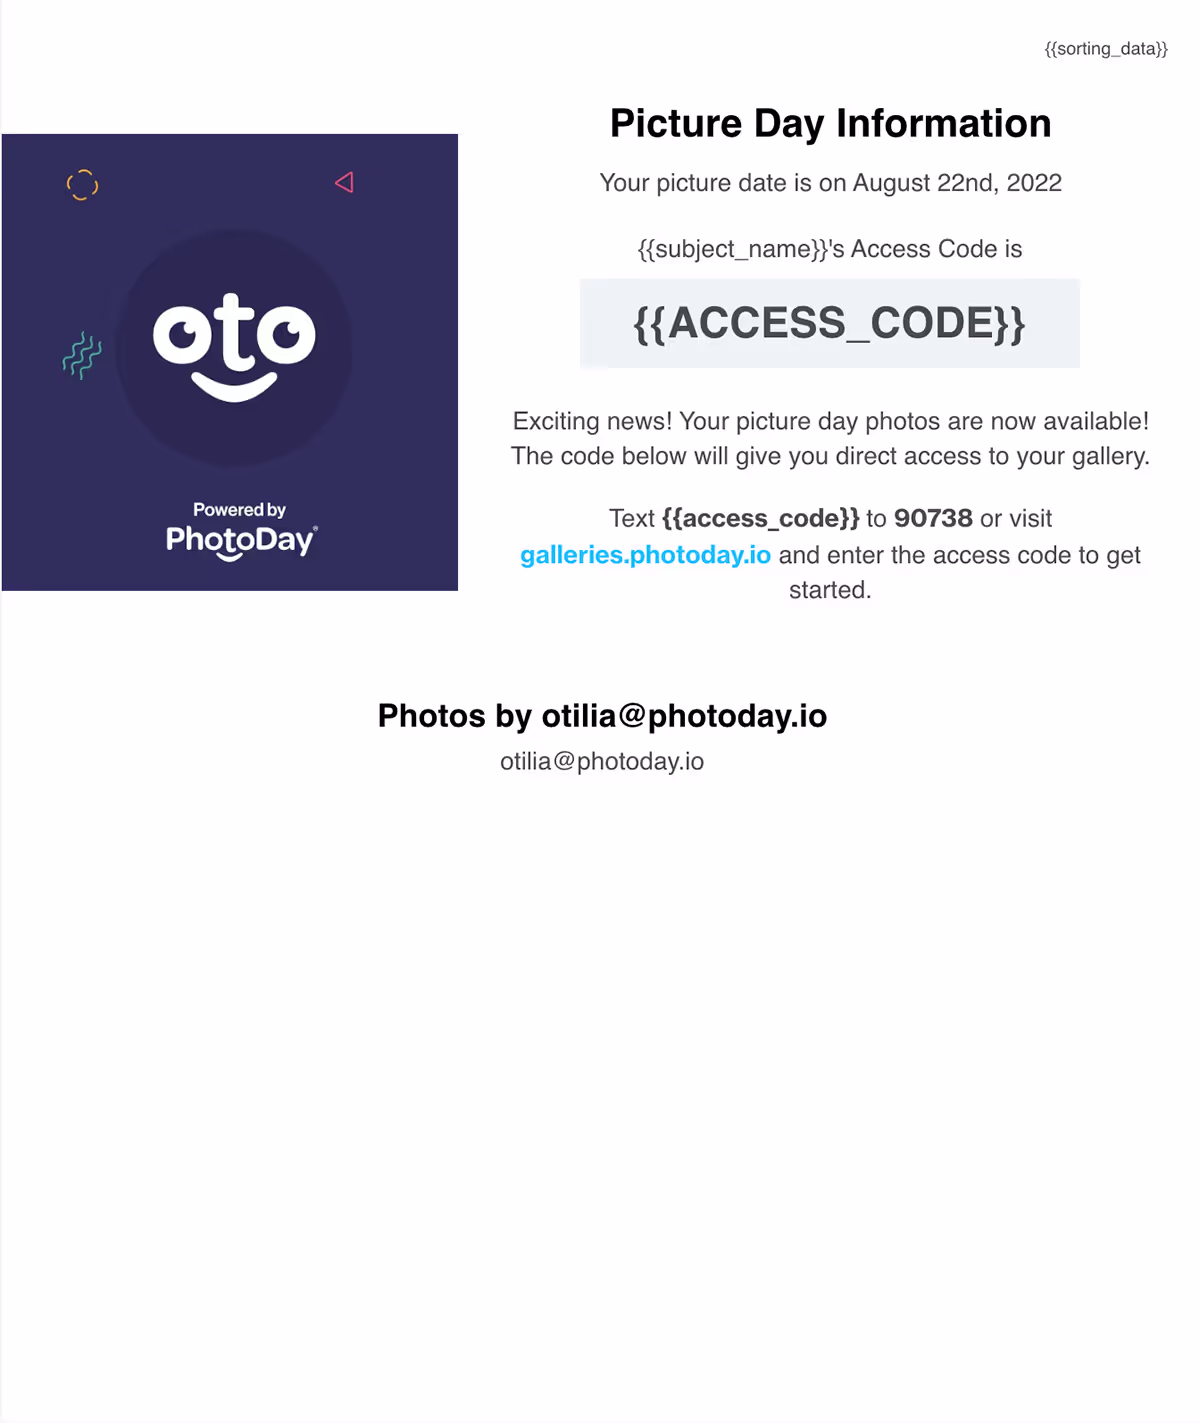
Published Flyers include all the details your customers need to know to access their gallery. This includes the gallery link and access code. Here is an example of a Published Flyer for a Private Gallery with an offer attached:
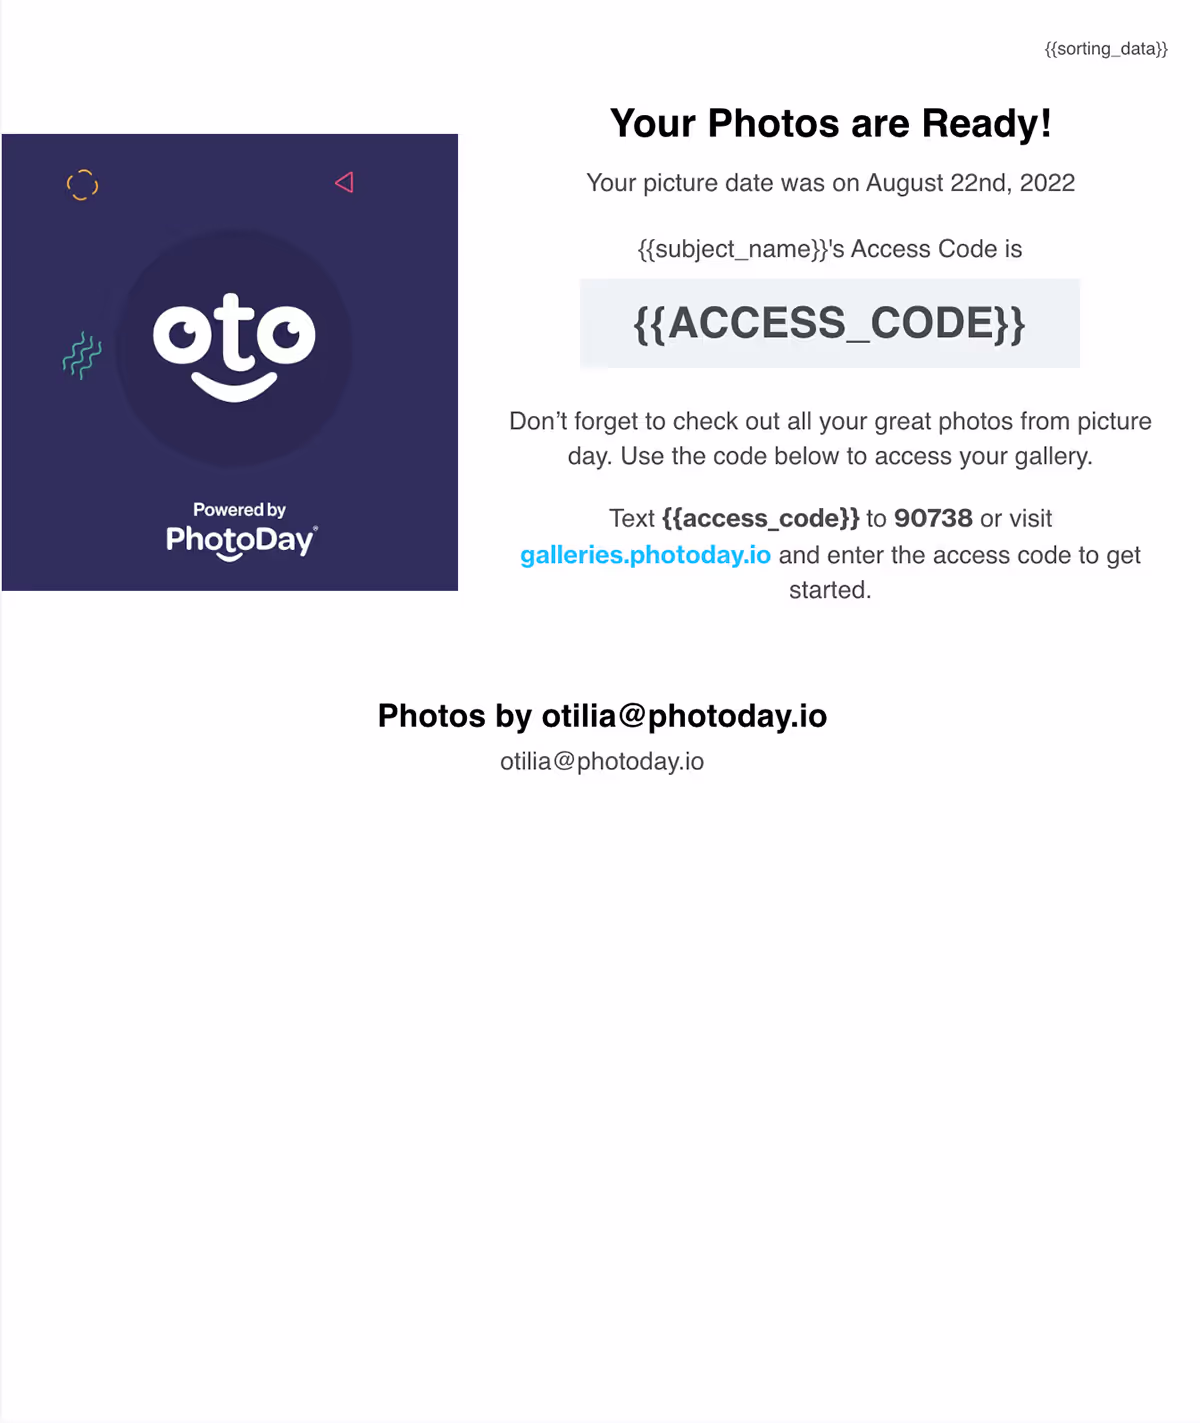
Post-Picture Day Flyers serve as a gentle reminder to organizations and parents after picture day has passed that their photos are available to purchase. This can help provide a few extra sales after the initial rush! Here is an example of a Post-Picture Day Flyer for a Public/Group Gallery without an offer attached:
Creating Private Flyers
To get started, open a private job and go to the Marketing section.
.avif)
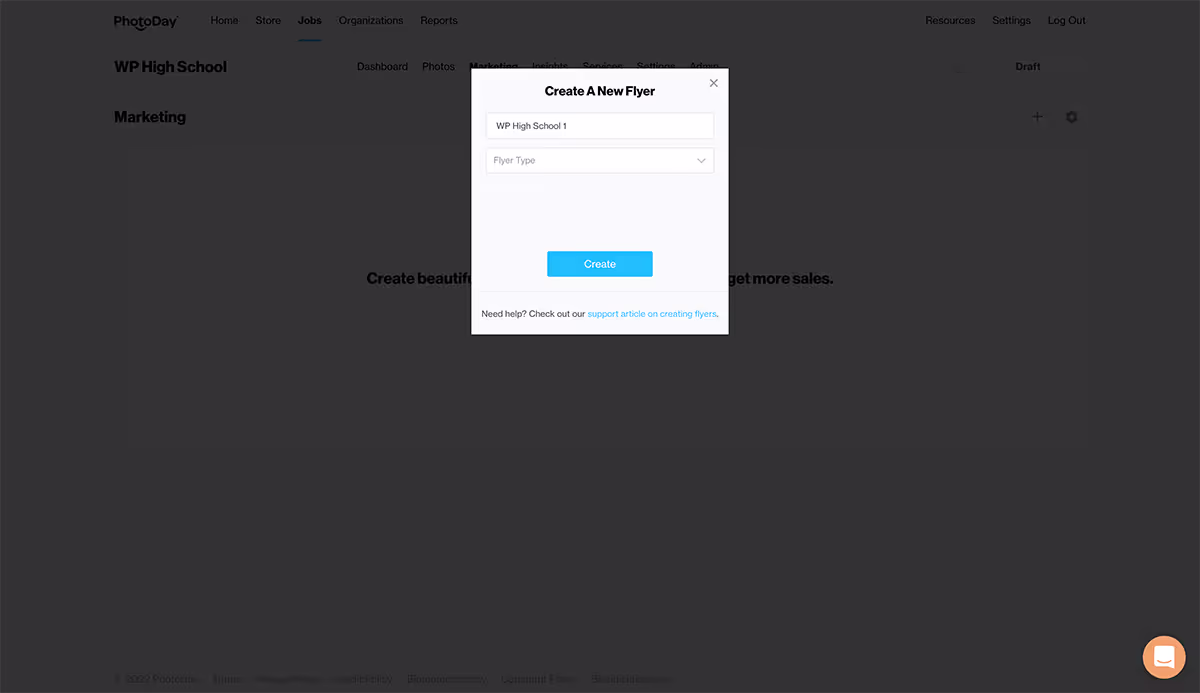
Click “create a new flyer" or the + on the top right to create your first flyer. Name your flyer for your own reference (the name is not visible to customers), and select the type of flyer. The flyer type determines the marketing messaging on your actual flyer design (you can update the type at any time).
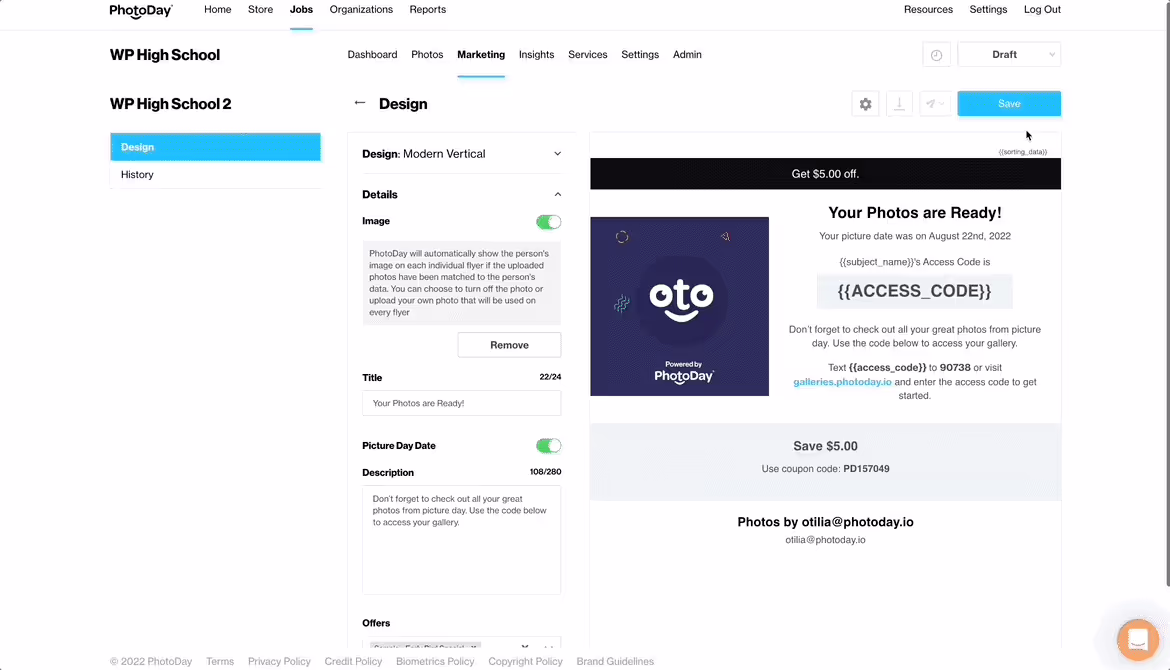
Once you've selected a Type, you can start customizing your flyer. Click Design to choose a layout: Classic, Basic, Modern Vertical, or Modern Horizontal.
For this example, we’ve chosen a Post-Picture Day Flyer with the Modern Vertical design.
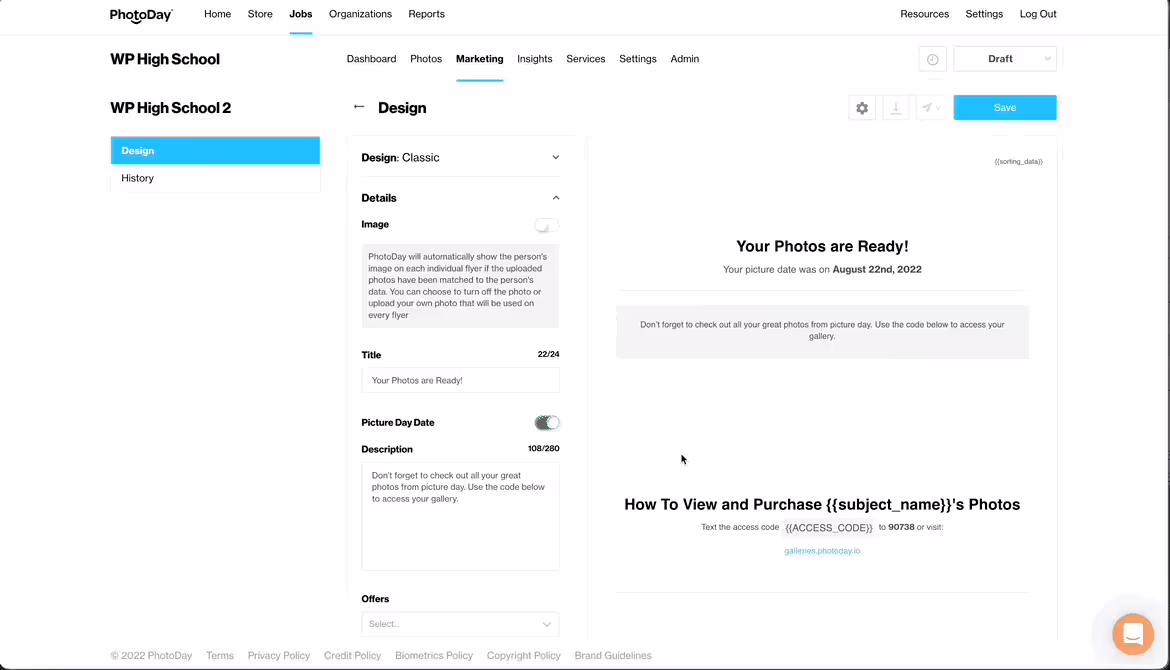
Next, you can add an image or toggle off this option. PhotoDay will automatically show the subject’s featured photo on each individual flyer if the uploaded photos have been matched to the subject’s data. You can choose to turn off the photo or upload your own photo that will be used on every flyer.
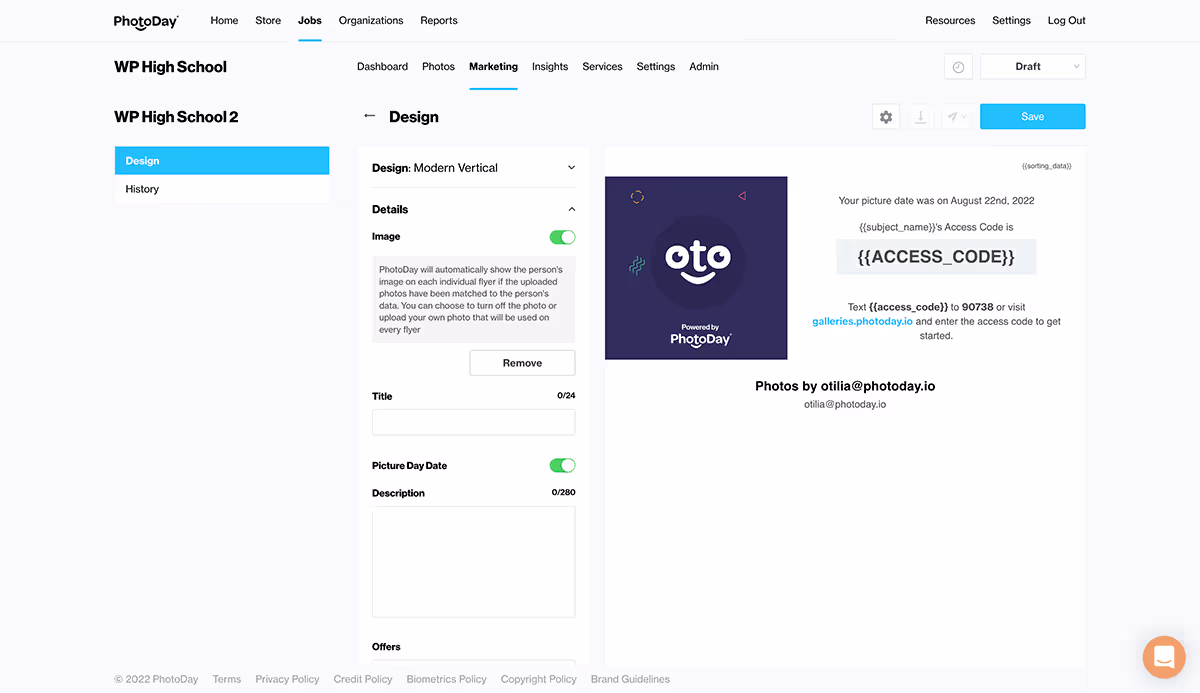
The picture day date is drawn from your job settings, but feel free to toggle it off.
You can edit the title and description in the text boxes and see the changes live in the flyer preview.
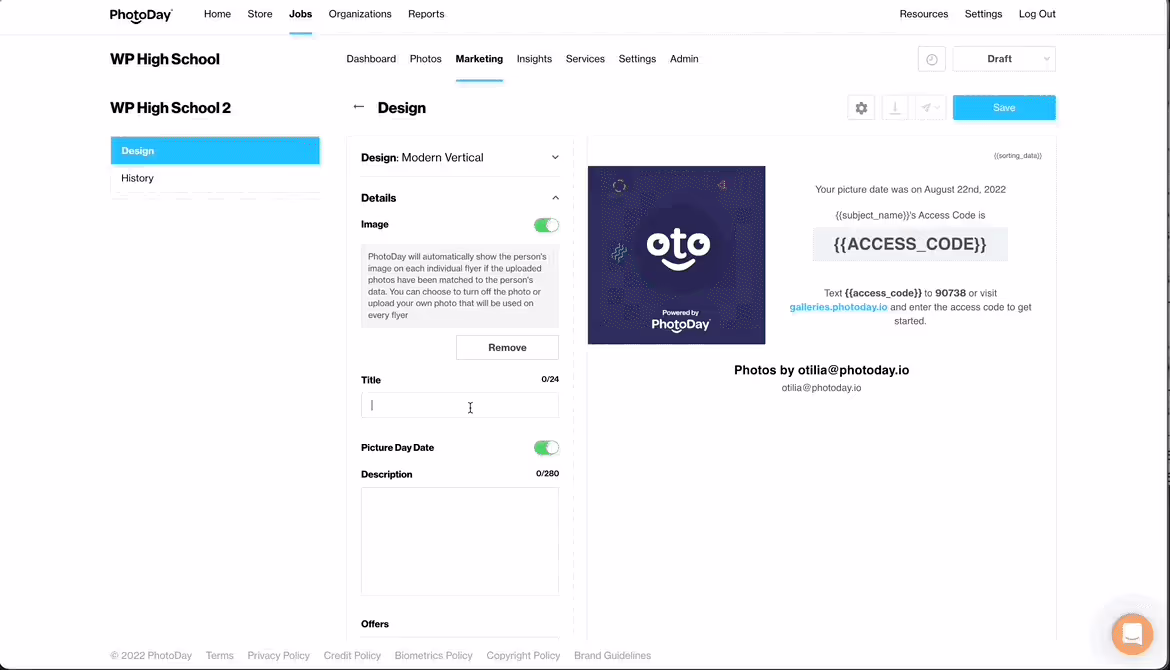
You can also add an offer by selecting one from the drop-down menu.
Once you're done designing and editing your flyer, click the blue Save button.
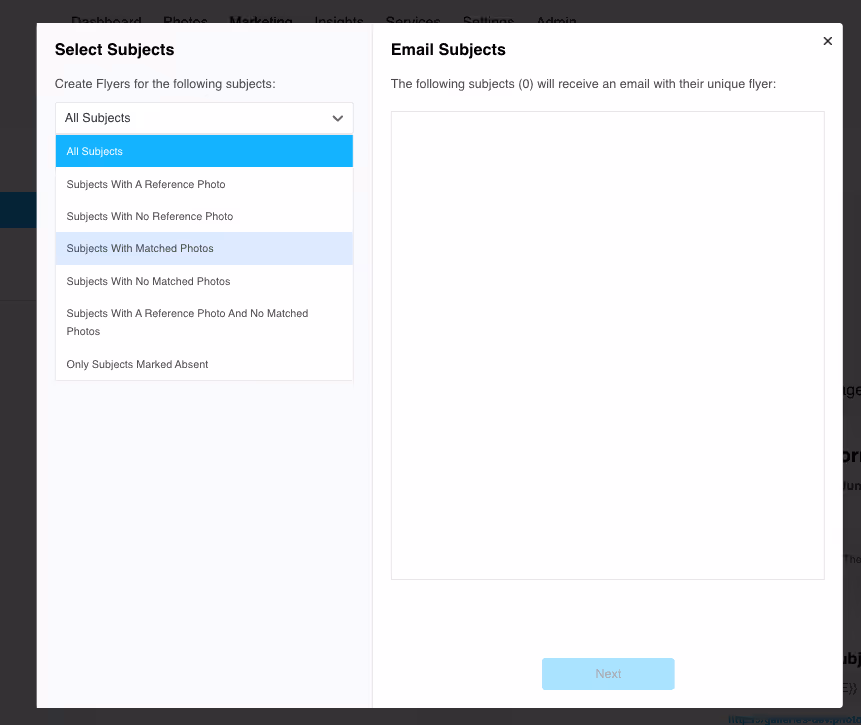
The download button allows you to request a PDF to be sent to your inbox. This will open a window where you can select which subject you’d like to download the flyers for:
- All Subjects
- Subjects with a reference photo
- Subjects without a reference photo
- Subjects with matched photos
- Subjects with no matched photos
- Subjects with a reference photo and no matched photos
- Only subjects marked absent
Next, you'll see a few more optional filters including Only Subjects with or without Purchases, and Only Subjects That Have or Have Not Accessed Gallery.
Then click Next, hang tight while it loads, and a window will pop up for you to choose where to save the PDF on your computer.
The pdf will contain all of the unique, individual flyers for the subjects you selected.
The send button allows you to send the flyer via email. When you select "Send flyers to organization" a modal will open with a templated email.
The email subject will be "[Your Studio Name] has shared a PhotoDay flyer with you." Feel free to edit the body of the email as you'd like. Here’s how the email looks when it arrives. The pdf will contain all of the unique, individual flyers for the subjects you selected.
"Send flyer to each person" will send each person that has either an email address in their Subject Data or a customer account email associated with their gallery their own individual flyer.
This will open a window where you can select who you’d like to send the flyers to. The initial filter contains the following options:
- All Subjects
- Subjects with a reference photo
- Subjects without a reference photo
- Subjects with matched photos
- Subjects with no matched photos
- Subjects with a reference photo and no matched photos
- Only subjects marked absent
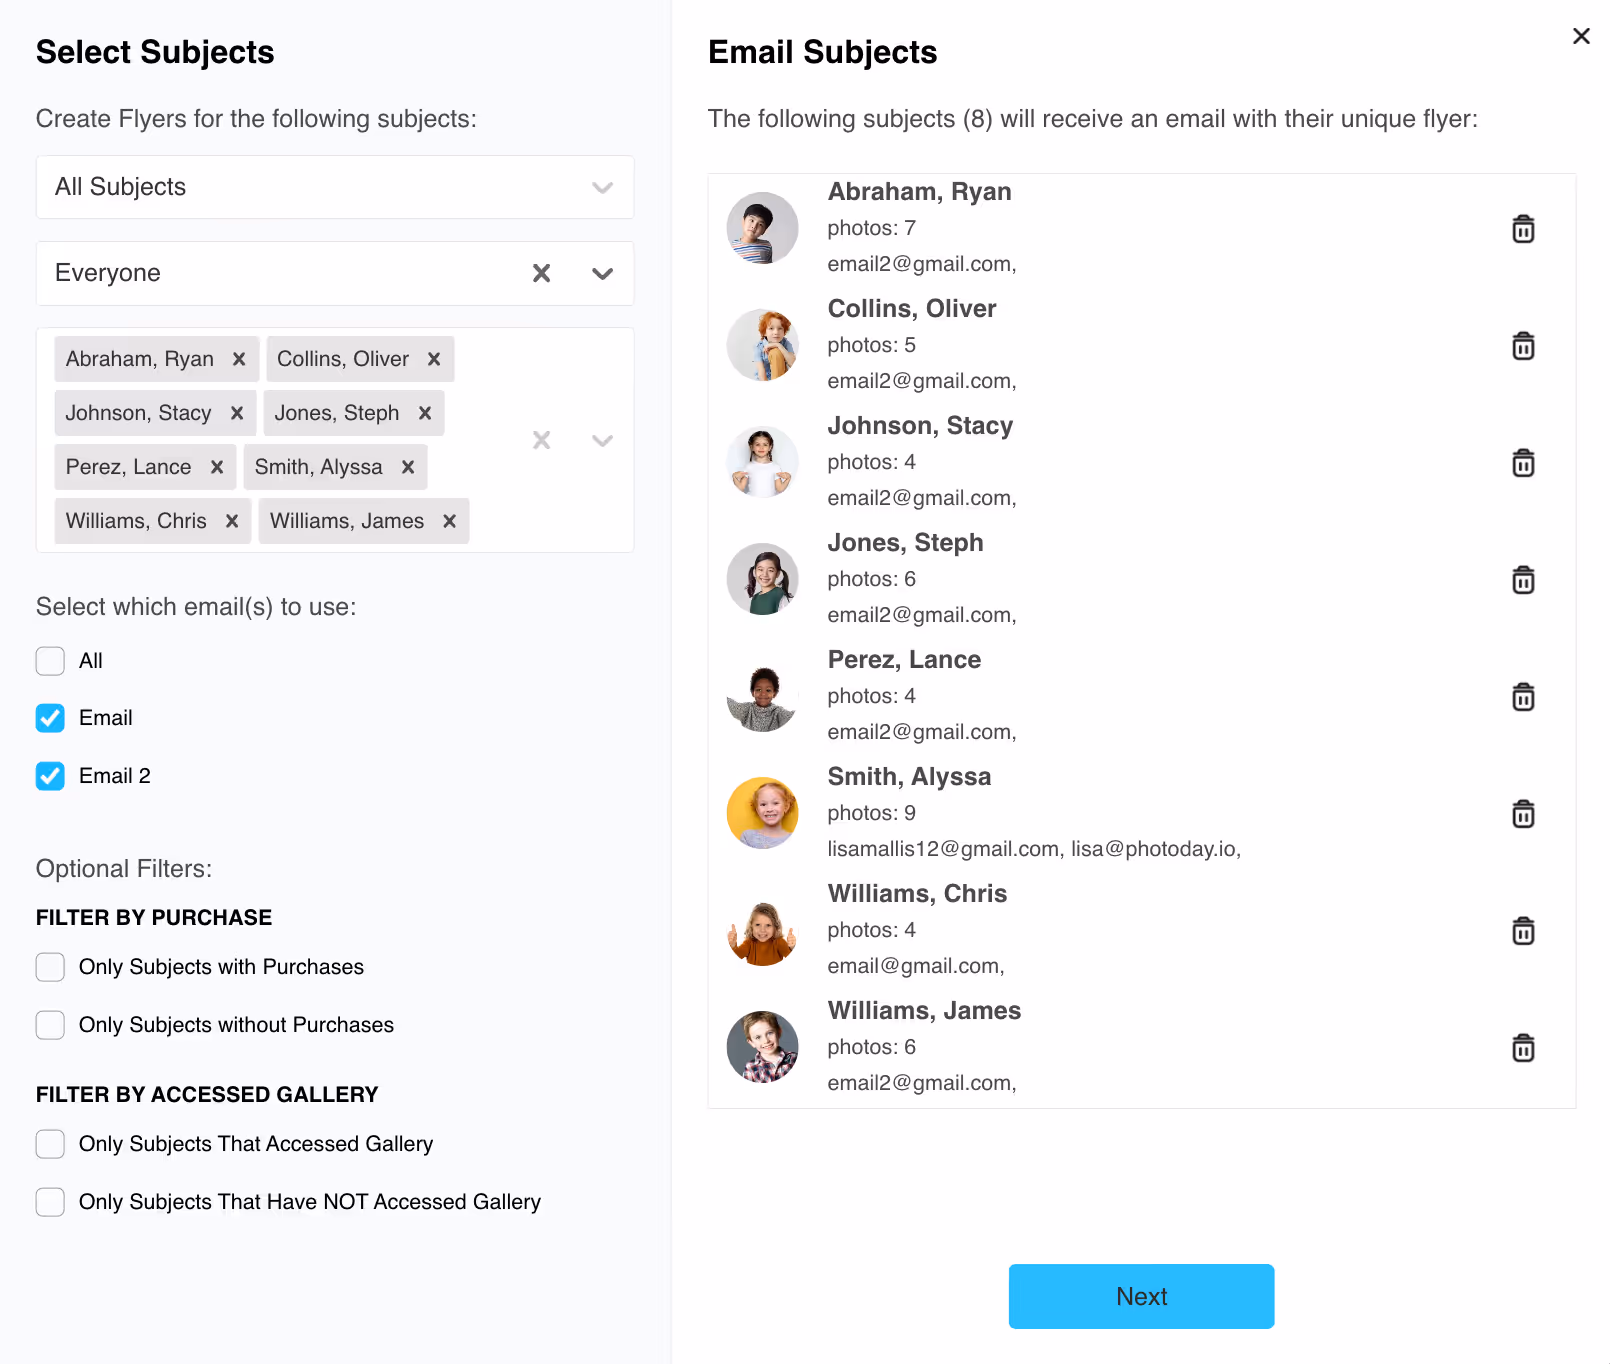
Next, you'll see a few more optional filters including Only Subjects with or without Purchases, and Only Subjects That Have or Have Not Accessed Gallery.
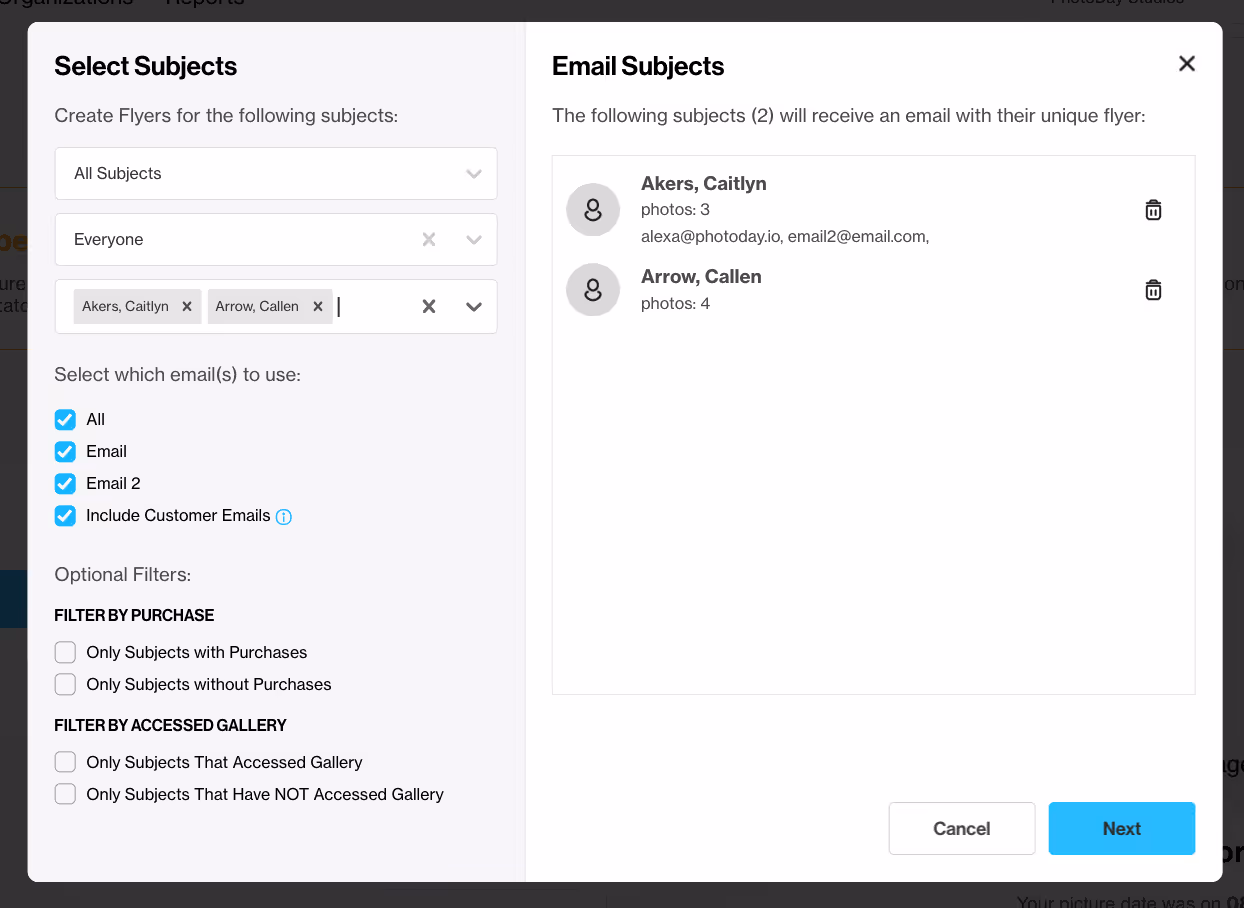
Once you've filtered your audience, you can also customize which email addresses associated with each subject to send to. All will be selected by default but you can choose to exclude one or more of your Email columns from the uploaded subject data or the Customer Account Emails. Customer Account emails are the email addresses associated with any PhotoDay Galleries accounts that have accessed that subject's gallery. After clicking Next, you will have the option to compose the subject line before sending.
You can also Download your flyers as a PDF file by clicking on the button to the left of the Paper Airplane to share outside of PhotoDay or to have printed. Then hit Next, hang tight while it loads, and a window will pop up for you to choose where to save the PDF on your computer.
The next section is all about exports.