Adding photos to a private gallery is a two-step process. Since private galleries give each person their own private sub-gallery, your job needs to keep track of each person’s information. PhotoDay calls this information subject data.
Subject data is the collection of personal data that is used to assist in matching reference photos with individuals within the Capture app and private galleries. This usually takes the form of a CSV file containing basic information.
CSV Best Practices
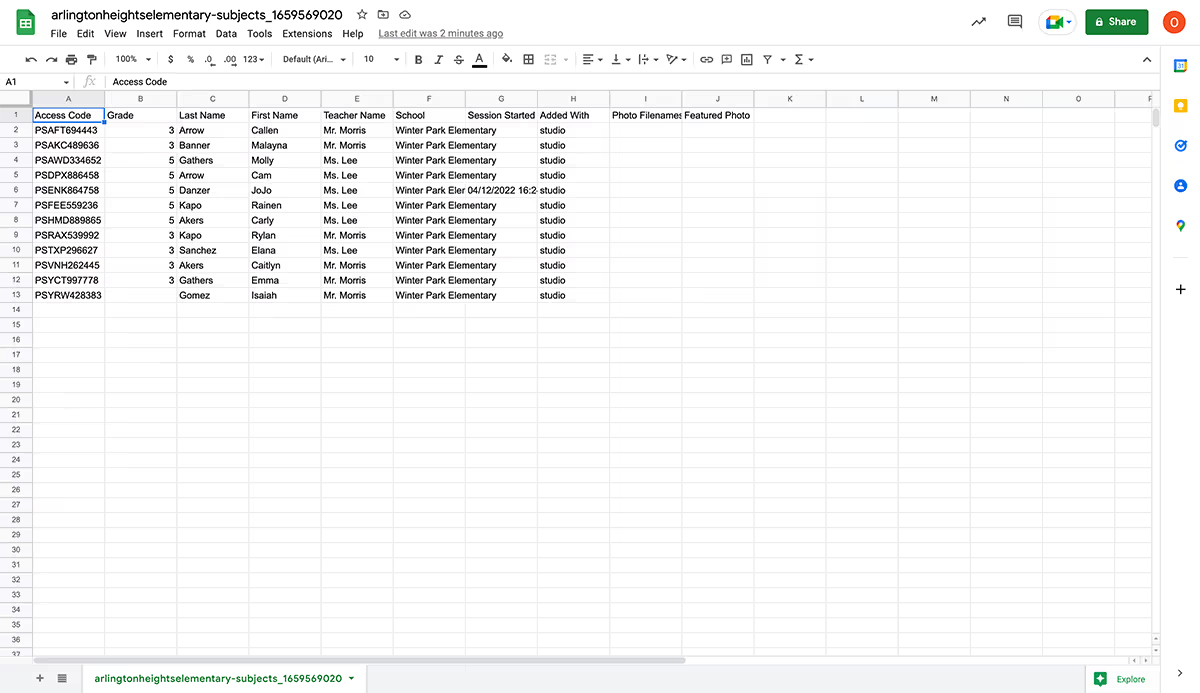
This CSV file must contain at least the subject's first and last name, but will also ideally include additional information ranging from email address to student ID or team name. This information is typically received from the organization with which the job is associated.
- Each column should have a clear header at the top.
- Do not include blank header rows or columns.
- CSV data should not include the following characters: / \ " ' ; :
- There are two headers that are required: first name and last name.
- Additional headers that are available to be mapped are: email 1, email 2, teacher, student ID, grade, period, school, mobile phone, league, organization, instructor, event, and coach, along with three “other” columns for additional information you might need for reference.
Here’s an example of an optimized CSV that’s ready to be uploaded:
Uploading and Mapping a CSV
Once you have your CSV data prepared, it’s time to upload. Open a private gallery job and navigate to the Subjects Data page. There are 3 ways to get to this page.
- From the Job Dashboard page, scroll down to the bottom of the page and click View Subjects Data.
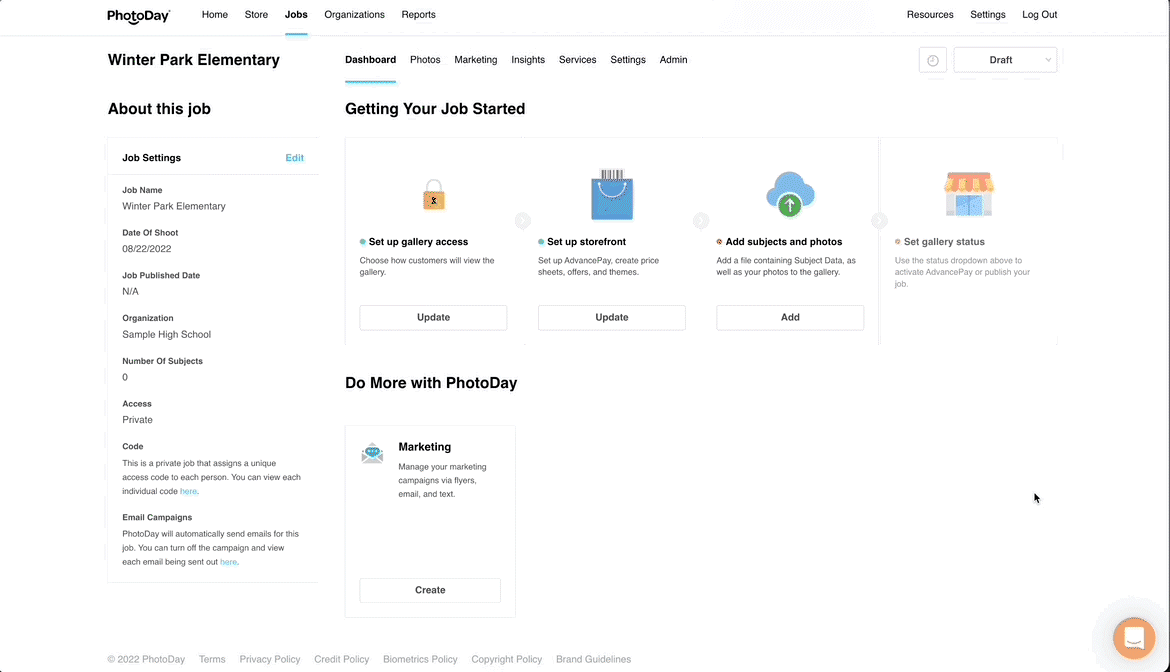
- From the Job Dashboard page, locate the job settings on the left side of the page and click the link under the Code section.
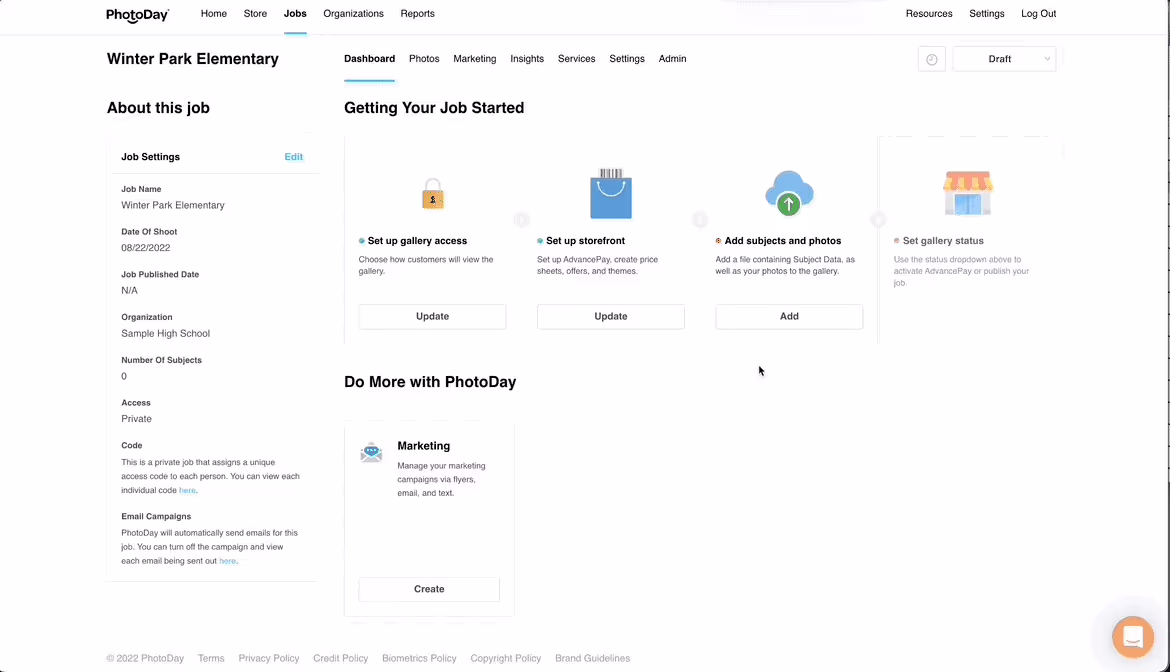
- From the Job Photos page, click the View/Edit button on the left side of the page.
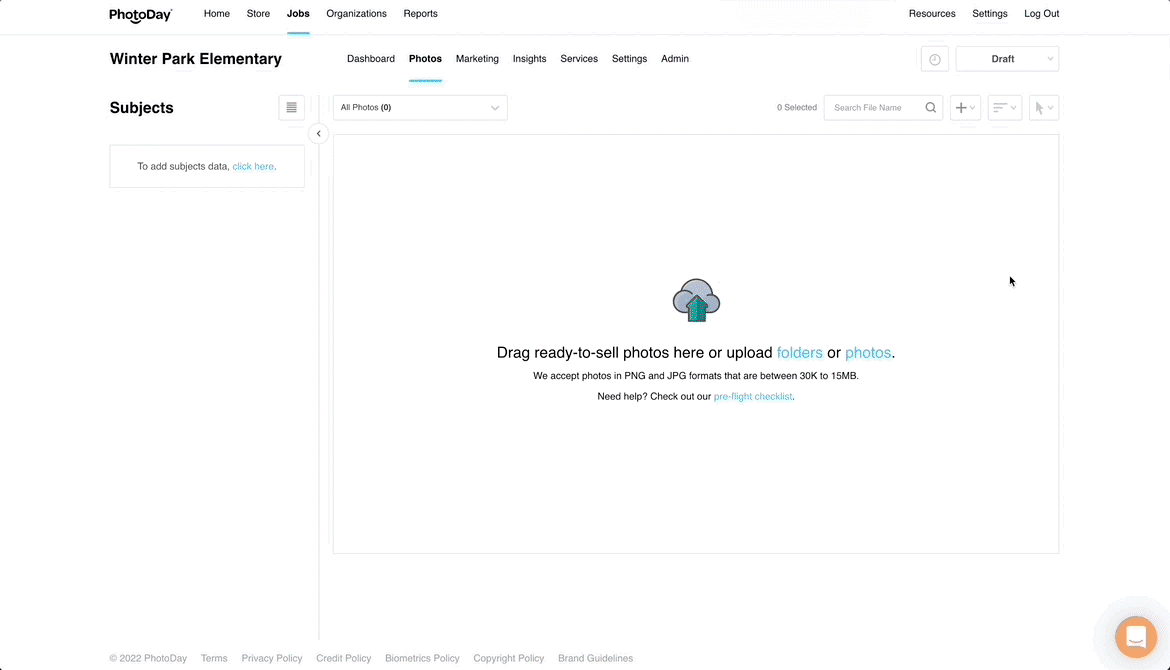
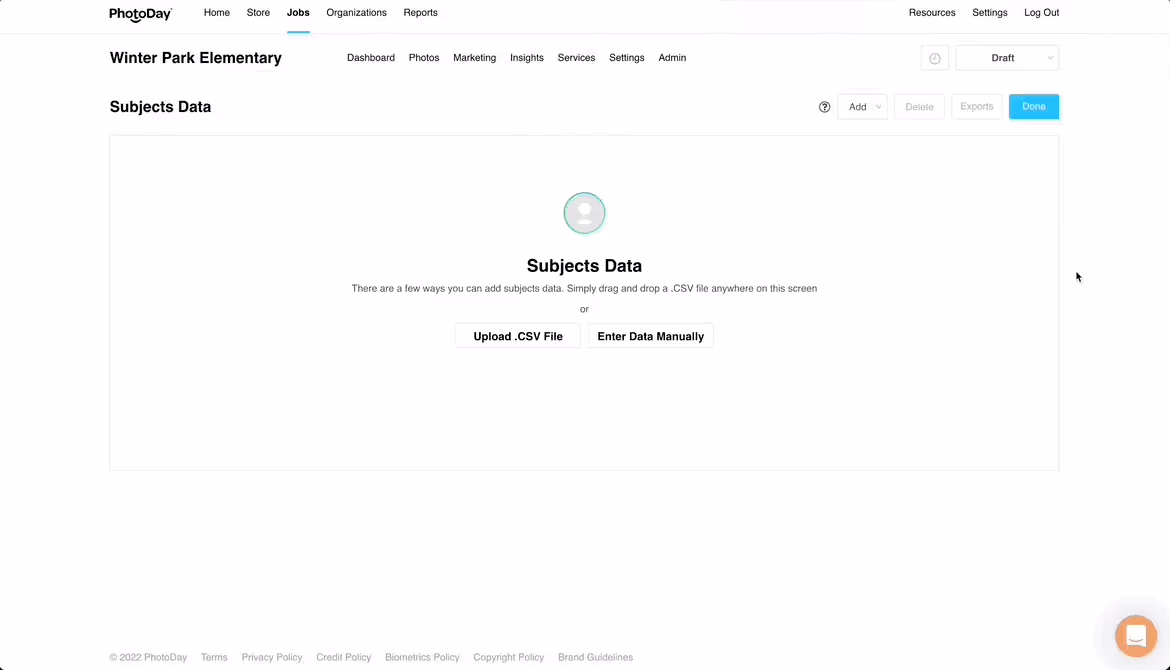
This will bring you to the currently empty Subject Data section, where you will be able to either add a CSV containing your subject data (great for bulk uploads) or add an entry manually (great for one or two subjects). For this example, we’ll upload a CSV.
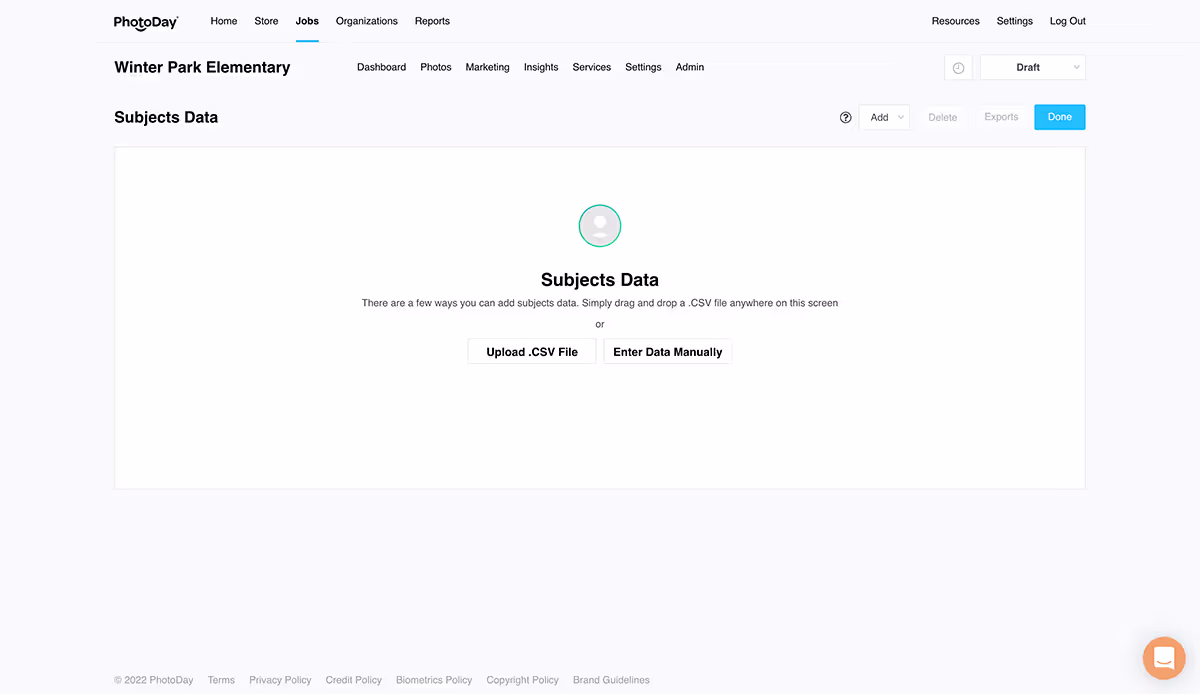
Click either button in the center of the page or click the Add button.
Select the CSV from your computer or simply drag and drop it onto the page.
Your new subject data will be automatically mapped to matching columns. If a column was mapped incorrectly, you can easily change it using the drop-down header at the top of each column.
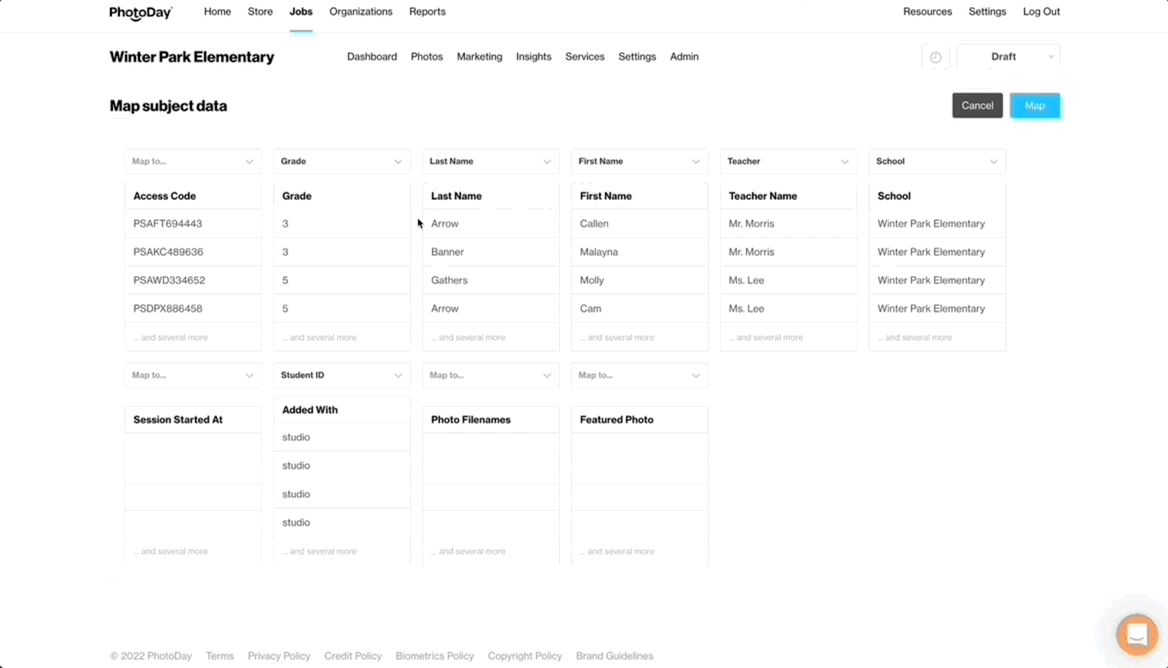
Once you’re satisfied with how your data is mapped, simply click the blue Map button to complete your upload.
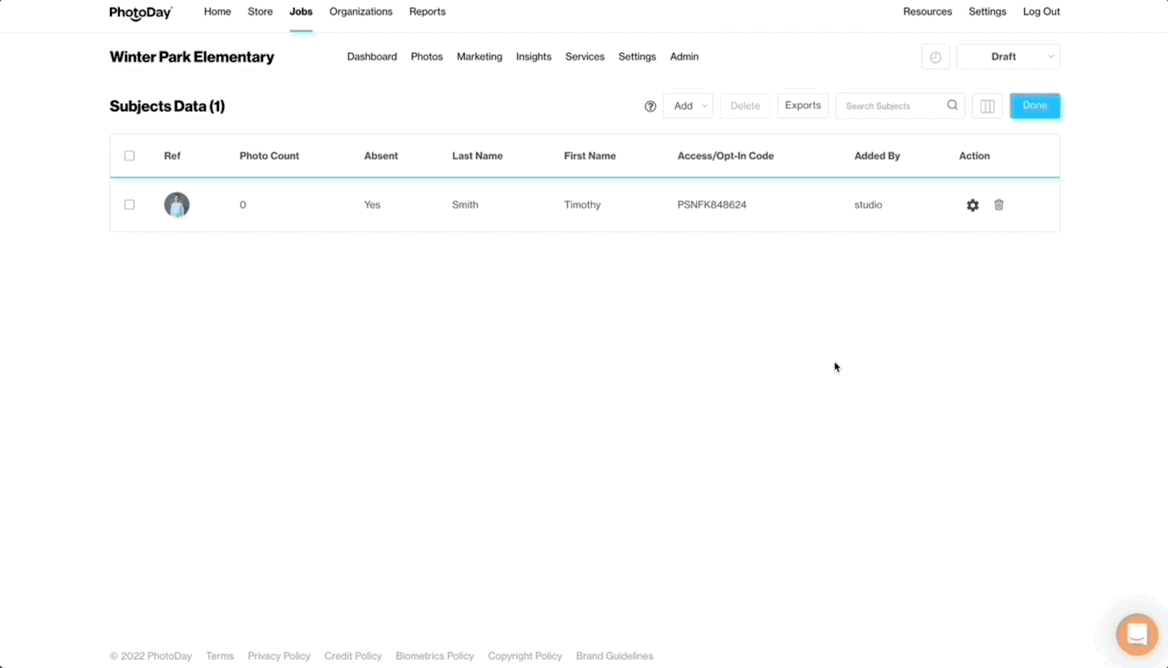
Your people data has been officially added to the job!
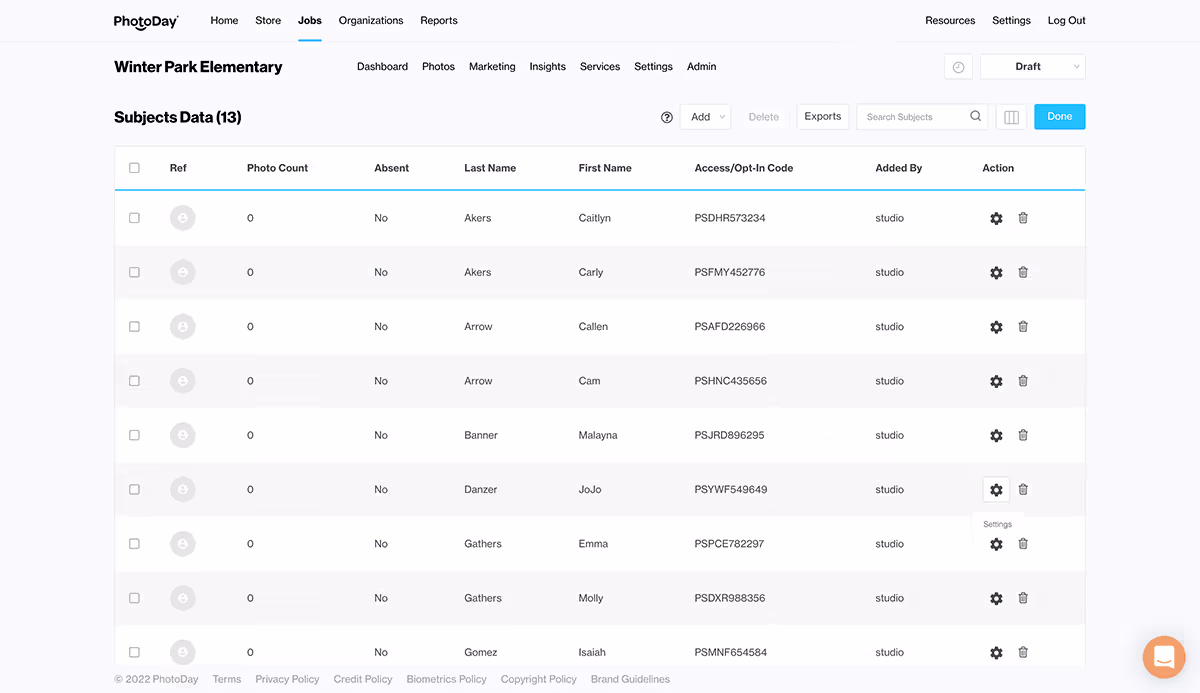
The Access/Opt-In Code column is where you can find each individual subject’s automatically assigned access code. This is the code each customer will use to access their gallery.
Manually Adding a Subject
Manually adding a subject is quick and easy. From the subjects data page, click Add > Subject Data to open the window.
Type the information you want to add, upload a reference photo, and click Save.

Appending Subject Data
There are many scenarios where you may want to update the subject data in an existing private gallery. Maybe the school sent you new information like email addresses or teacher names. Perhaps you want to use existing images as reference photos. This article shows you how to append data to an existing private gallery for both scenarios by uploading an updated CSV file.